
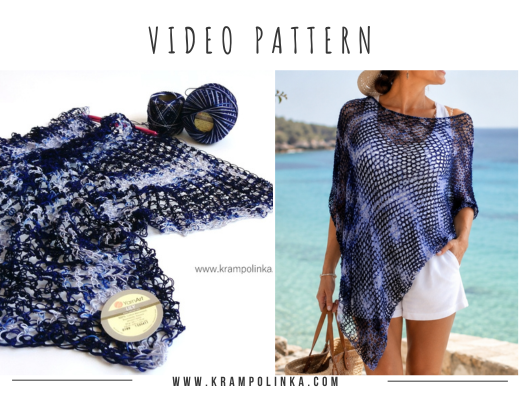
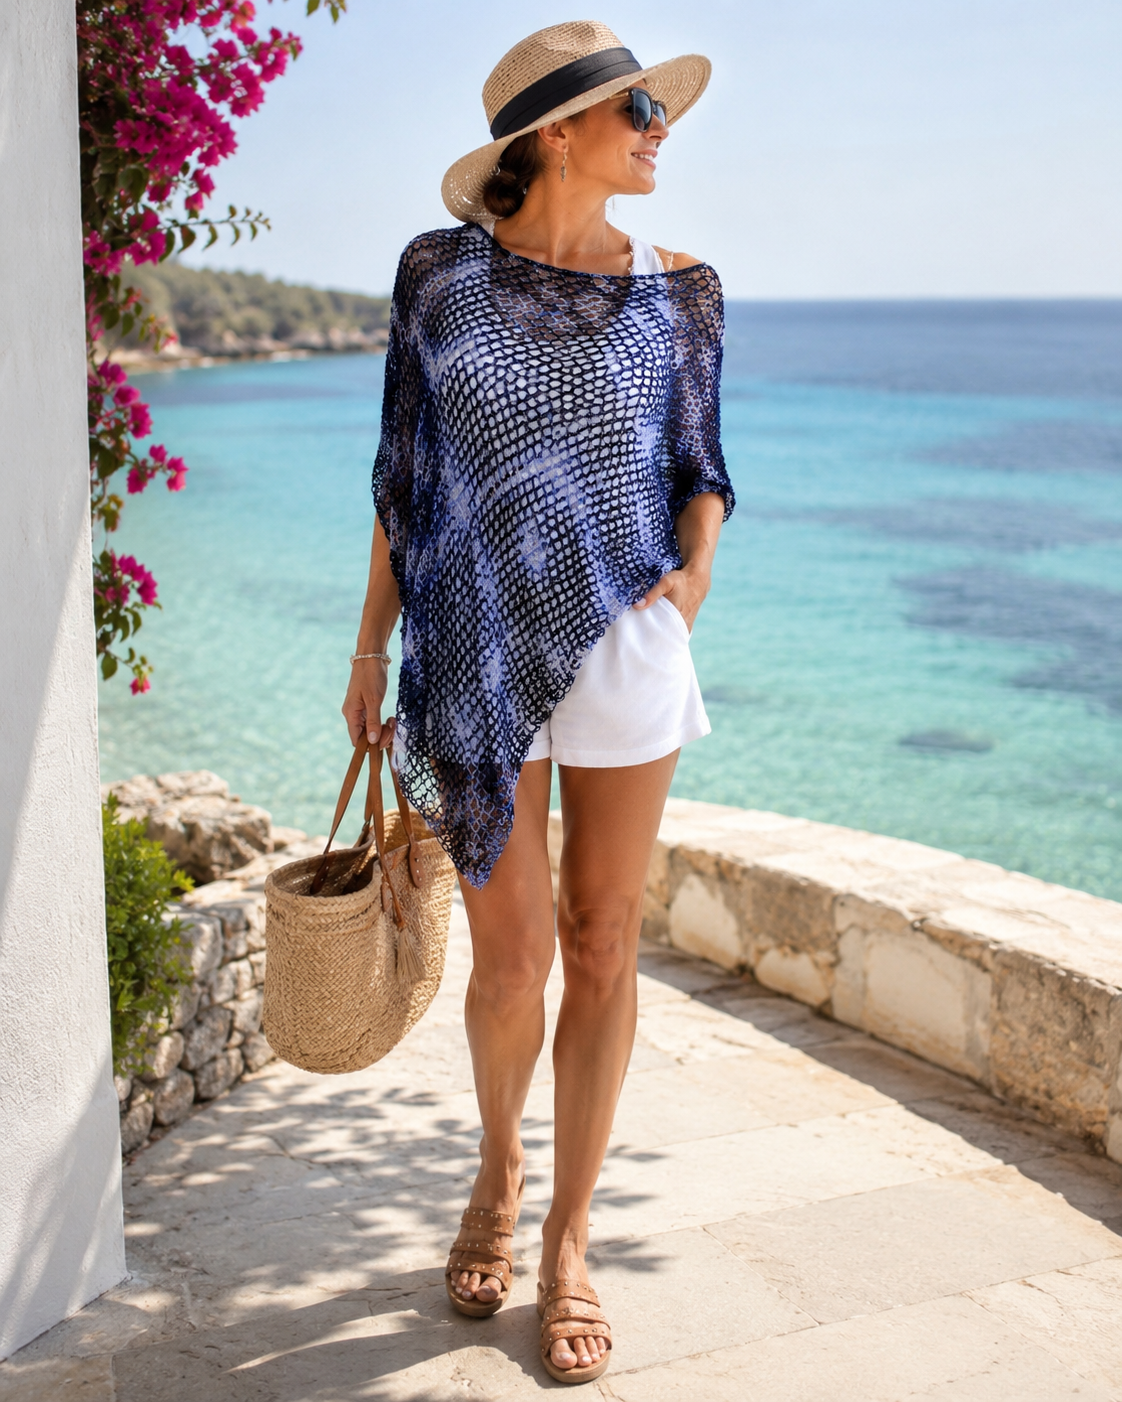
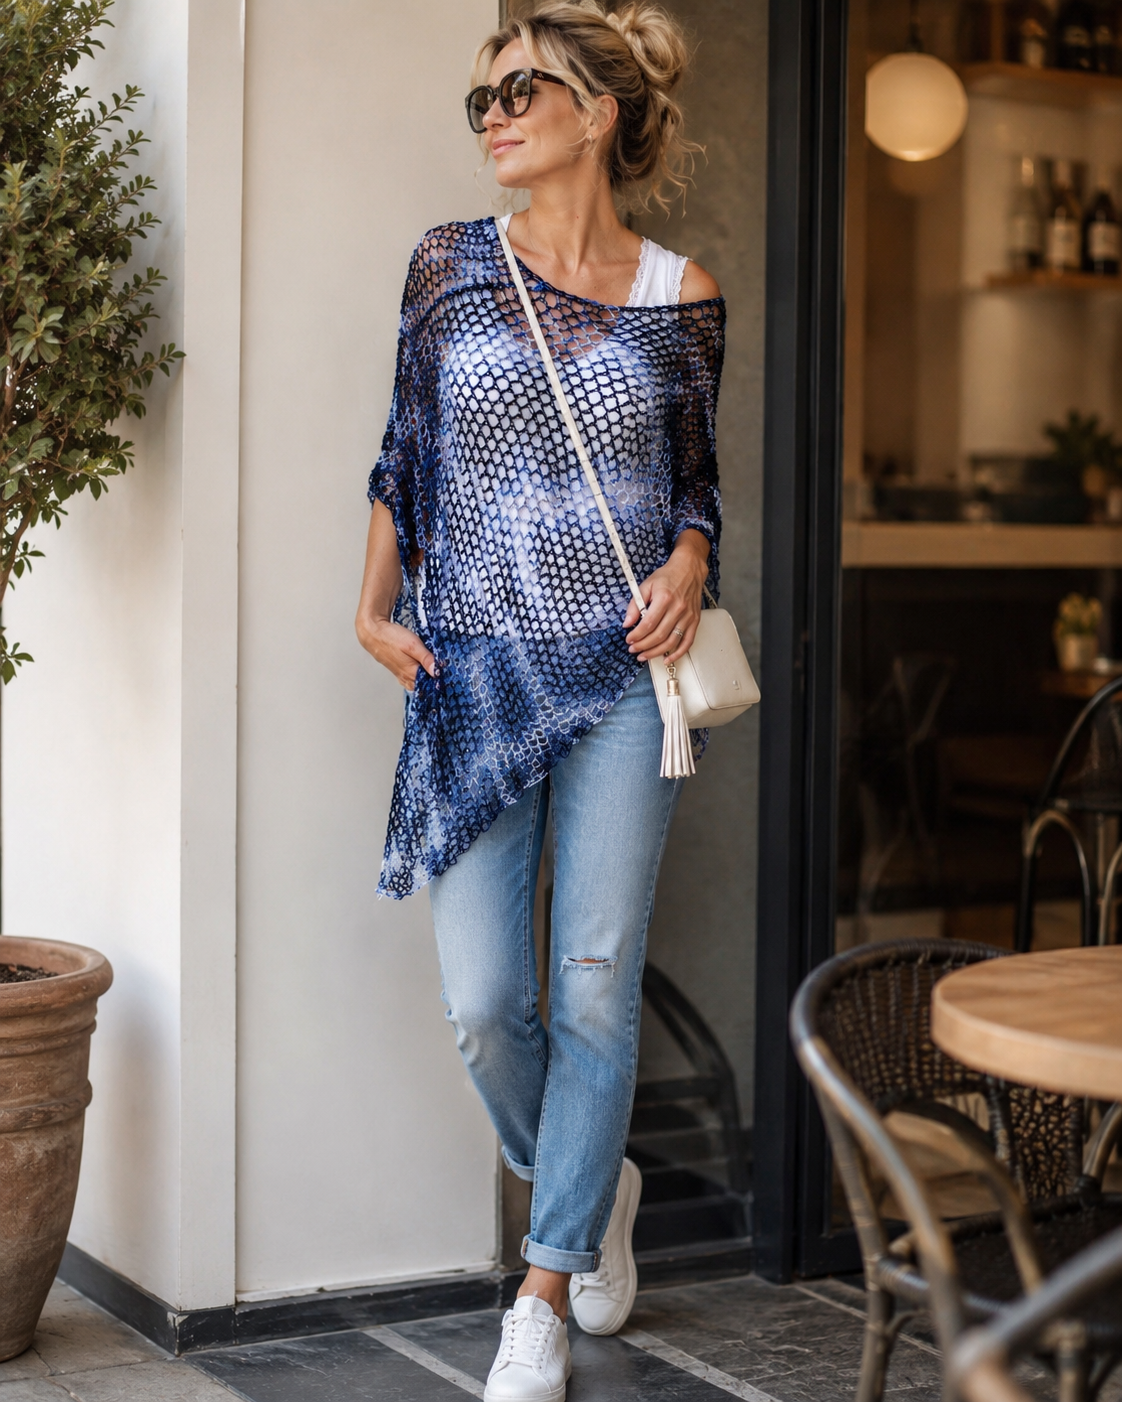
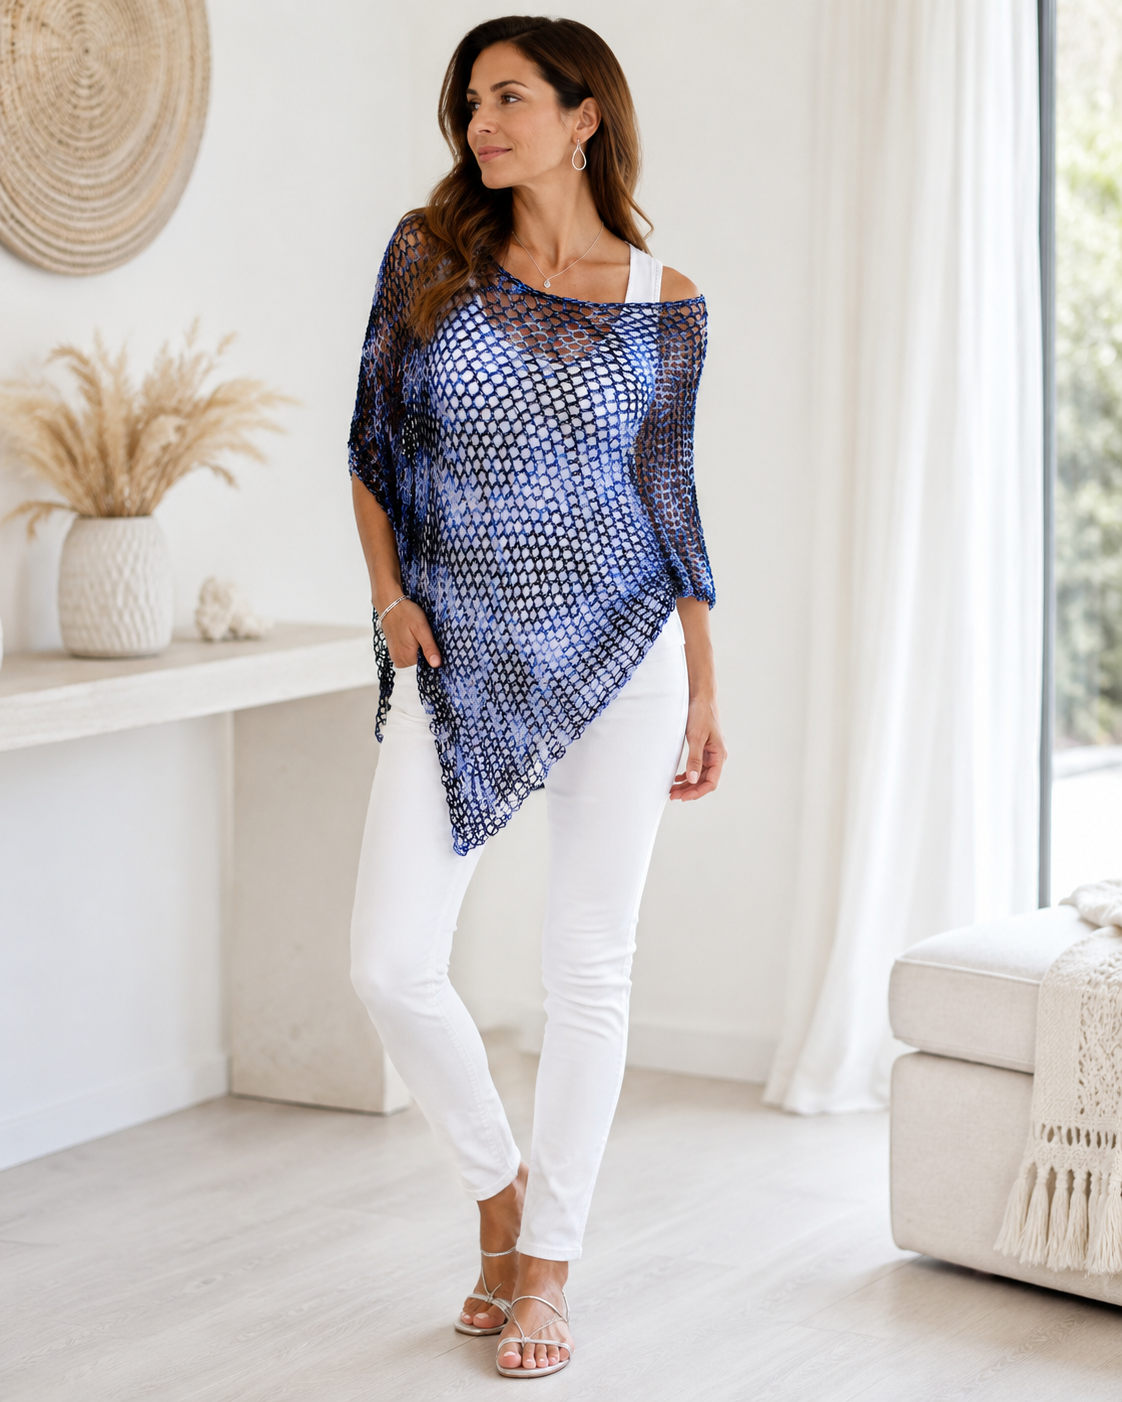
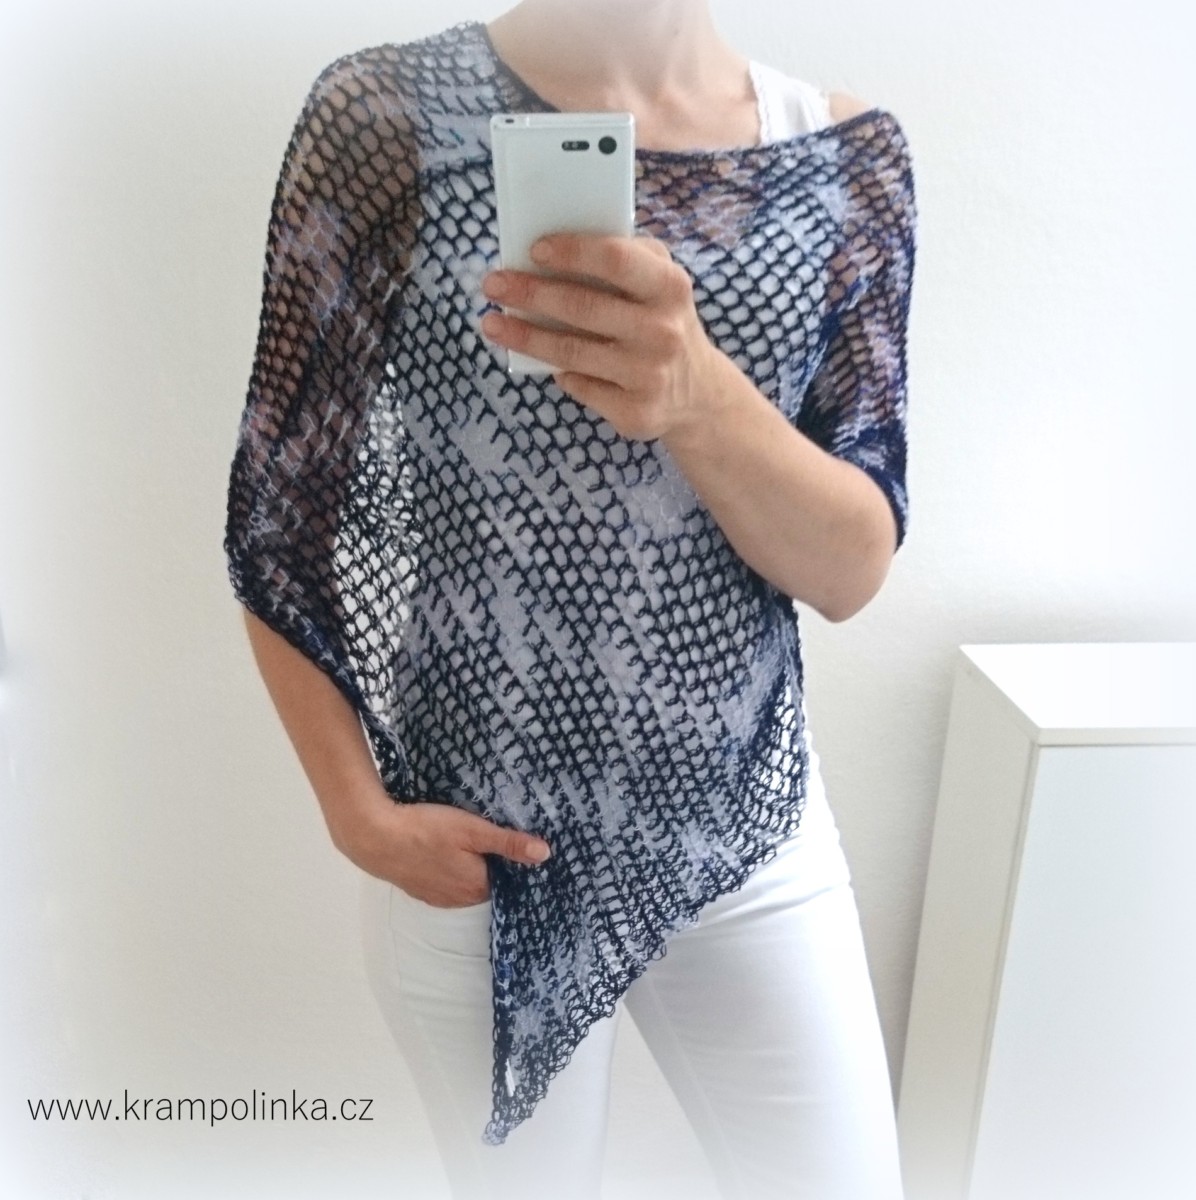
Do you know the knitted fashion brand Esther Tg? Until about last week, I probably didn’t either. But then Pinterest showed me one of their knitted ponchos, and I fell in love with it. From there, it was only a small step to creating a crocheted version.
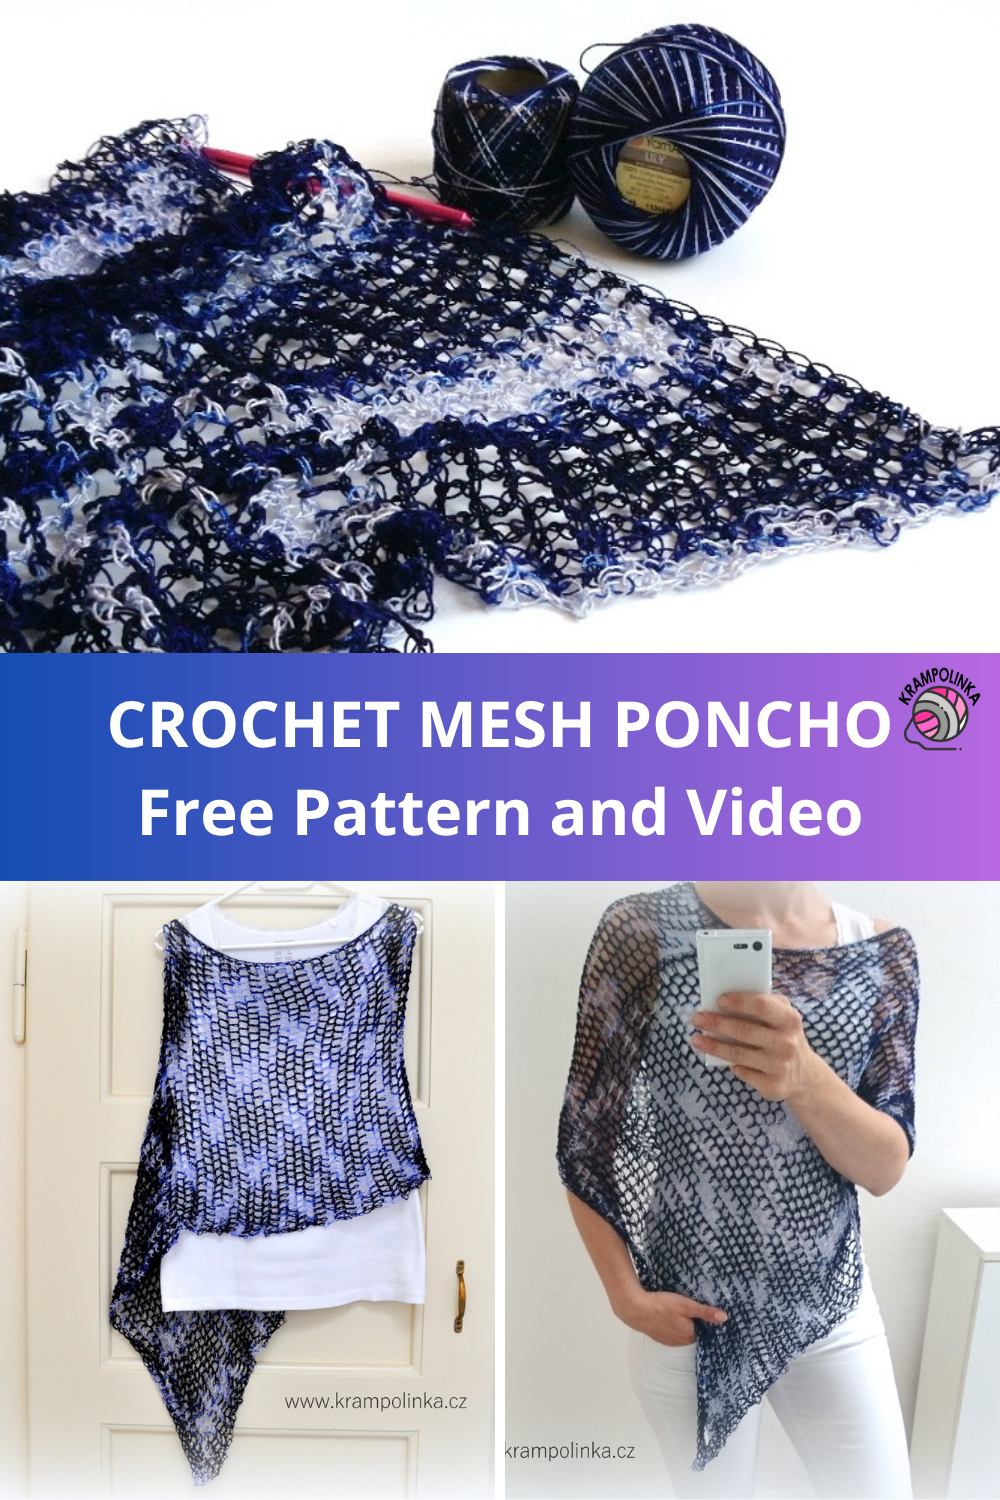
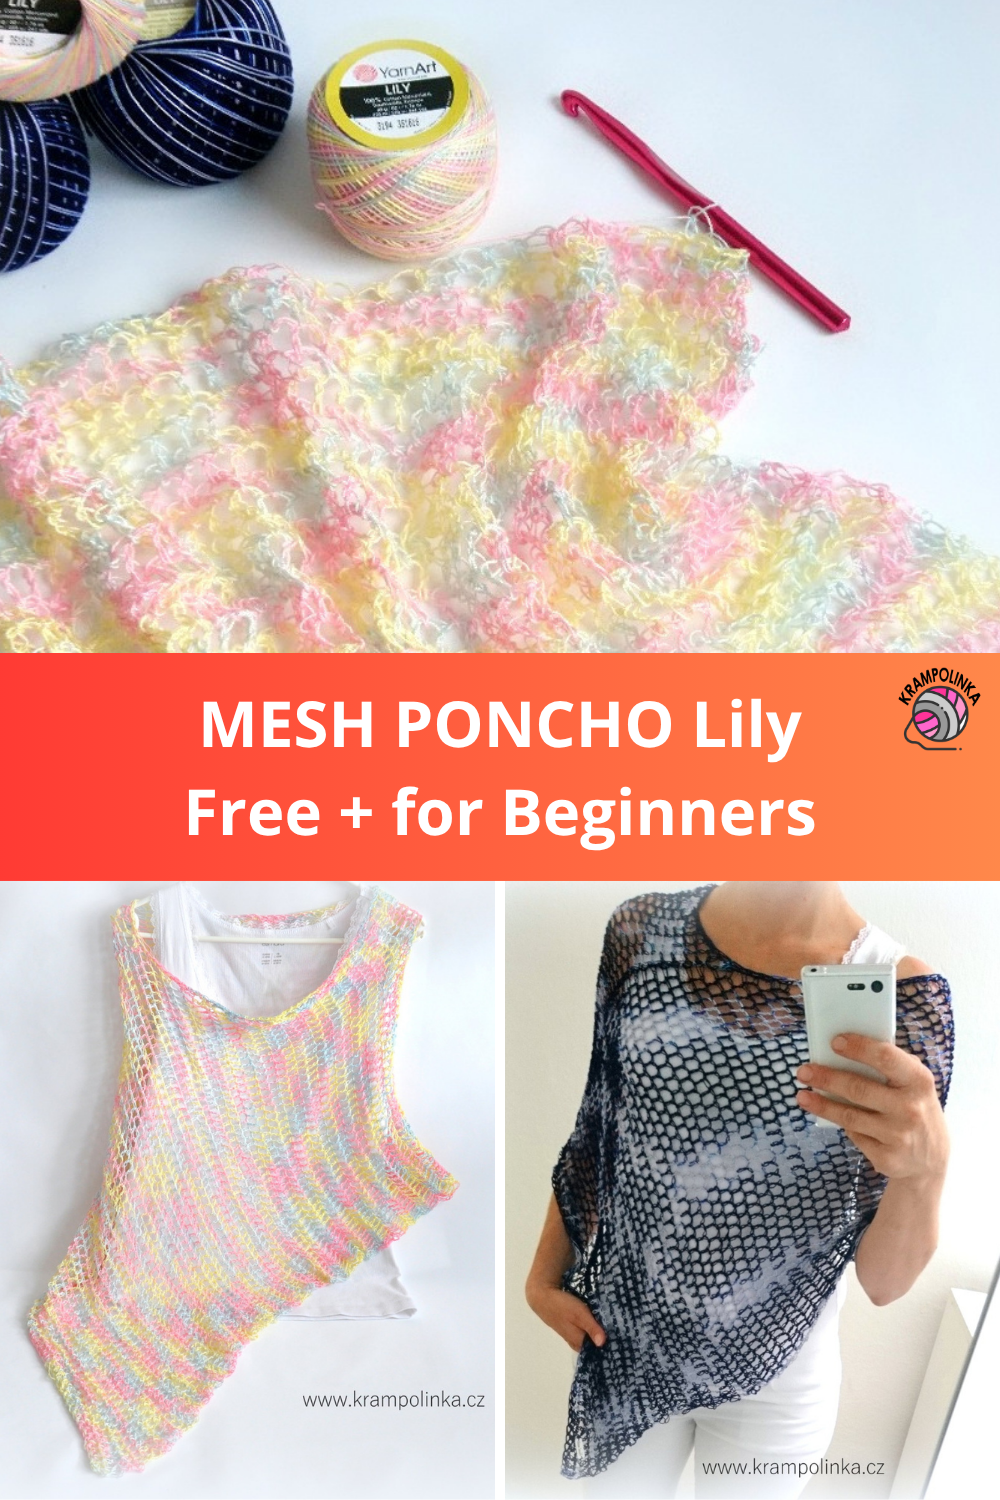
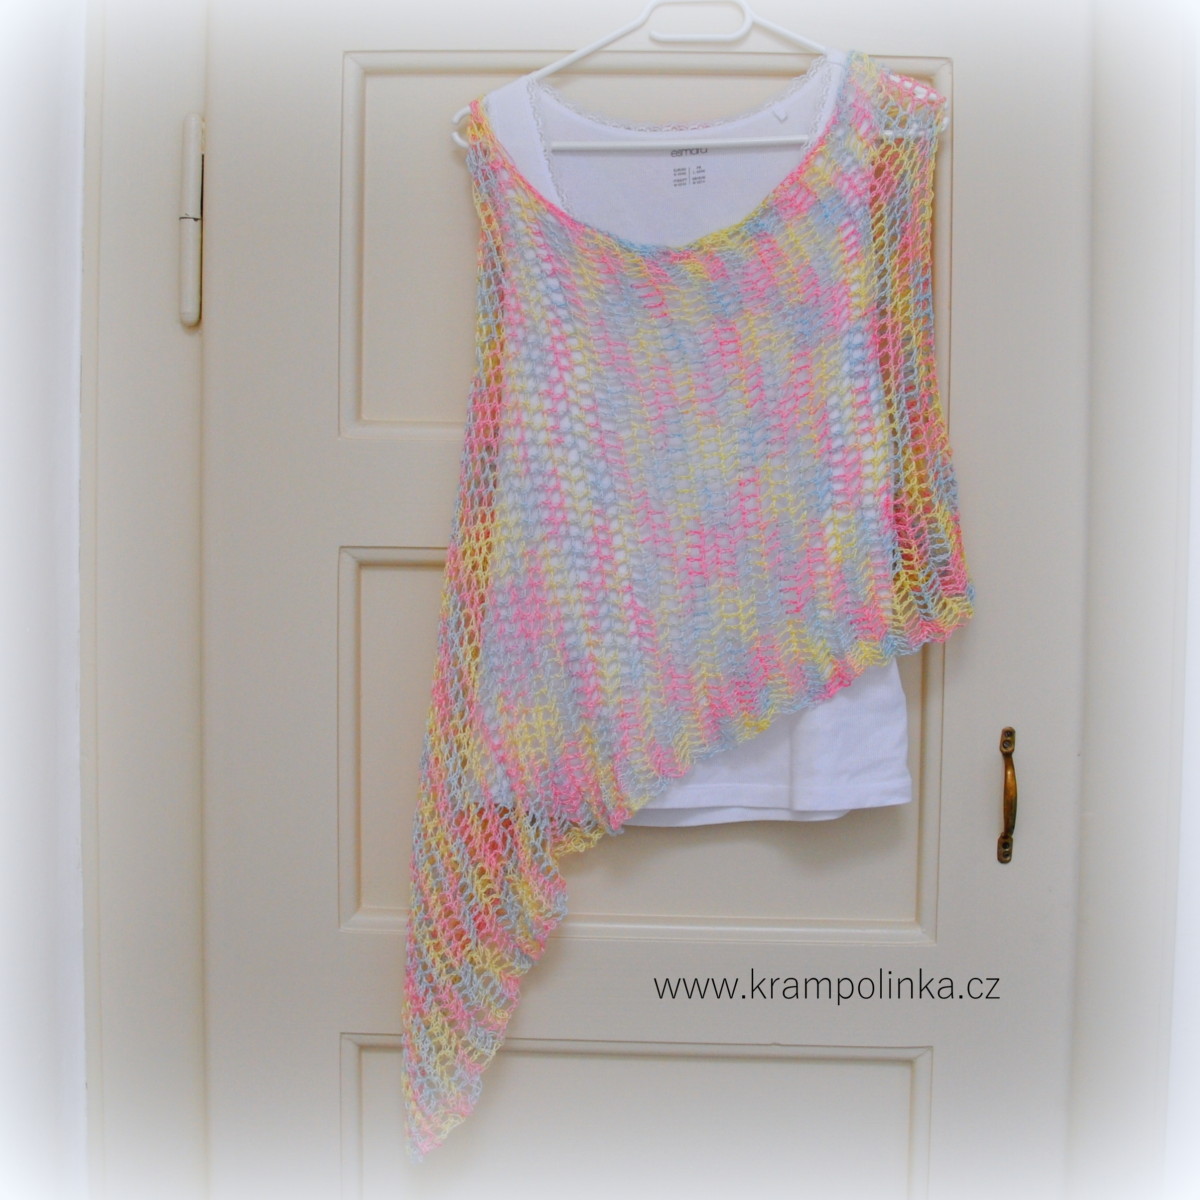
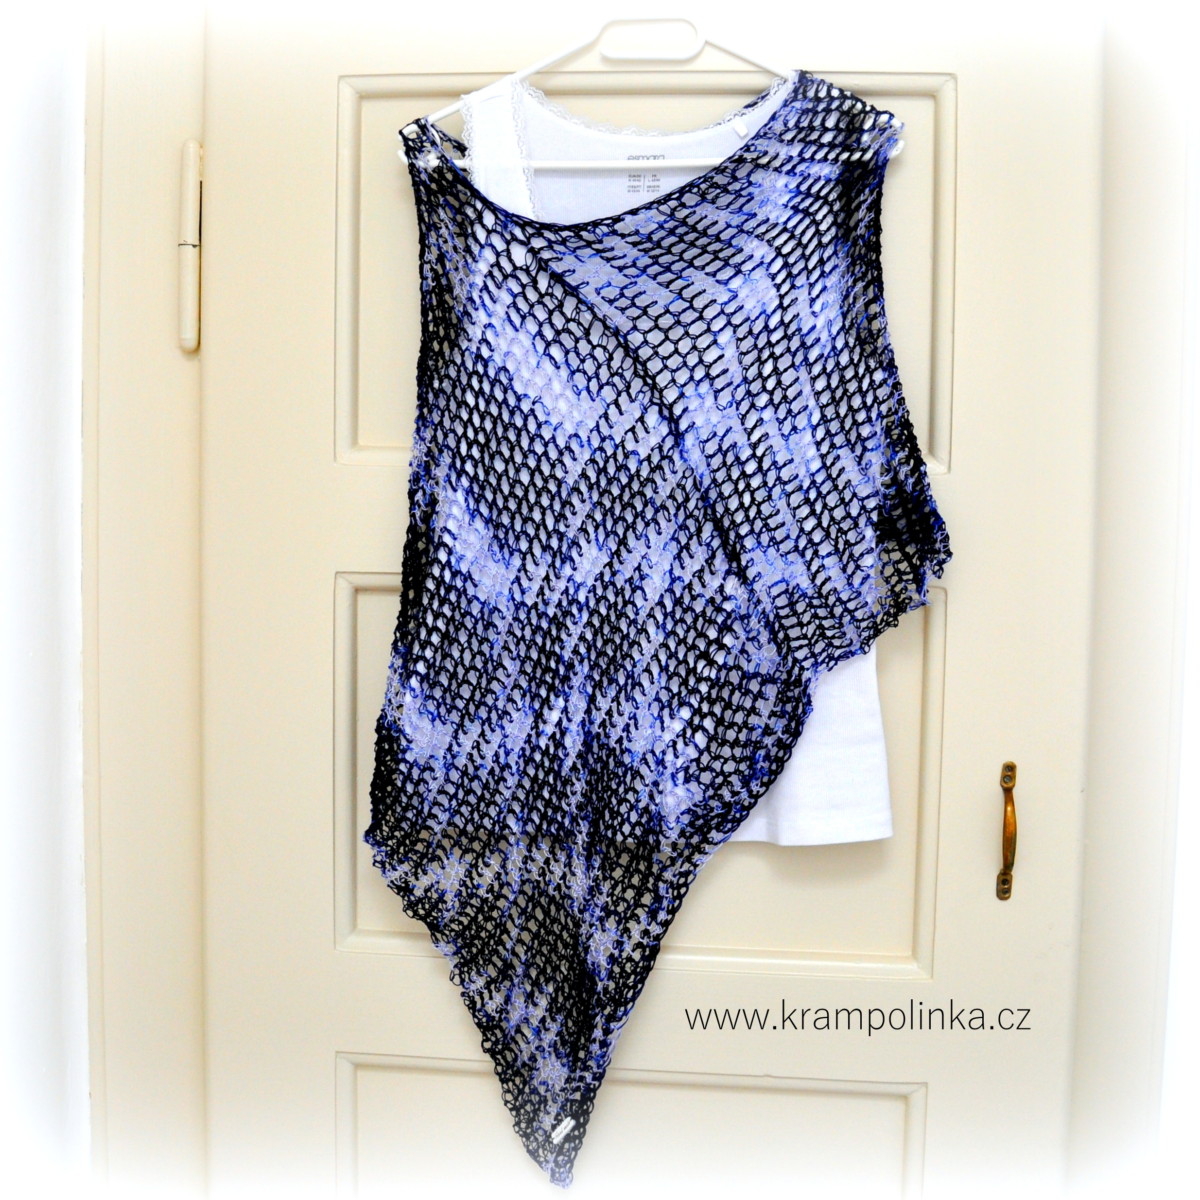
For airiness and lightness, I chose YarnArt Lily Melange. It is a 50 g ball of 100% mercerized cotton with a yardage of 225 m. So it is quite a fine yarn on its own. Combined with an 8 mm crochet hook and simple double crochet stitches, it created a delicate, web-like mesh. Visually, the result turned out exactly as I had imagined a summer poncho over a tank top or dress.
The YarnArt Lily Melange yarn for this project was kindly provided by www.bezvapleteni.cz. You can find a wide range of solid-colour and variegated YarnArt Lily yarns at PletemeSi.cz or Pletiemesi.sk.
-
- SAVE the PIN and the pattern stay with you forever
VIDEO TUTORIAL This video tutorial is from 2019. Only Czech.
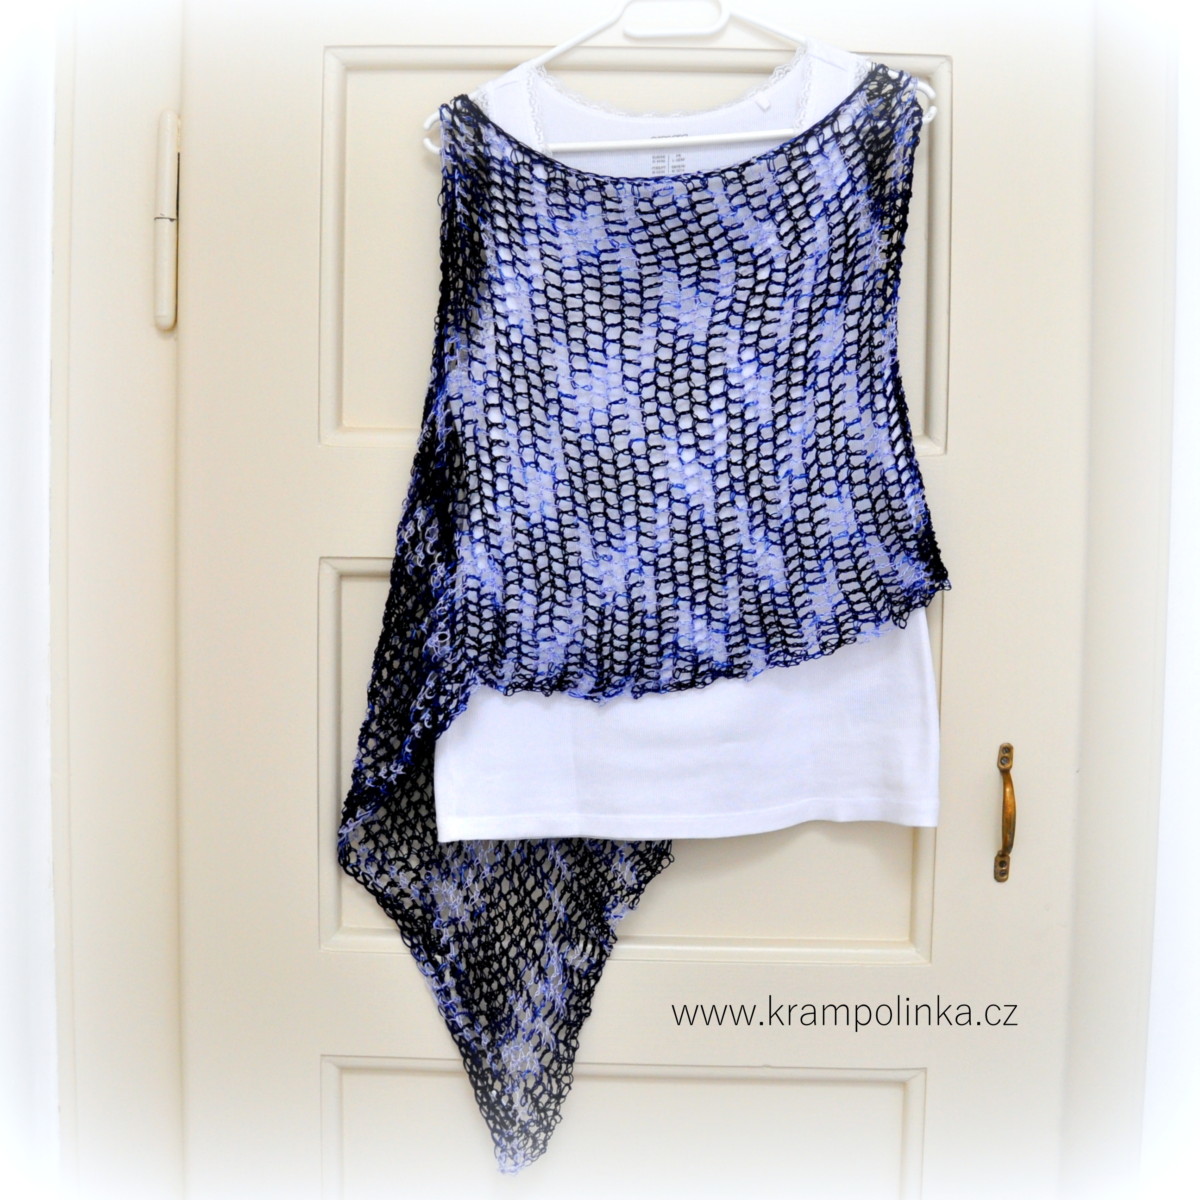
There are two to three ways to wear this poncho. You can wear it with the point at the front, which means the short straight part is at the back. Or you can wear it with the short straight part at the front and the point at the back. Another option is to wear it gathered around the neck like a scarf.
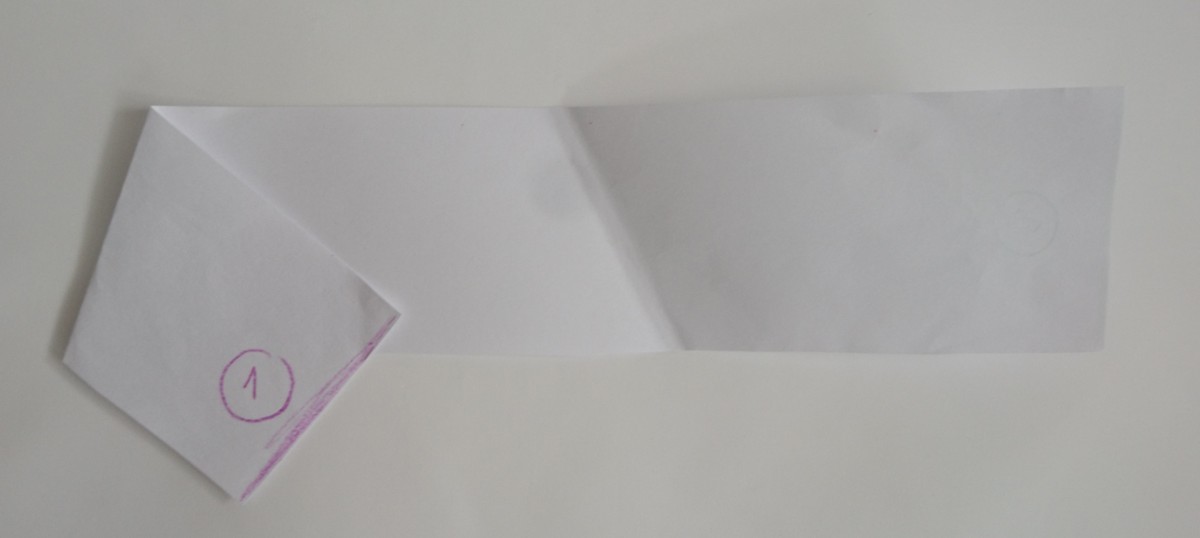
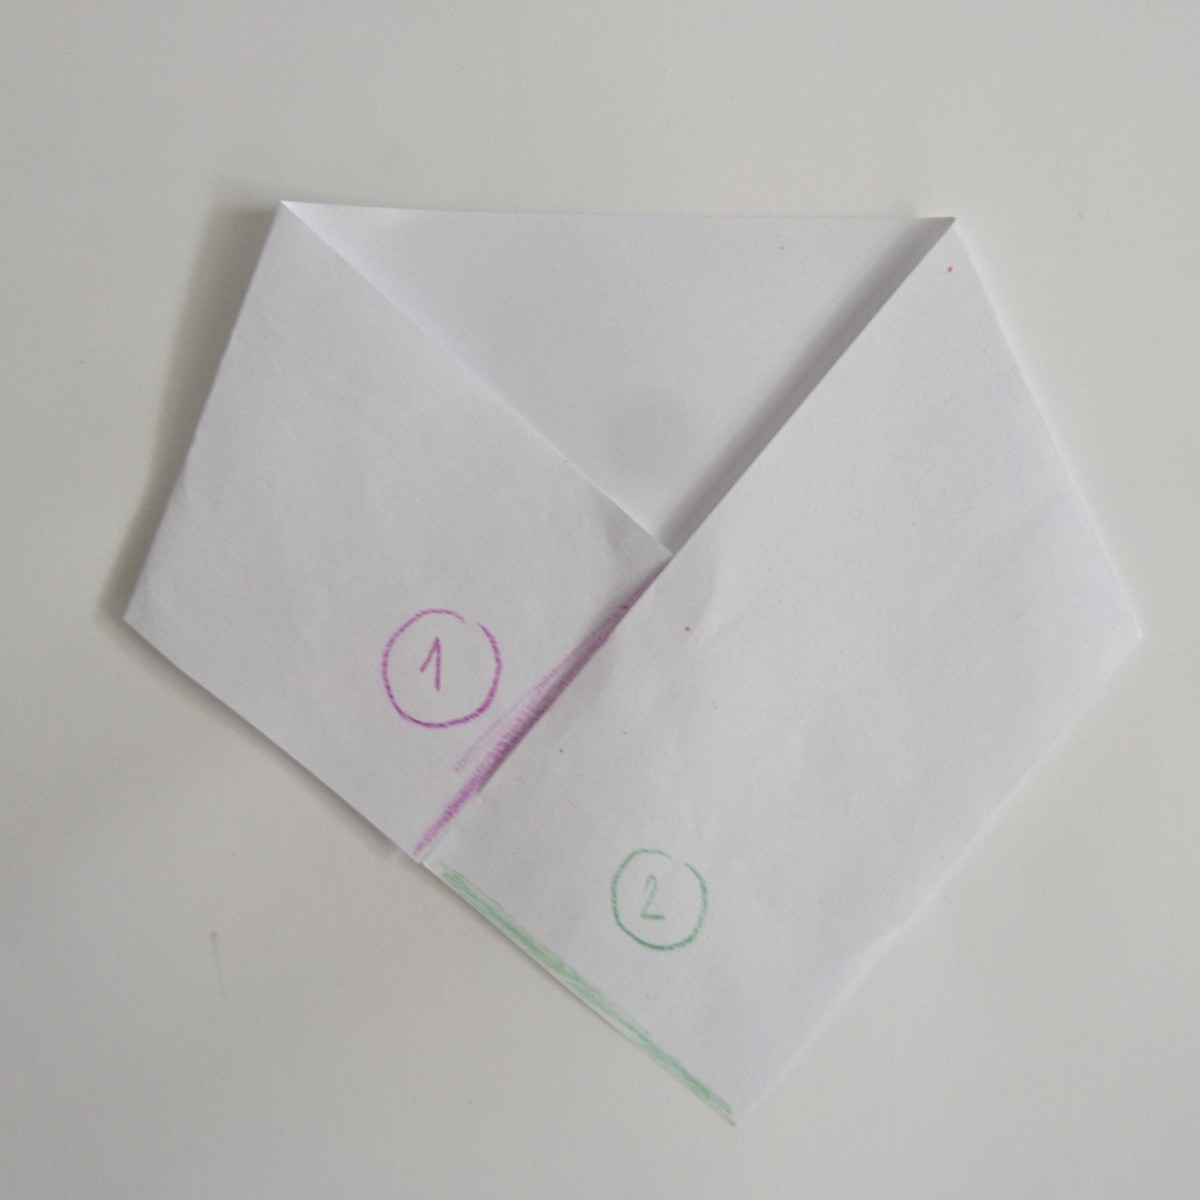
Another great advantage is that this timeless fashion piece is suitable even for complete beginners. The poncho is made from a simple strip crocheted to the desired width. The biggest challenge is not the crocheting itself, but sewing it together into the correct shape. For this, take a look at the photo of the paper strip in the gallery.
One last useful tip is how to edge the neckline. If you crochet 1 single crochet into each space, you will get a very firm edge that will hardly stretch during wear. If you edge the neckline using the pattern 1 single crochet – 2 single crochets, you will get a very loose and comfortable neckline. It may stretch slightly over time, but it will fit more sizes.
Speaking of size, for comfort I recommend crocheting the strip width from the bra strap area to the inside of the elbow. As for the length of the strip, measure the circumference around your shoulders and add about one third of that measurement. For example, my shoulder circumference is 80 cm and the length of my strip was 115 cm.
As for washing, I recommend washing the poncho by hand and letting it dry freely. If you wash it in the washing machine, use a lingerie laundry bag. The large open stitches can easily catch on something. So let’s get started, so we can still enjoy wearing this piece before summer is over.
I hope your Poncho Lily turns out beautifully. If you would like to inspire others or share your experience with crocheting or styling the poncho, I would be very happy to see your photos. You can share your photos in the Krampolinka Facebook group. On Instagram, please use the hashtag #poncolily so they are easy to find. If you tag me in projects made from my patterns, I may reshare them in my Instastories to inspire others.
Summer Poncho Lily
Yarn: YarnArt Lily Melange, 2 balls, available at www.pletemesi.cz or www.pletiemesi.sk
Hook: 8 mm
Size: one size, approx. 38–40
Finished measurements: width 35–40 cm, length 115–125 cm
Optional: a label or tag for decoration
Time needed: approx. 4–5 hours including finishing adjustments
Skill level: suitable for beginners
Abbreviations
sl st – slip stitch
ch – chain
sc – single crochet
dc – double crochet; from the third row onwards, work dc into the spaces, meaning insert the hook between the stitches of the previous row
The poncho is crocheted in rows, turning your work after each row. In this pattern, the turning chain replacing the first dc is 3 loose chains.
-
- SAVE the PIN! Poncho Lily is here for you
Lily Melange, 8 mm hook
Row 1: Make a foundation chain, using the yarn double-stranded for this row only: 39 stitches plus 3 ch for turning. From this point on, continue with a single strand of yarn.
Row 2: Insert the hook into the first stitch of the foundation chain and work 1 dc. Then work 1 dc into each stitch across. You will have 40 dc in total, including the turning chain.
Row 3: Work the turning chain as a replacement for the first dc. Insert the hook between the first dc stitches from the previous row and work dc into the spaces. Work the last dc into the turning chain from the previous row. Important: count your stitches! You should still have 40 dc.
Rows 4–80: Work the turning chain as a replacement for the first dc. Insert the hook between the first dc stitches from the previous row, then continue working dc into the spaces. Work the last dc into the stitch of the turning chain. You should have 40 dc in total, including the turning chain. Do not fasten off the yarn; continue with joining the poncho.
Joining the poncho, 8 mm hook
Fold the finished strip into the poncho shape. Join the edges with sc, working from the outer edge towards the neckline. Then turn the poncho so that the joined seam is on the wrong side.
Neckline edging, 8 mm hook
For a firm edge, continue edging the poncho by working 1 sc into each space. For a looser edge, continue edging the poncho using the pattern 2 sc – 1 sc. Then edge the neckline once more with one additional round of sc

No Comments