
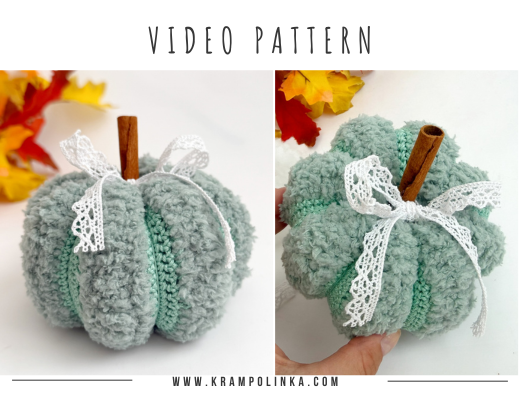
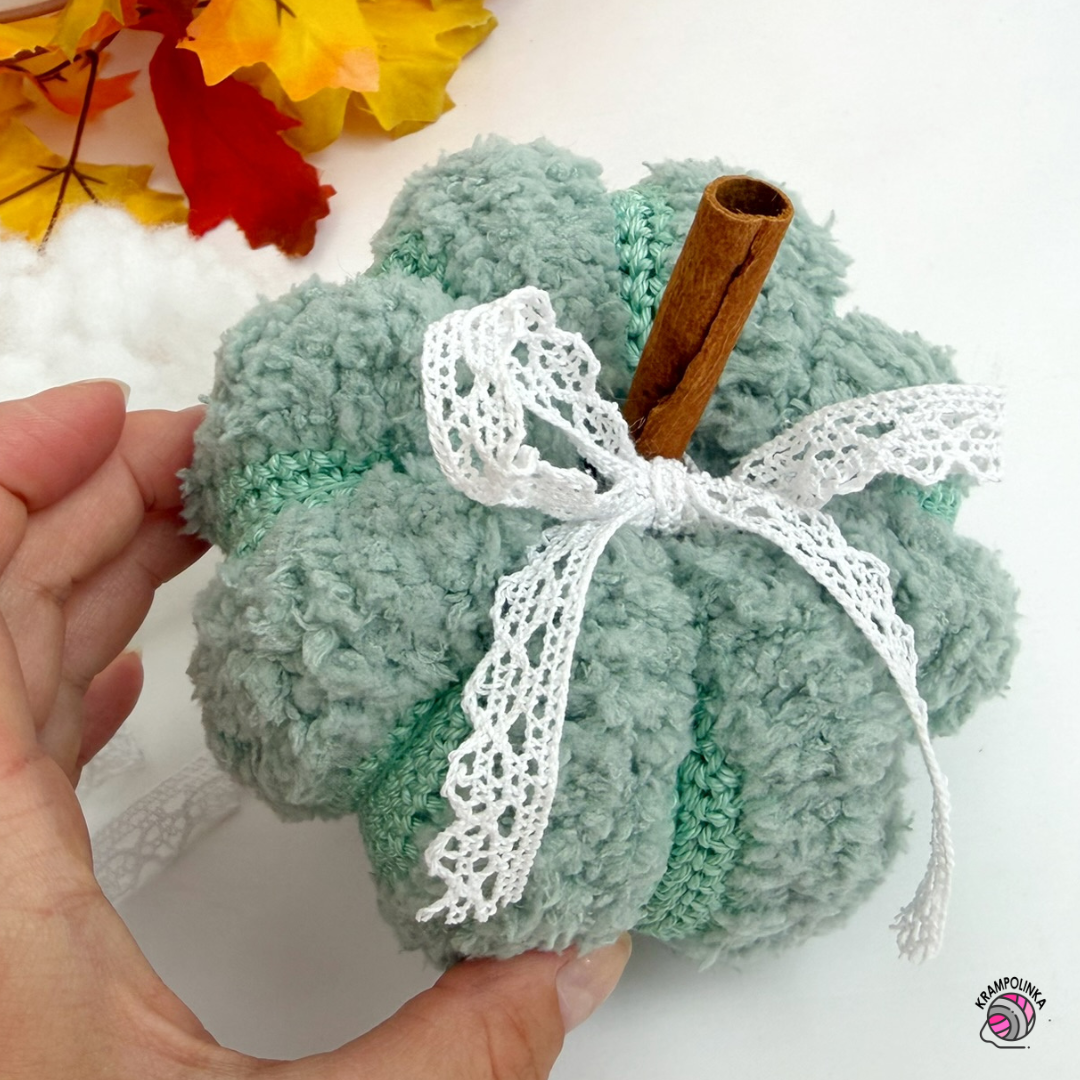
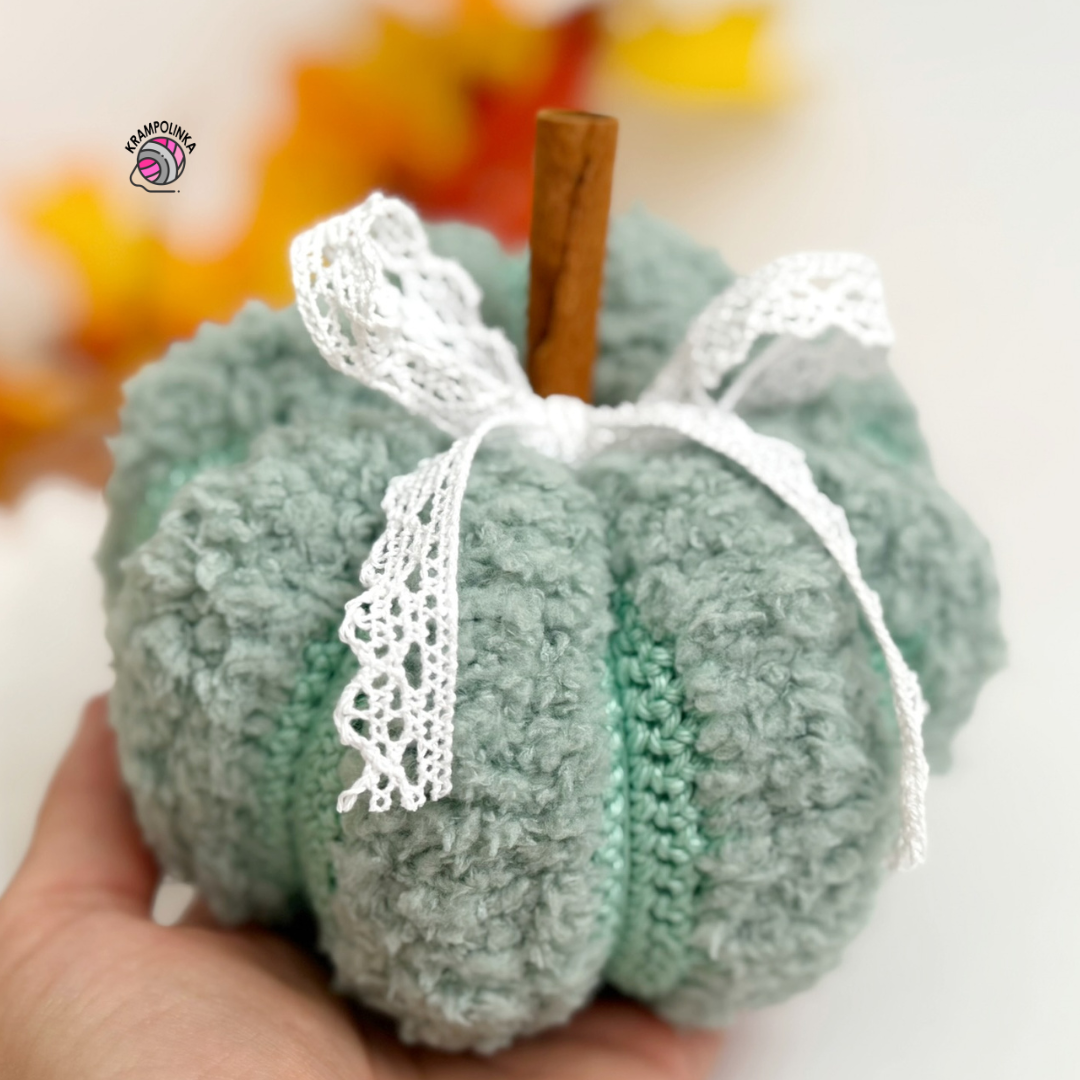
In today’s video tutorial, we are going to crochet a beautiful autumn pumpkin together. A crochet pumpkin makes a lovely home decoration, but it can also be a charming handmade gift.
What makes this project interesting is the combination of two different types of yarn. We will use VlnaHep Camilla, a 100% mercerized cotton yarn with 125 m per 50 g ball. The second yarn is the textured VlnaHep Teddy Smile, made from 100% polyester, with 100 m per 50 g ball. Camilla is commonly used for crocheted toys. However, if you choose a larger crochet hook, you can also use it for lace patterns, summer tops, blouses, and lightweight sweaters. Teddy Smile is beautifully soft and perfect for home décor projects, such as Christmas baubles or cushions.
We also introduced Teddy Smile yarn in the Povídání u klubíčka #122 podcast You can read the accompanying article here Crocheting with fluffy or textured yarn can be a little more difficult because the individual stitches are not always easy to see. I therefore recommend crocheting into the spaces between the stitches. Use your fingers to feel the gap between the stitches and insert your hook into that space. Another useful tip is to count your stitches regularly. This helps you keep track of your work and quickly notice if you have accidentally missed a stitch.
-
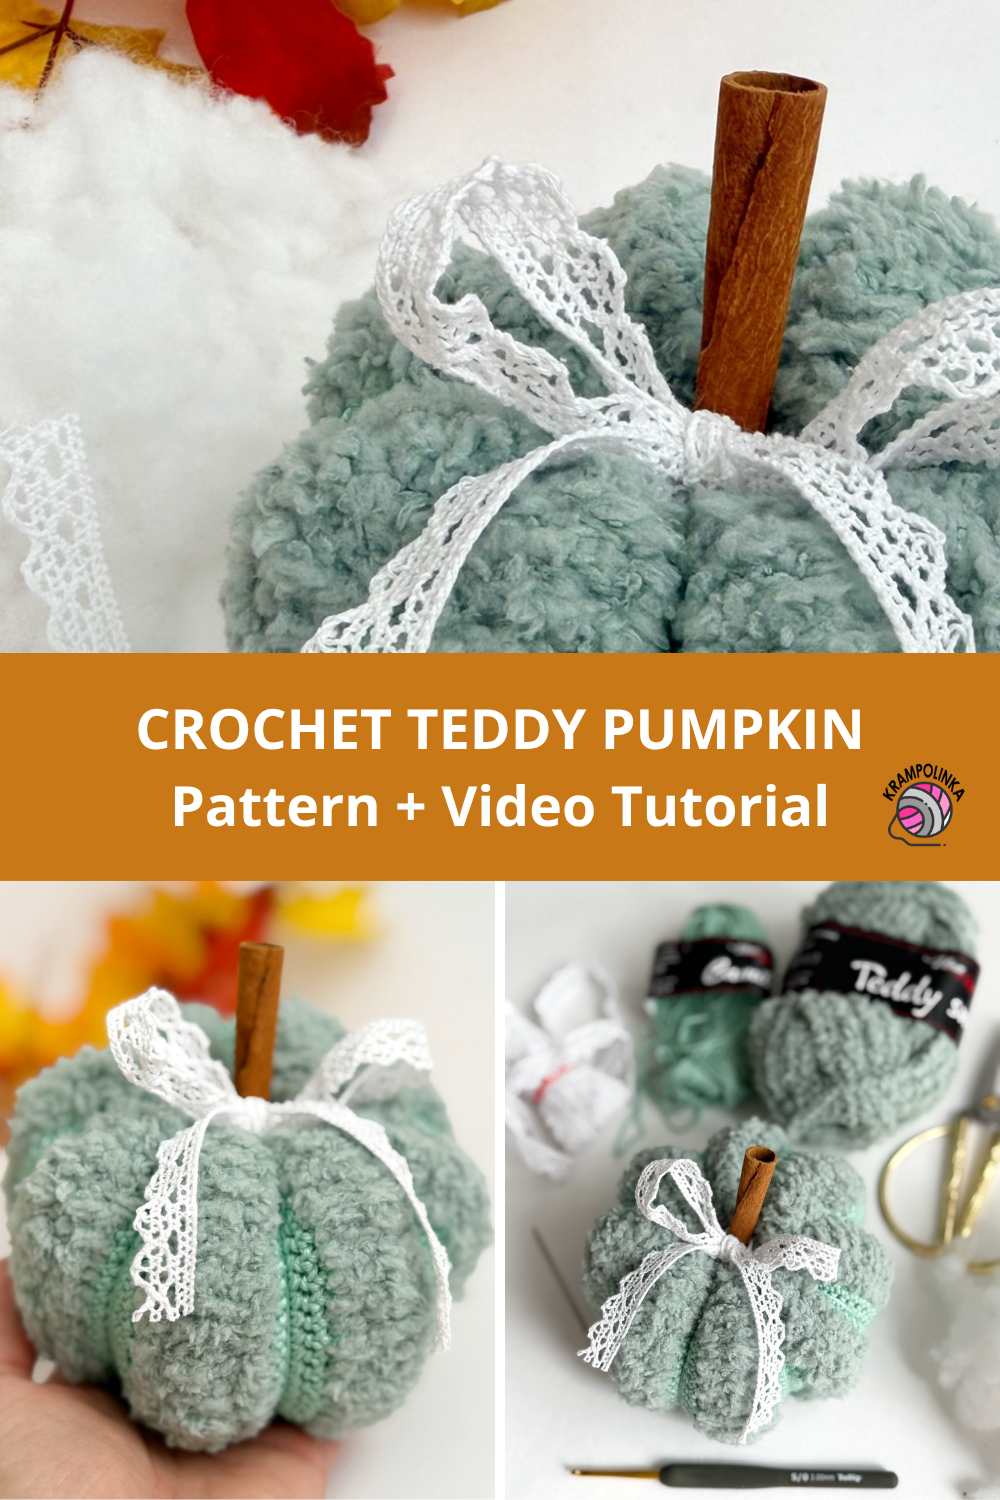
- SAVE PIN – Crochet pumpkin pattern
The Story Behind the Pumpkin
It actually came about quite by accident. For this autumn season, I had planned to crochet a pumpkin with an interesting, textured pattern. While looking through my yarn stash for something suitable, I came across VlnaHep Bruno, VlnaHep Elen Baby, and VlnaHep Teddy Smile. A pumpkin made entirely from Teddy Smile would certainly have looked beautiful, but this time I wanted to create something a little different and unusual. That was when I noticed I also had VlnaHep Camilla in a very similar shade. So I decided to combine the two yarns.
The first attempt did not quite work out as planned. I started crocheting the pumpkin with double crochet stitches across 40 stitches. It soon became clear that the stuffing would show through the taller stitches and that 40 stitches were simply too many for the shape I had in mind. So, it was time to unravel everything.
I took the whole piece apart and adjusted the original idea. Thanks to that first attempt, I eventually arrived at the final combination of single crochet stitches worked with Camilla and double crochet stitches worked with Teddy Smile. This gave the pumpkin a three-dimensional look, an interesting texture, and at the same time a firm enough base to hold the stuffing nicely. And sometimes, that is exactly how the best projects are created – partly through planning and partly by chance.
CZECH PATTERN HERE.
VIDEO TUTORIAL PREMIERE – Includes instructions for crocheting the pumpkin and finishing. English Subtitles added.
How to Crochet the Pumpkin
The pumpkin itself is made as a simple crocheted strip. With Camilla yarn, we work single crochet stitches, while with Teddy Smile yarn, we work double crochet stitches. We crochet back and forth in rows. Work the first stitch into the same stitch as the turning chain, and work the last stitch into the turning chain. If you count your stitches regularly, it will be easy to keep the correct number of stitches in every row.
The pattern is created by alternating four rows of Camilla yarn and two rows of Teddy Smile yarn. One advantage is that you do not need to fasten off the yarn every time you change materials. Simply carry the unused yarn along the edge of the work and pick it up again when you switch yarns. At the end, the edges of the pumpkin are gathered, so the carried strands will stay hidden inside the finished piece.
For this pumpkin, I recommend choosing tone-on-tone colors, as this beautifully highlights the different textures of the two yarns. Teddy Smile is available in eight shades. For an autumn pumpkin, shades such as vanilla, brown, grey, or green work especially well. Then simply choose a matching shade of Camilla yarn. And one final little tip – a whole cinnamon stick works perfectly as the pumpkin stem. It not only looks beautiful, but can also add a lovely fragrance to your home.
TEDDY PUMPKIN
Yarn: VlnaHep Camilla, shade no. 8134, and VlnaHep Teddy Smile, shade no. 1052
Yarn amount: one ball of each color, available from MojeGalanterka.cz
Crochet hook: 3 mm Tulip
Finished size: 10 cm high, 15 cm wide
Other materials: large-eye needle, polyester stuffing, cinnamon stick, lace
Estimated time: 90 minutes
Skill level: Beginner
Abbreviations:
CH – chain
SC – single crochet
DC – double crochet
SL ST – slip stitch
-
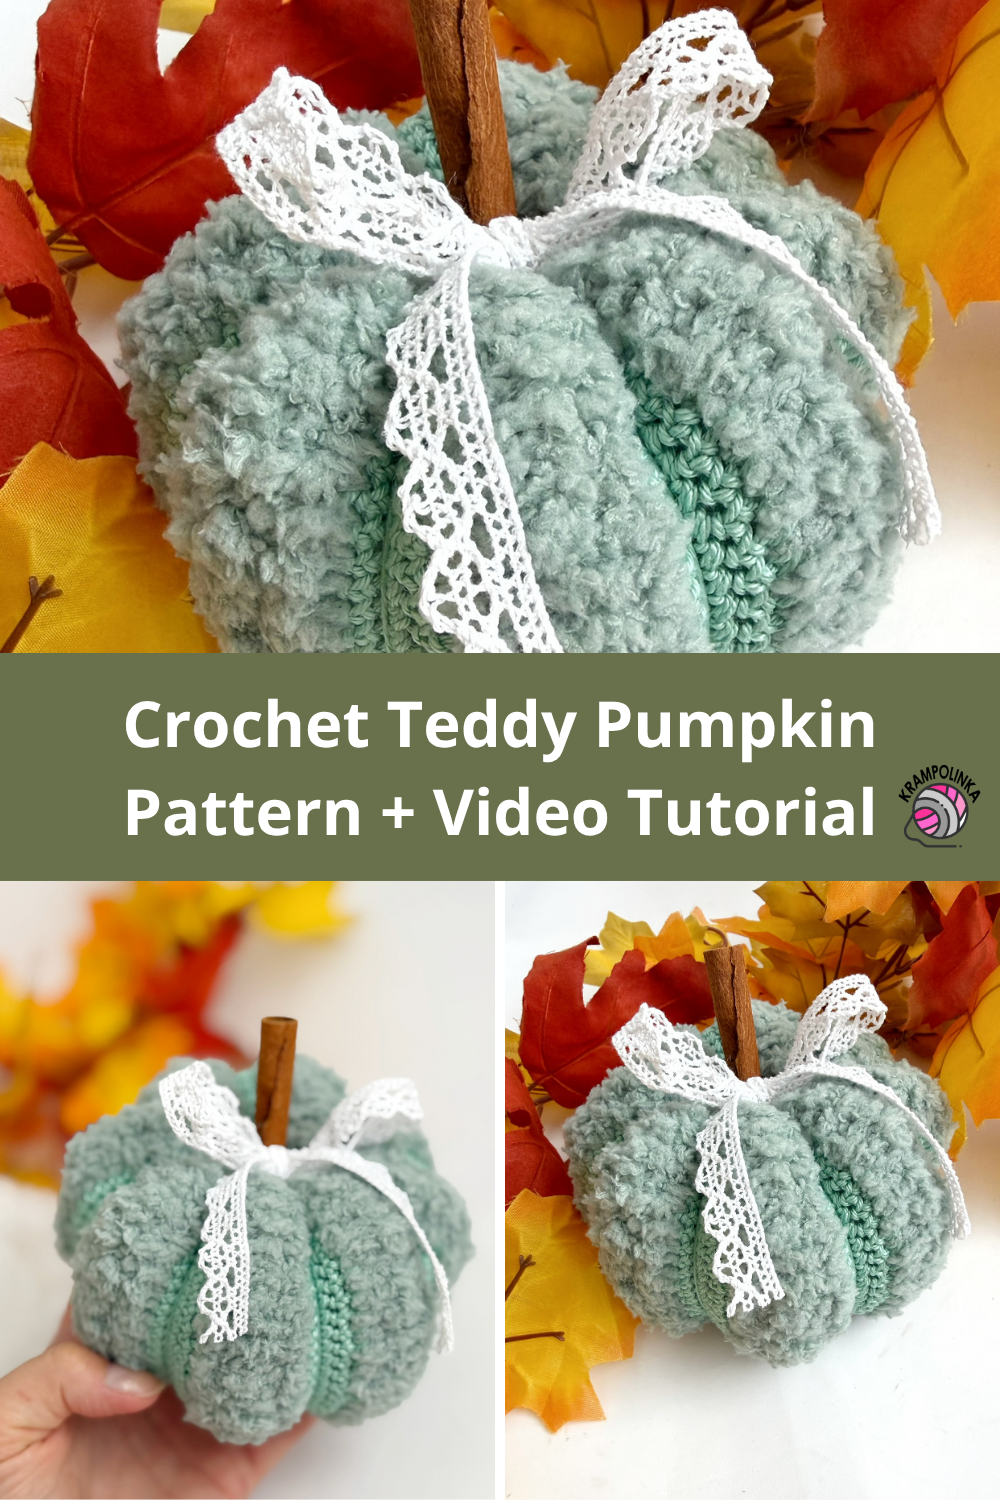
- PIN – Save crochet Teddy pumpkin pattern
PUMPKIN, Camilla, 3 mm crochet hook
Row 1: Chain 29. Turn.
Row 2: CH 1 as a substitute for the first SC. Insert the hook into the second chain from the hook and work 1 SC. Place a stitch marker into the turning chain. Continue with 1 SC into each chain. Including the turning chain, we have 30 stitches. Turn.
Row 3: CH 1 instead of the first SC, 1 SC into the same stitch as the turning chain. Mark the first CH with a stitch marker. Continue with 1 SC into each SC. Count your stitches. At the end of the row, it may look as though the last stitch should be skipped. Work the final, 30th stitch into the turning chain where the stitch marker is placed. Turn.
Row 4: CH 1 instead of the first SC, 1 SC into the same stitch as the turning chain. Mark the first CH with a stitch marker. Continue with 1 SC into each SC. Count your stitches. Work the final stitch into the turning chain where the stitch marker is placed. When completing the stitch, pull Teddy Smile yarn through both loops.
Teddy Smile, 3 mm crochet hook
Row 5: CH 2 instead of the first DC, 1 DC into the same stitch as the turning chain. Work 1 DC into each SC. Count your stitches. Work the final stitch into the turning chain where the stitch marker is placed. Turn.
Row 6: CH 2 instead of the first DC. Work the first DC into the first space. Continue working DC stitches into the spaces between the stitches. Count your stitches. Work the final stitch into the turning chain. When completing the stitch, pull the Camilla yarn through. Turn.
Camilla, 3 mm crochet hook
Row 7: CH 1 instead of the first SC, 1 SC into the first space. Mark the turning chain with a stitch marker. Work SC stitches into the spaces. Count your stitches. Work the final SC into the turning chain. Turn.
Rows 8–9: CH 1 instead of the first SC, 1 SC into the same stitch as the turning chain. Mark the turning chain with a stitch marker. Work 1 SC into each SC. Count your stitches. Work the final SC into the turning chain where the stitch marker is placed. Turn.
Row 10: CH 1 instead of the first SC, 1 SC into the same stitch as the turning chain. Mark the turning chain with a stitch marker. Work 1 SC into each SC. Count your stitches. Work the final SC into the turning chain where the stitch marker is placed. When completing the stitch, pull the Teddy Smile yarn through. Turn.
Rows 11–12: Repeat Rows 5–6.
Rows 13–16: Repeat Rows 7–10.
Rows 17–18: Repeat Rows 5–6.
Rows 19–22: Repeat Rows 7–10.
Rows 23–24: Repeat Rows 5–6.
Rows 25–28: Repeat Rows 7–10.
Rows 29–30: Repeat Rows 5–6.
Rows 31–34: Repeat Rows 7–10.
Rows 35–36: Repeat Rows 5–6.
Rows 37–40: Repeat Rows 7–10.
Rows 41–42: Repeat Rows 5–6.
Rows 43–46: Repeat Rows 7–10.
Rows 47–48: Repeat Rows 5–6.
You should now have 8 Camilla sections and 8 Teddy Smile sections.
JOINING, Camilla, 3 mm crochet hook
Fold the short ends together and join them using loose SL ST stitches. Do not fasten off. Leave a sufficiently long yarn tail.
FINISHING
Thread the long yarn tail onto a large-eye needle and sew a running stitch all the way around the edge of the opening. Gradually pull the yarn tight until the opening is completely closed, then secure the yarn at the center of the pumpkin.
Stuff the pumpkin. Use a soft amount of stuffing rather than filling it too firmly, as this will make the pumpkin easier to shape later.
Pass the long yarn tail through the center of the pumpkin to the opposite side, which has not yet been gathered. Tie it to the loose end of the Teddy Smile yarn so that the center of the pumpkin does not tighten unintentionally while you continue working.
Sew a running stitch around the opposite edge and pull it tightly to close the second opening. Then pass the needle through the center of the pumpkin back to the opposite side.
Now begin shaping the pumpkin by dividing it visually into individual segments. Guide the yarn around the outside of the pumpkin through the center of a crocheted Camilla section, then pass the needle through the center of the pumpkin to the opposite side. Continue in the same way around the entire pumpkin.
Each time you pass the yarn around the pumpkin, pull it slightly tighter. This gradually creates the characteristic pumpkin segments and a rounded shape.
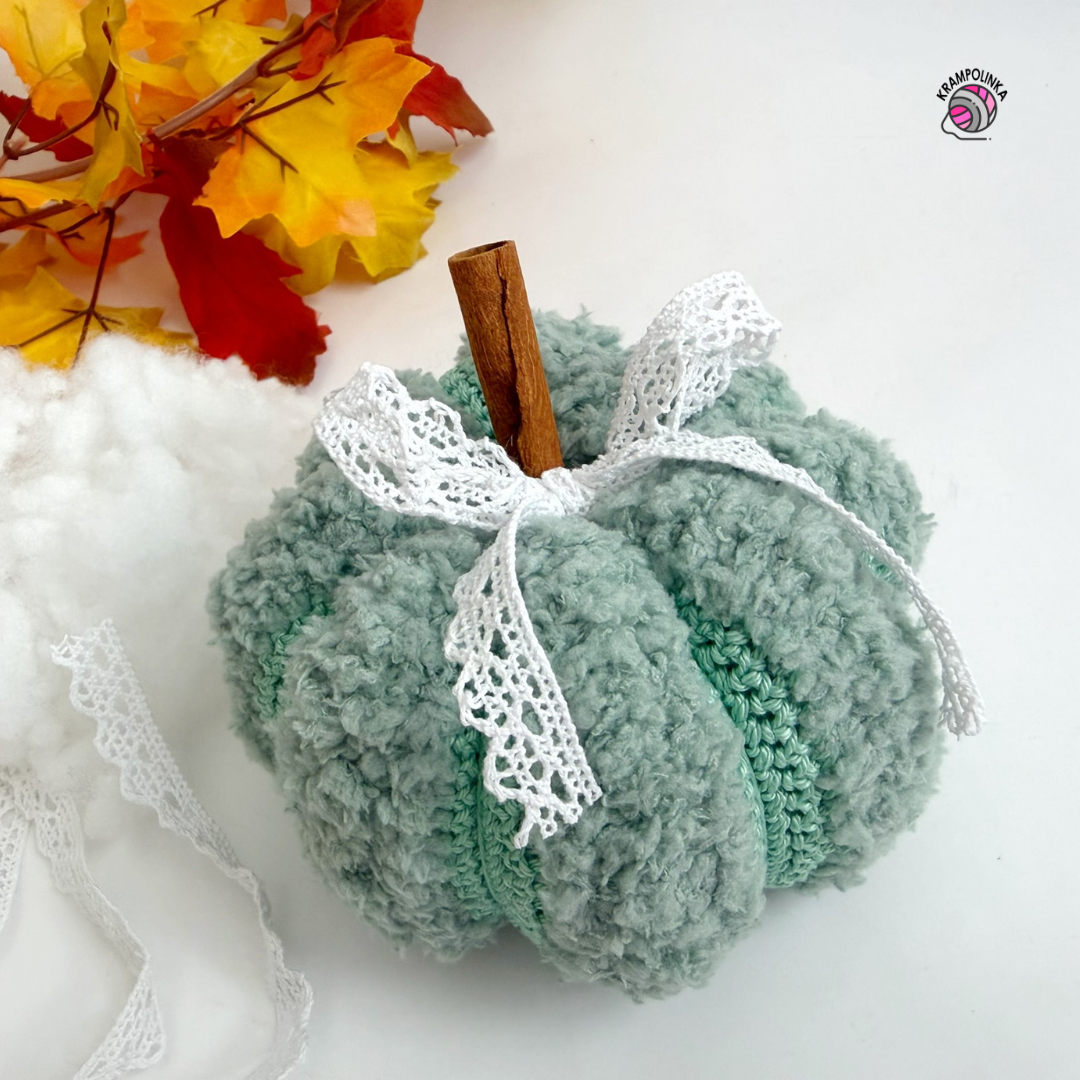
Once the shaping is complete, secure and weave in the yarn tail thoroughly. Finally, insert a whole cinnamon stick into the center as the pumpkin stem. For decoration, you can tie a small lace bow around it.
FINISHING
Decorate with lace and cinnamon.


No Comments