
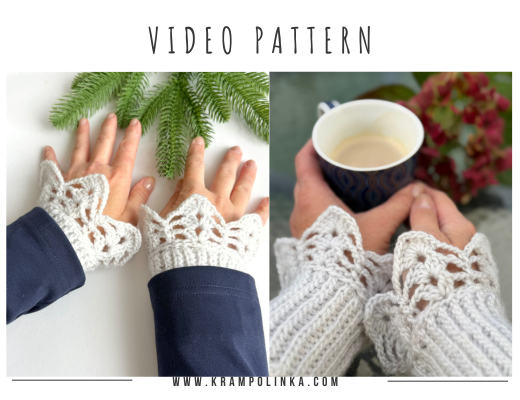
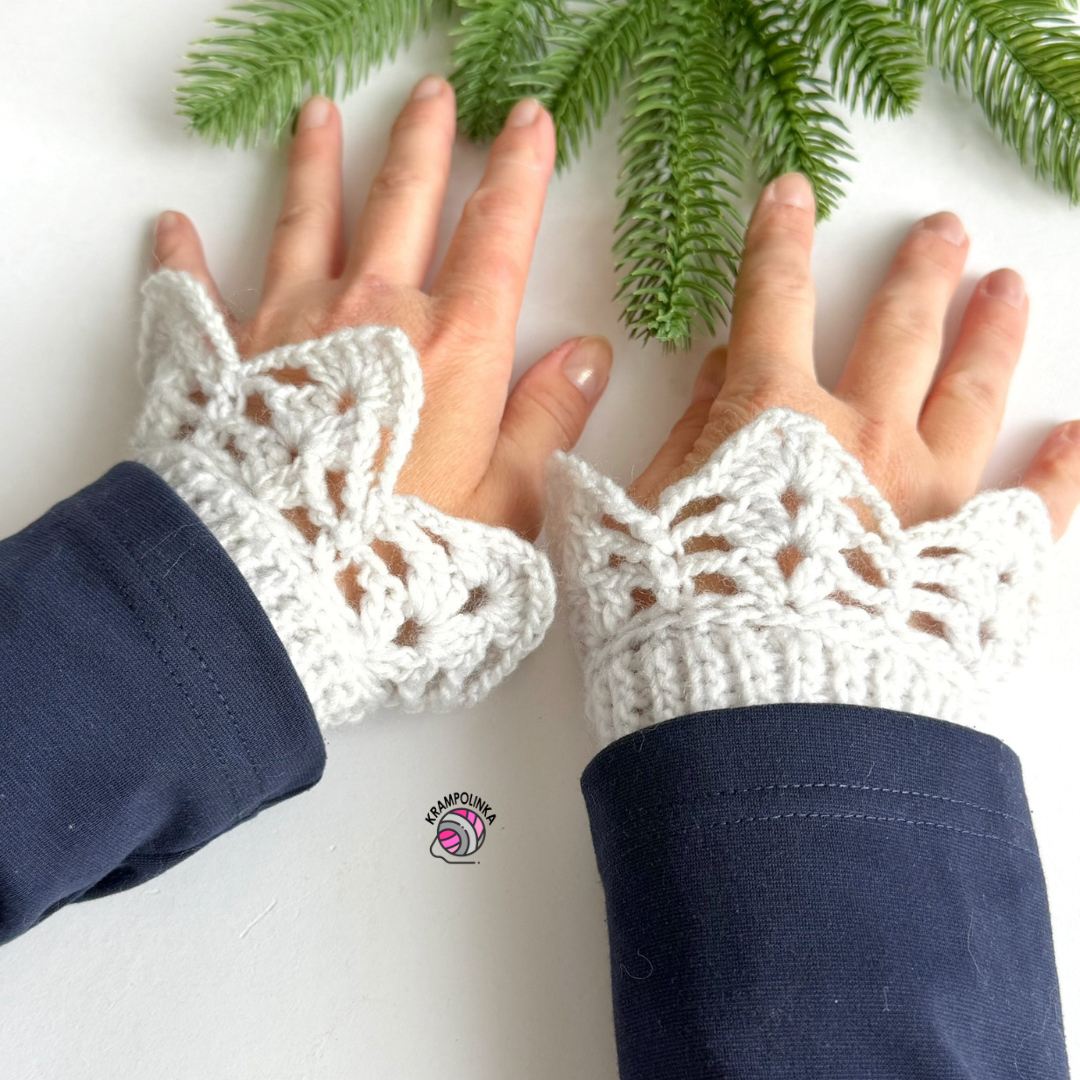
Crocheted faux sleeves, lace cuffs, or wrist warmers? Whatever we choose to call this fashion accessory, one thing is certain. It’s practical, elegant, and can transform even an ordinary jacket, coat, or blazer into a stylish, unique outfit. Plus, it’s easy to crochet yourself!
For the crochet cuffs, I chose Vlna Hep Sierra yarn. Each skein weighs 150 g / 450 m (164 yd / 492 yd) and is made of 80% acrylic and 20% wool. Thanks to its wool content, this yarn is perfect for autumn and winter accessories. I chose a neutral grey shade that is easy to match with different outfits. However, these crochet lace cuffs would also look beautiful in cream, white, or any colour that complements your favourite coat or jacket.
The Story Behind the Crochet Lace Cuffs
I first came across this fashion accessory, known as False Cuffs or False Sleeves, in a summer version. The delicate lace cuffs peeking out from under sleeves immediately caught my attention. It’s such a small detail, yet it can completely transform the look of an outfit. That got me thinking – why not crochet something similar for winter? During the colder months, these cuffs are not only decorative but also practical. They cover your wrists, add an extra layer of warmth under your sleeves, and bring a touch of elegance to your outfit with their delicate lace design.
-
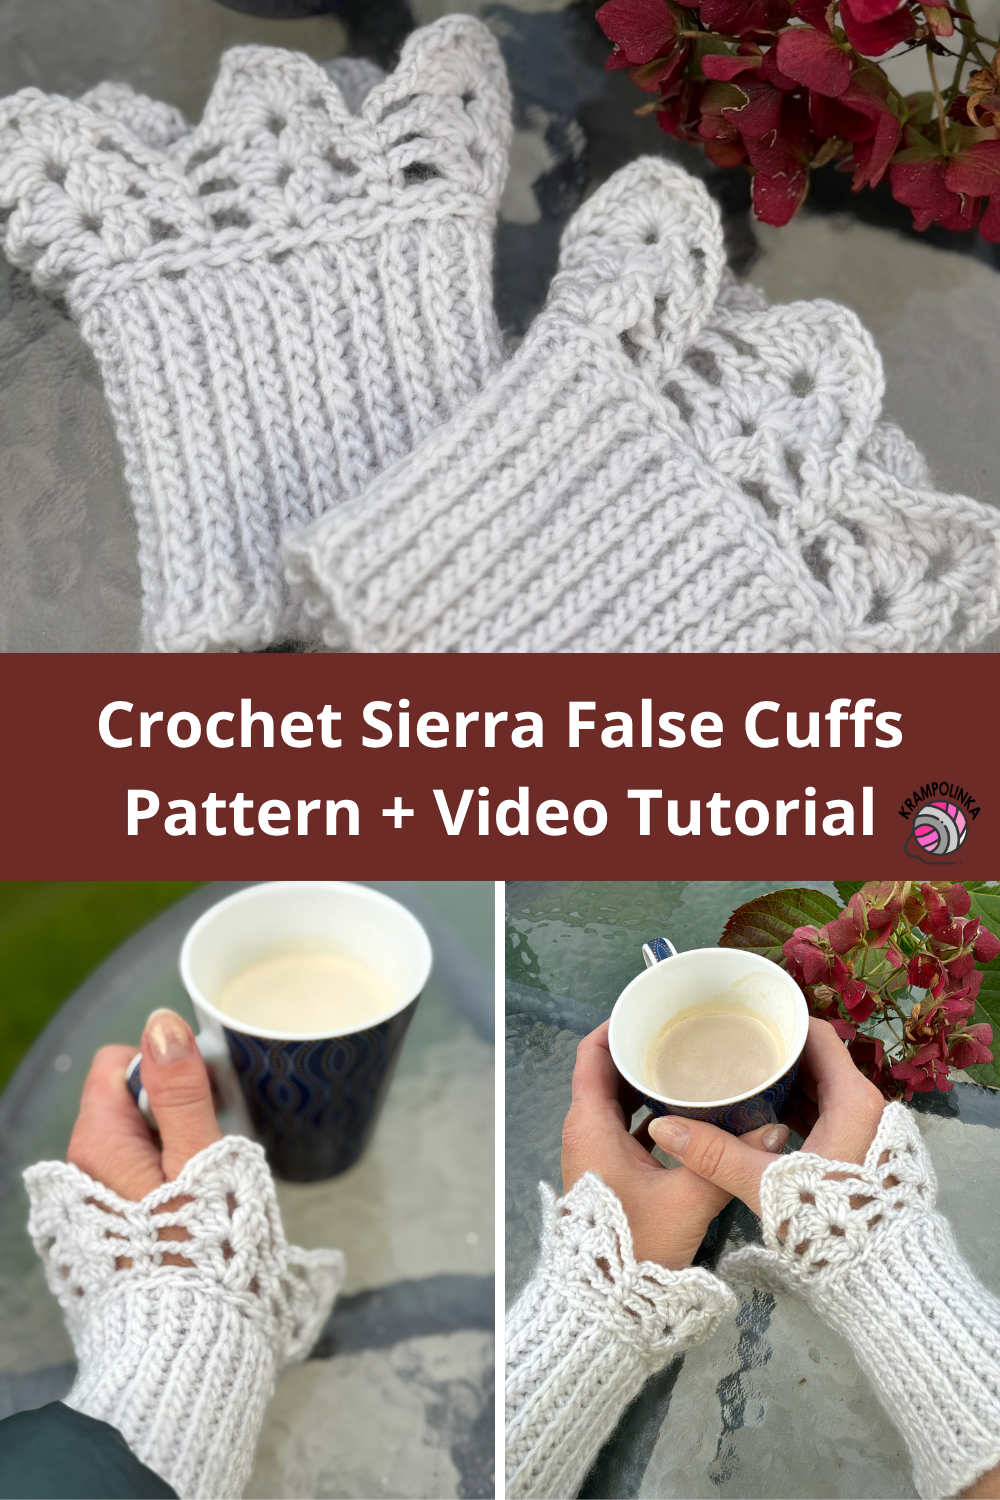
- SAVE PIN – free crochet pattern Lace Cuffs
How to Wear Crochet Lace Cuffs
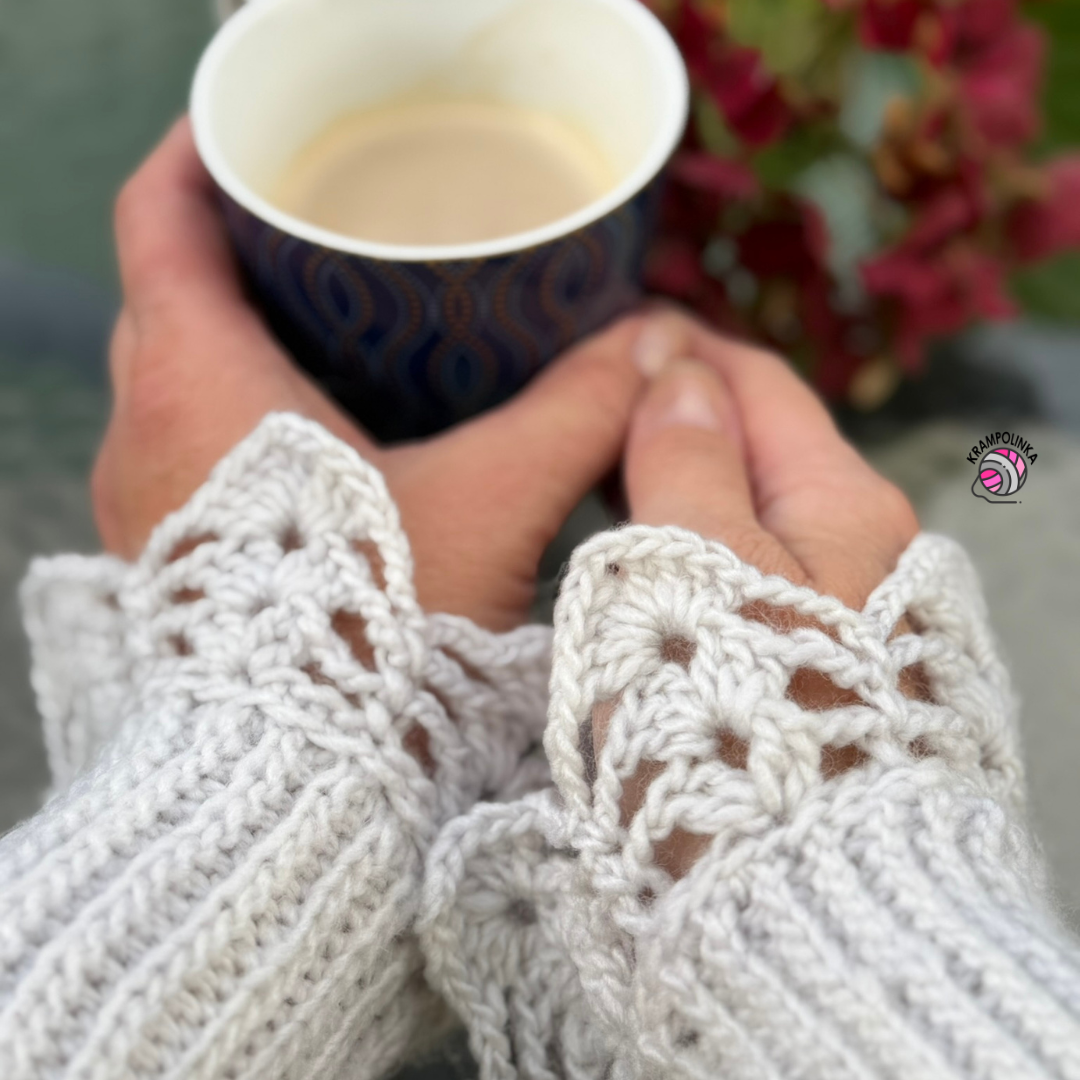
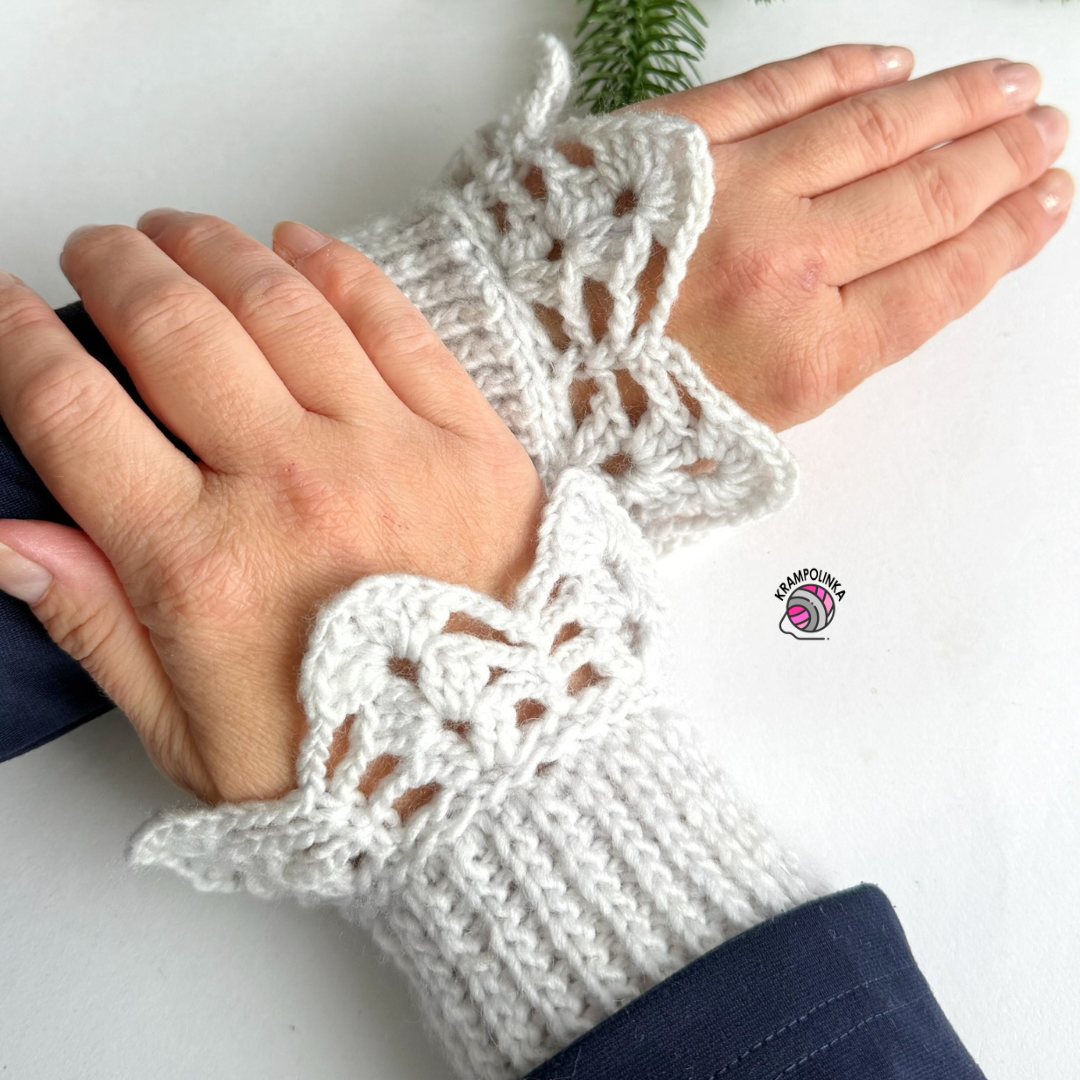
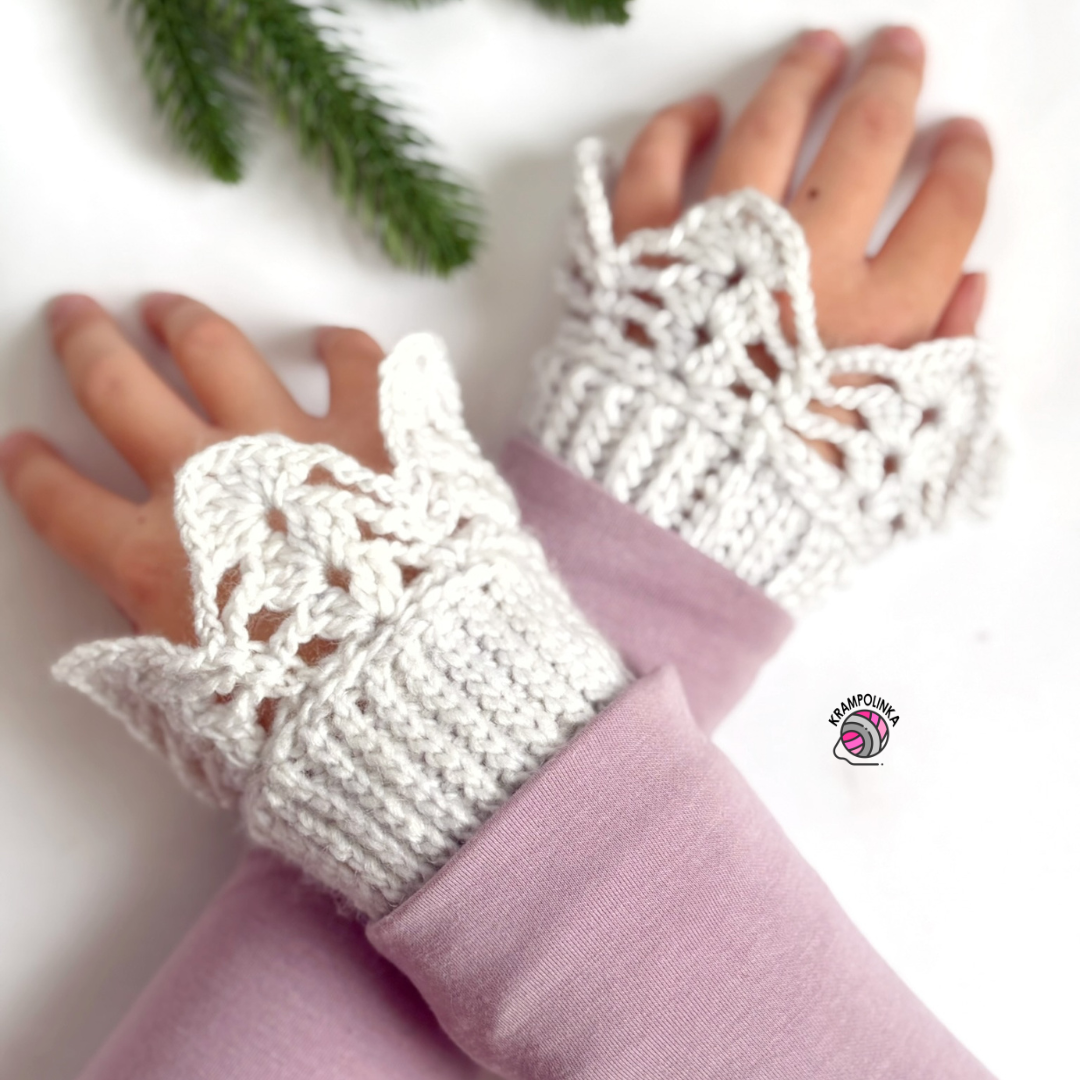
It’s really simple! Just slip the cuffs onto your wrists so that the lace section peeks out from under the sleeves of your jacket, coat, blazer, or sweatshirt. The ribbed section stays hidden underneath your clothing, while only the decorative lace remains visible, creating the illusion of elegant sleeves or a lace blouse. These crochet cuffs work beautifully with both casual and elegant outfits. Simply choose a matching colour, and in no time, you’ll have a stylish new fashion accessory!
CZECH PATTERN HERE
VIDEO TUTORIAL PREMIERE You can slow down the video directly on YouTube and turn on subtitles.
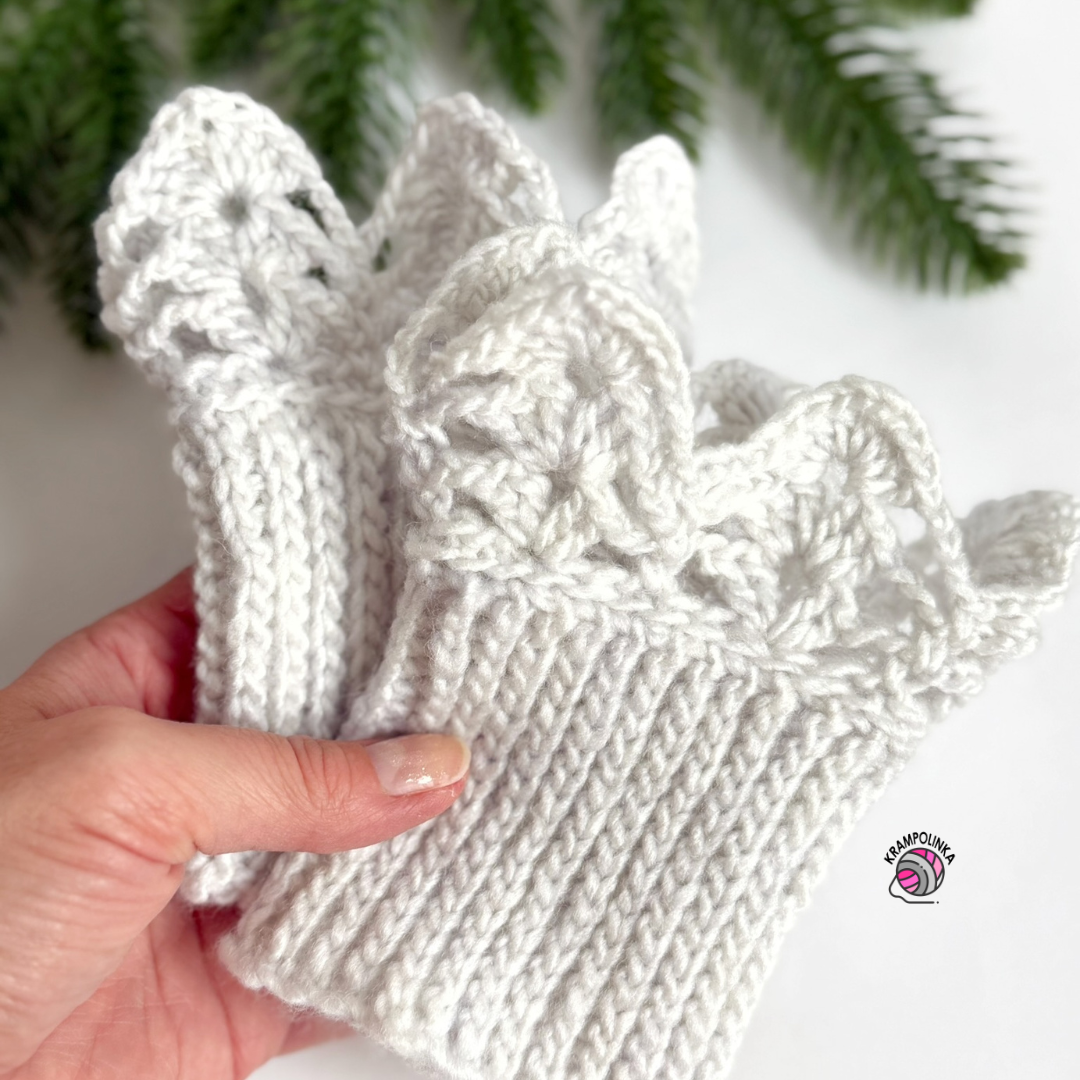
Crochet lace cuffs consist of two parts – a firm, ribbed base around the wrist and a decorative lace section. First, we crochet the base of the cuff. We work back and forth in rows using slip stitches to create a rectangle. While crocheting, carefully count your stitches and mark the first and last stitch of each row to keep the edges straight. Continue crocheting until the rectangle fits comfortably around your wrist. Then join the two shorter ends together using slip stitches to form the base of the cuff. Next, crochet around the edge using herringbone single crochet stitches and work the decorative lace section directly onto it.
When planning the lace pattern, the stitch count is important:
- Stitch count divisible by 6 – for a less gathered lace section.
- Stitch count divisible by 5 – for fuller, more gathered lace.
My Tip
I recommend crocheting both cuffs at the same time using a single skein of yarn. Work on one cuff using the yarn pulled from the centre of the skein and on the other using the yarn from the outer end. By alternating between the two cuffs, you can easily keep track of the same number of rows, measurements, and lace length. This way, both cuffs will turn out the same size. Crochet lace cuffs are a simple yet creative accessory that can give your favourite coat or blazer a completely new look.
Happy crocheting! I hope you enjoy making your Sierra Lace Cuffs. If you’d like to inspire others or share your crocheting experience and styling ideas, I’d love to see photos of your finished cuffs! You can share your photos in the Krampolinka Facebook group. On Instagram, please use the hashtag #manzetysierra so others can easily find your projects. If you tag me in your creations made using my patterns, I can reshare them in my Instagram Stories to inspire others.
SIERRA LACE CUFFS
Yarn: Vlna Hep Sierra, available at a discounted price from MojeGalanterka.cz
Yarn required: 1 skein, colour 6230 – light grey
Crochet hooks: 6 mm for the cuff base and 3 mm Tulip crochet hook for the lace section
Measurements: Width 8.5 cm, length 14 cm
Other supplies: Large-eye yarn needle, sewing needle, decorative label
Estimated time: 3 hours
Skill level: Adventurous beginner
Crochet Abbreviations (US Terms)
ch – chain
sc – single crochet
dc – double crochet
hsc – herringbone single crochet
sl st – slip stitch
-
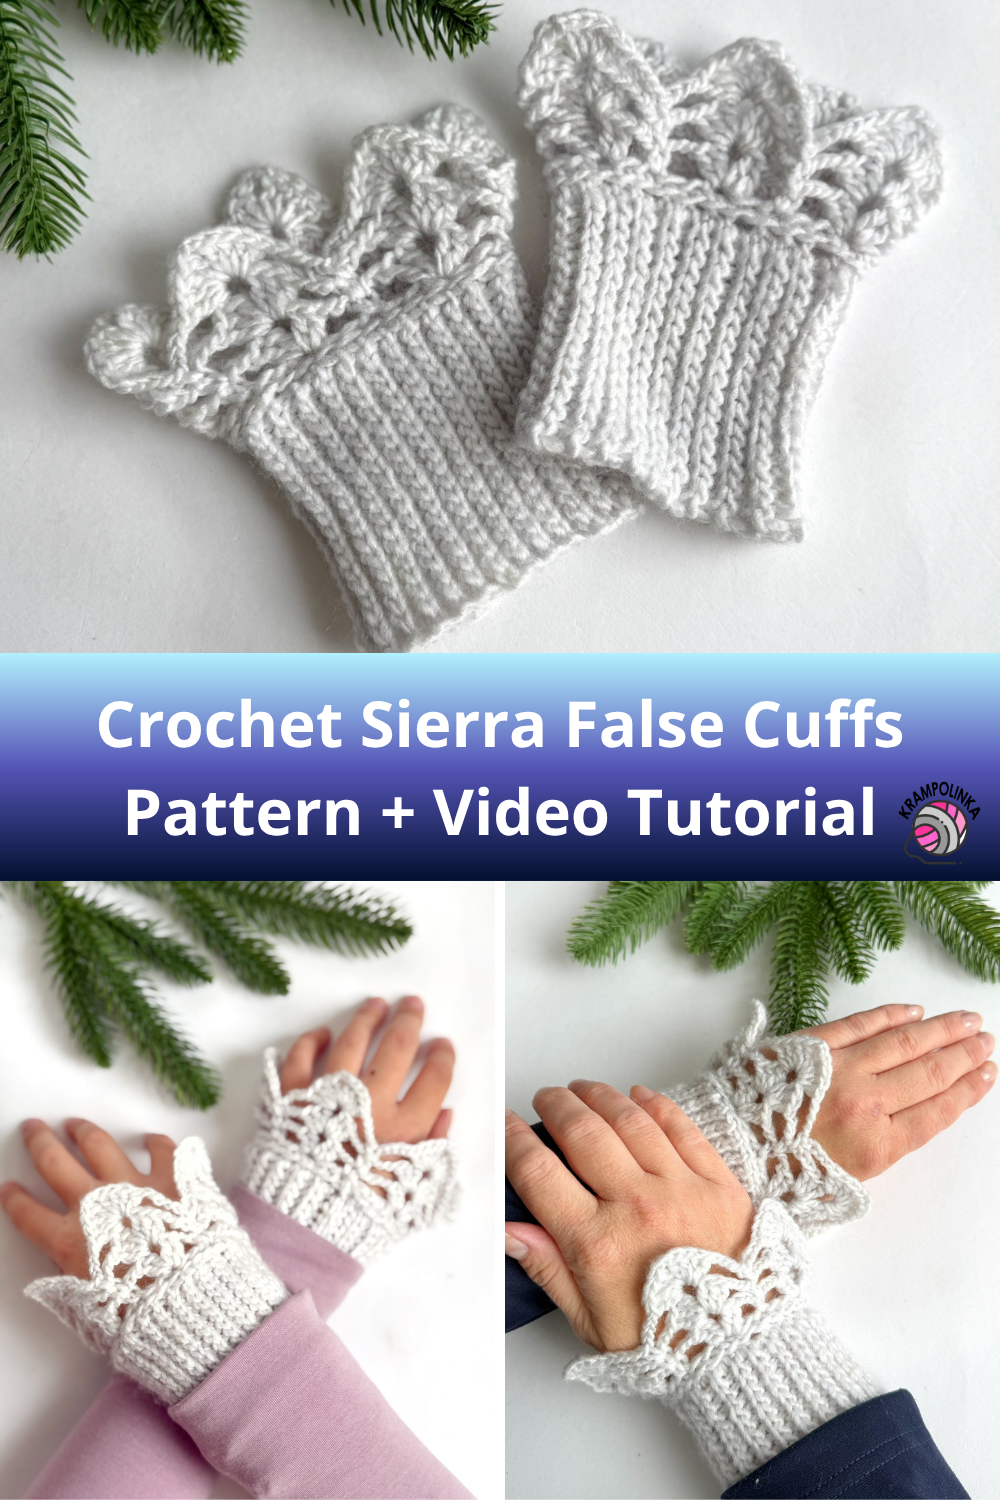
- SAVE PIN – free crochet pattern Lace Cuffs
Cuff Base, 6 mm Crochet Hook
Row 1: Ch 19. Turn.
Row 2: Insert the hook into the second chain from the hook and work a sl st. Continue working sl st into the back loop of each stitch. Including the turning chain, we have 19 stitches in total. Mark the first ch and the last sl st with stitch markers. Turn. (19)
Row 3: Ch 1 (counts as a sl st). Work a sl st into the back loop of the first sl st. Count your stitches carefully and use stitch markers. Work the last sl st into the turning ch from the previous row. Turn. (19)
Rows 4–49: Ch 1 (counts as a sl st). Work sl st in the back loop only (BLO) across, following the same instructions as Row 3.
Tip: Crochet as many rows as needed until the strip fits comfortably around your wrist.
Joining the Cuff
Wrap the cuff around your wrist to check the fit. Once it fits comfortably, join the two short ends together using sl st, inserting the hook through the back loop of the stitches and the corresponding loops of the foundation chain. Do not fasten off. Continue directly with the lace section.
Edging, 6 mm Crochet Hook
Round 1: Ch 1 (counts as sc). Work herringbone single crochet stitches (hsc) evenly around the edge of the cuff. Adjust the number of stitches so that the total is divisible by 6 (at least 30 stitches) or by 5 (30–35 stitches). Join the round with a sl st.
Lace Section, 3 mm Crochet Hook
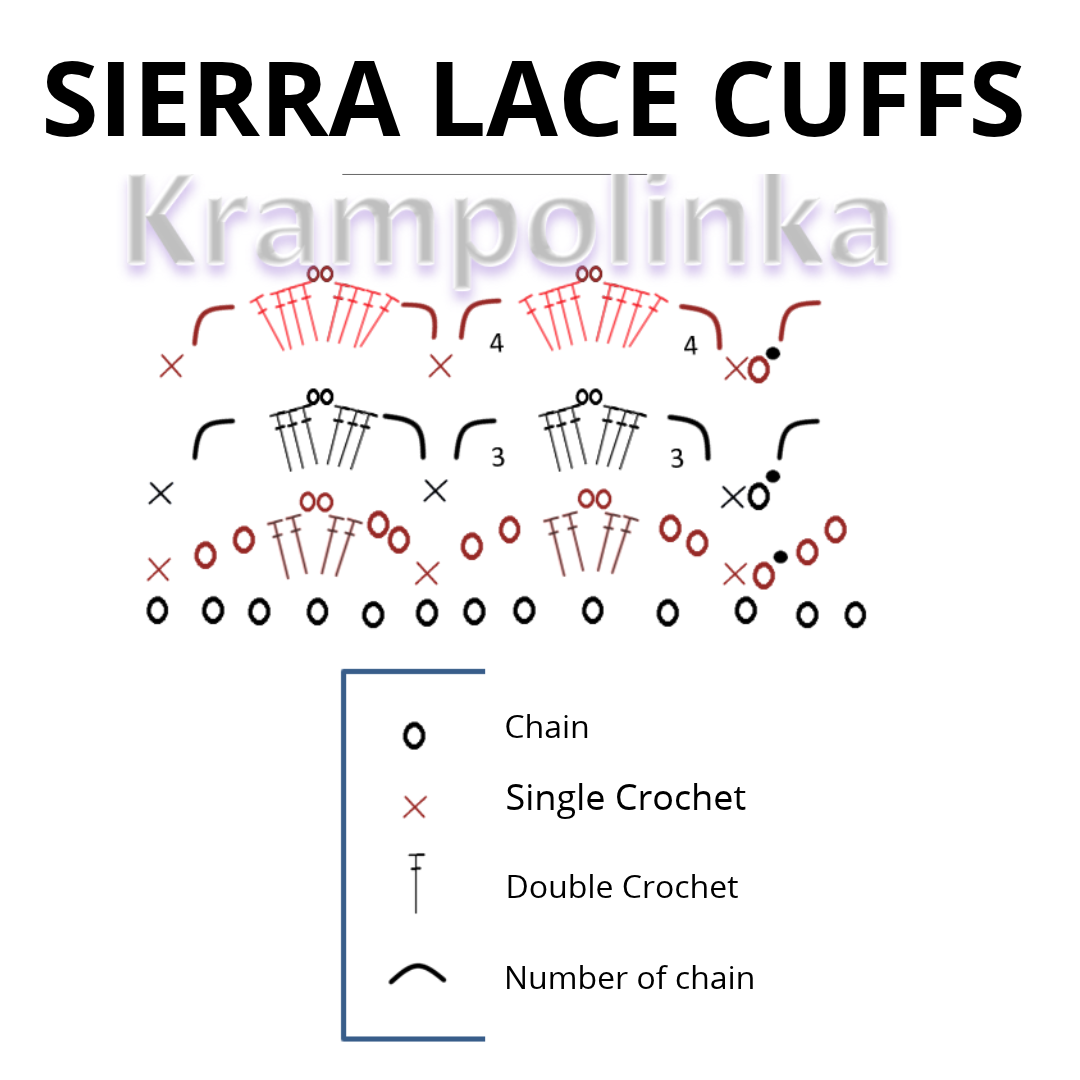
Round 2: Ch 1 (counts as sc), work 1 sc into the same stitch, ch 2, skip 1 stitch, work (2 dc, ch 2, 2 dc) into the next stitch, ch 2, skip 2 stitches, and work 1 sc into the next stitch.
Repeat the pattern around, adjusting the stitch distribution to create 6 pattern repeats.
Join the round with a sl st.
Tip: If you prefer only 5 pattern repeats, adjust Round 2 as follows: Ch 1 (counts as sc), work 1 sc into the same stitch, ch 2, work (2 dc, ch 2, 2 dc) into the third stitch, ch 2, and work 1 sc into the third stitch from the previous group. Repeat the pattern around. Join with a sl st.
Round 3: Ch 1 (counts as sc), work 1 sc into the same stitch, ch 3, work (3 dc, ch 2, 3 dc) into the ch-2 space between the dc groups from the previous round, ch 3, and work 1 sc into the sc from the previous round. Repeat the pattern around. Join with a sl st.
Round 4: Ch 1 (counts as sc), work 1 sc into the same stitch, ch 4, work (4 dc, ch 2, 4 dc) into the ch-2 space between the dc groups from the previous round, ch 4, and work 1 sc into the sc from the previous round. Repeat the pattern around. Join with a sl st. Fasten off.
Finishing
Weave in all loose ends using a yarn needle. Sew a decorative label onto the lower edge of the cuff.


No Comments