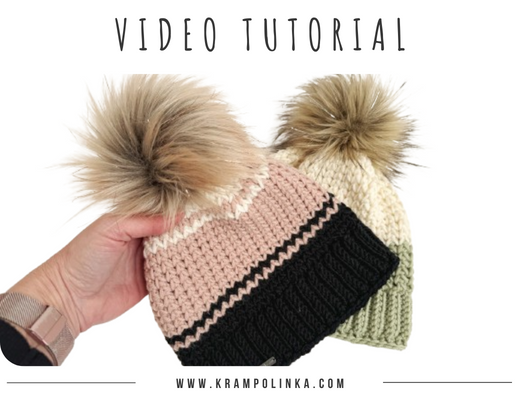
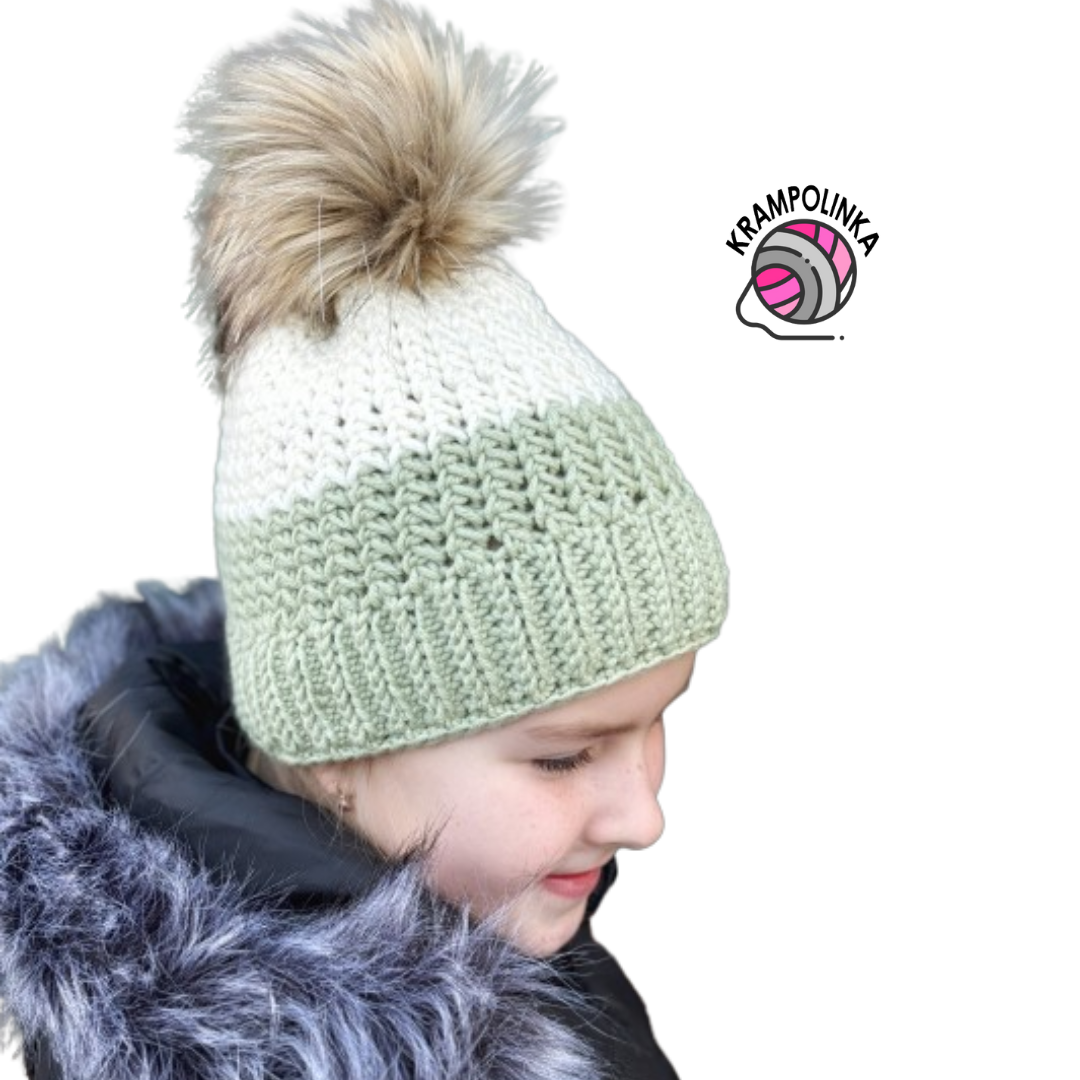
In today’s video tutorial, we will crochet a beanie Extra with a V-stitch pattern. I used the new Vlna Hep Extra, a very fine merino wool.
Vlna Hep EXTRA is a 50g ball and 81 meters in length, made of 100% merino wool from South American sheep. This yarn is superwash treated and can be machine washed. The new yarn is suitable for the autumn to spring season, for making hats, scarves, snoods, sweaters, and cardigans. For spring, don’t hesitate to use airy lace patterns. Merino has excellent properties and is a top choice for crafting in any season. Vlna-Hep Extra is available in pastel tones. For a child-sized hat, I used two balls, and for an adult size, I estimate two balls and a bit more.
VIDEO PATTERN (CZECH WITH ENGLISH SUBTITLES)
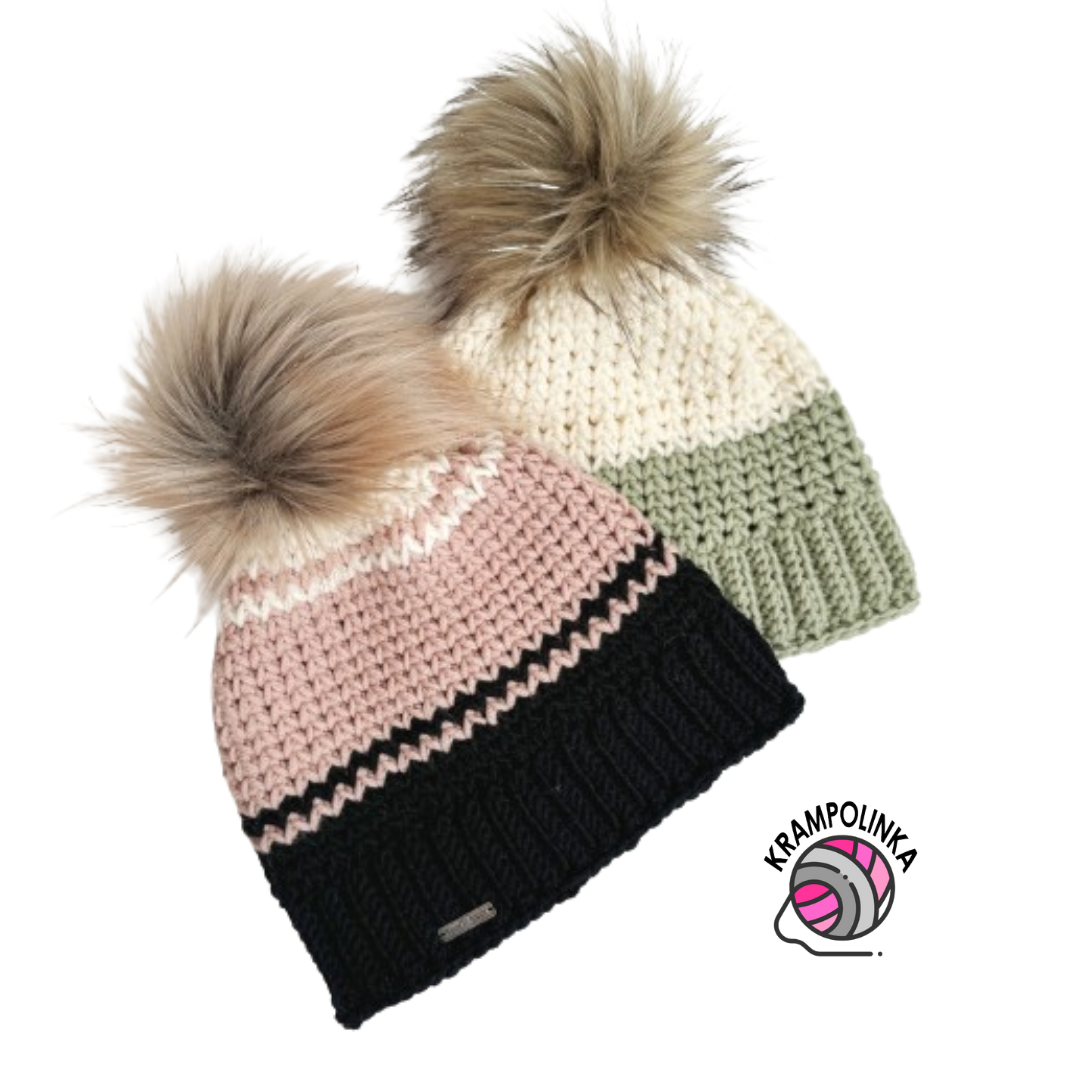
Regarding the beanie, we will first crochet the ribbing to the required length, upon which we will build the body of the hat. I used the popular V-stitch pattern. This yarn particularly suits the V-stitches, and both the brim and the pattern look like knitting. For this tutorial, I recommend using really 100% merino to make the hat stretch nicely.
For the pattern, I used the herringbone single crochet for the brim. Definitely check out the video to create a ribbed pattern. Next, we crochet the V-stitches, i.e., always crochet two single crochet together and make a chain space. We crochet the next rows UNDER the chain spaces. Again, I recommend watching the video for where to place the hook. It’s more laborious, but the pattern is denser and looks better. When crocheting the first row of V-stitches, we need to expand it several times. Without expanding, the hat would be too narrow. After the first expansion, we no longer expand in the pattern and crochet to the required height of the hat. In the last row, we switch hooks and omit the chain spaces in the pattern. Finally, we tighten the top of the hat with a needle and yarn. Don’t forget to save the ribbing color for its edging. We finish the hat with an 18 cm diameter pompom.
Regarding size adjustment, crochet the ribbing to the required length. Be careful – the yarn stretches nicely, so don’t make the ribbing unnecessarily long. For the child’s hat, I expanded every eighth stitch, and for the adult size, I recommend every fifth stitch. We crochet to the required height. The more rows of the pattern, the deeper the hat will be.
I hope you succeed with your crocheting Beanie Extra. Do you want to inspire others or share your experiences making the Beanie Extra? Please post your photos in FB group Krampolinka Crochet. On Instagram, for easy searching, please use the tag #kulichextra.PATTERN BEANIE EXTRA
Yarn: Vlna Hep Extra
Consumption: 2 balls, cream color 6172, green 6165 for child size, 3 balls for adult size
Size: 53-54 cm head circumference (8 years), 55-56 cm adult size
Dimensions: beanie width 21 cm, height 19 cm child size, width 23 cm, height 20.5 cm adult size
Hook: 5 (4) mm and 6 mm
Needle and thread in yarn color, stitch marker, pompoms
Time budget: approx. 180 minutes
For beginners
CH – chain, SC V-stitch – two single crochet together and a chain space, SCH – herringbone single crochet – pick up the yarn of the previous stitch, pull the hook through the back loop of the next stitch, pull the yarn through two loops, complete with a yarn over, SC – single crochet, SlSt – slip stitch
Child size, ribbing, 5 mm hook, green1st row: Chain 10 CH and CH to turn. (11)
2nd row: SC into the second loop from the hook, then SC in each chain loop, crocheting into one loop only. Turn.
3rd – 62nd row: CH instead of the first SC, SC H through the back loop, the last stitch SC crocheted into the replacement loop. COUNT. Including the replacement, we have 11 stitches. Turn.
Completion: Join the short ends with SlSts.
Extra Beanie, 6 mm hook, green 1st row: CH instead of the first SC, crochet 7 SC V-stitches, starting and ending in separate edge loops of the ribbing. Then crochet the 8th and 9th V-stitch, always starting in the loop where the previous V-stitch ended. I recommend watching the video. Transition to the next row with the pattern. Expand a total of 4 times + 1 stitch for the pattern transition to the next row, i.e., a total of 36 stitches for the pattern.
2nd – 6th row: Crochet V-stitches, crocheting SC UNDER the CH. Crochet continuously around without ending the row. The pattern slightly shifts to the side when crocheting around. Change the color. We should have enough green left to edge the bottom ribbing.
Extra Beanie, 6 mm hook, cream7th – 18th row: Crochet SC V-stitches UNDER the CH.
Extra Beanie, 5 mm hook, cream19th row: Crochet SC V-stitches UNDER the CH, but do not crochet the CH in the pattern. Crochet the last V-stitch as two joined SlSts, SlSt into the joined V-stitch from the previous row, finish off the yarn at a sufficient distance. Thread the loose end through the needle, pick up the loops and tighten the top of the hat.
Bottom edge of the beanie, 5-4 mm hook, green1st row: CH instead of the first SC, pick up the yarn from the CH and crochet SC H as on the hat’s brim. End the row with SlSt. If needed, crochet another row.
Adult size – Extra beanie ribbing, 5 mm hook, green1st row: Chain 10 CH and CH to turn. (11)
2nd row: SC into the second loop from the hook, then SC in each chain loop, crocheting into one loop only. Turn.
3rd – 66th row: CH instead of the first SC, SC Hthrough the back loop, the last stitch SC crocheted into the replacement loop. COUNT. Including the replacement, we have 11 stitches. Turn.
Completion: Join the short ends with SlSts.
Extra Beanie, 6 mm hook, green1st row: CH instead of the first SC, crochet 5 SC V-stitches, starting and ending in separate edge loops of the ribbing. Then crochet the 6th and 7th V-stitch, always starting in the loop where the previous V-stitch ended. I recommend watching the video. Transition to the next row with the pattern. Expand a total of 6 times + 1 stitch for the pattern transition to the next row, i.e., a total of 40 stitches for the pattern.
2nd – 3rd row: Crochet SC V-stitches, crocheting SC UNDER the CH. Crochet continuously around without ending the row. The pattern slightly shifts to the side when crocheting around. Change the color. We should have enough green left to edge the bottom ribbing.
Extra Beanie, 6 mm hook, cream4th – 20th row: Crochet SC V-stitches UNDER the CH.
Extra Beanie, 5 mm hook, cream 21st row: Crochet SC V-stitches UNDER the CH, but do not crochet the CH in the pattern. Crochet the last V-stitch as two joined SlSts, SC into the joined V-stitch from the previous row, finish off the yarn at a sufficient distance. Thread the loose end through the needle, pick up the loops and tighten the top of the hat.
Bottom edge of the beanie, 5-4 mm hook, green1st row: CH instead of the first SC, pick up the yarn from the CH and crochet SC H as on the hat’s brim. End the row with SlSt. If needed, crochet another row.
Completion
Sew in loose ends. Sew on a label and attach a large pompom, approximately 18 cm.
Copyright Please use this pattern for personal use only. For commercial use, please contact me. Always cite the SOURCE, i.e., www.krampolinka.com. This pattern is tailored for this specific yarn, hook, and my tightening technique. If you use a different yarn, hook, or have a different tightening technique than me, the final product and size may vary!
Enjoy this free pattern and you can follow my latest projects, tutorials, ideas, reviews, video podcasts, tips, and tricks:
Share Warning: Undefined variable $post in /data/web/virtuals/261661/virtual/www/domains/krampolinka.com/wp-content/plugins/rosemary-core/inc/social_share.php on line 26
Warning: Attempt to read property "ID" on null in /data/web/virtuals/261661/virtual/www/domains/krampolinka.com/wp-content/plugins/rosemary-core/inc/social_share.php on line 26


No Comments