
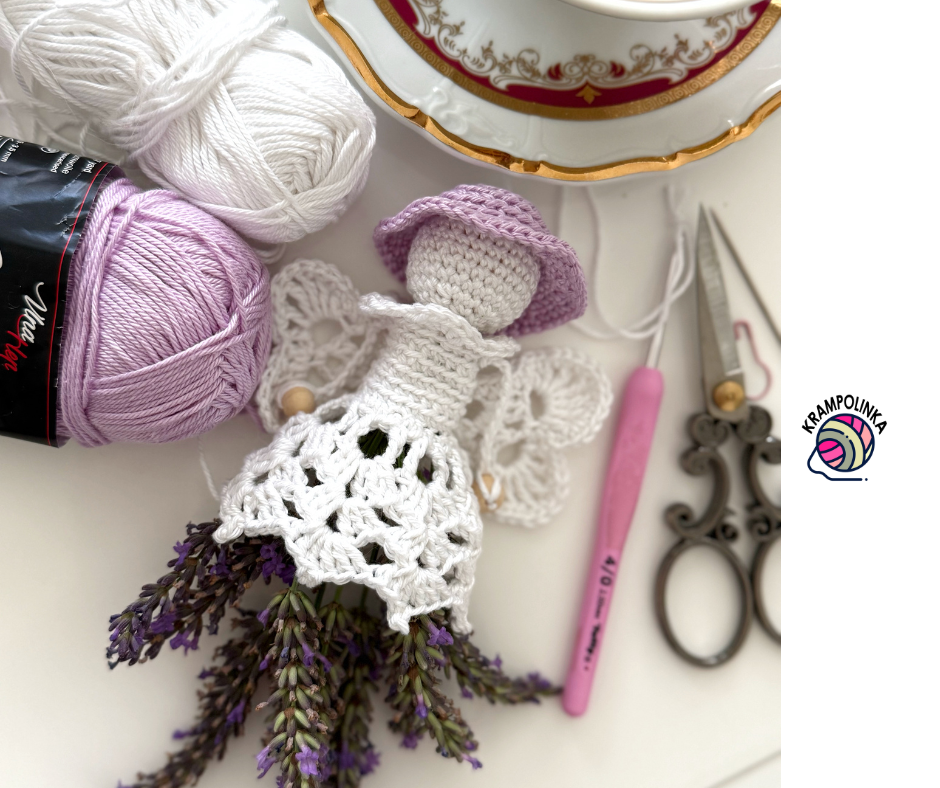
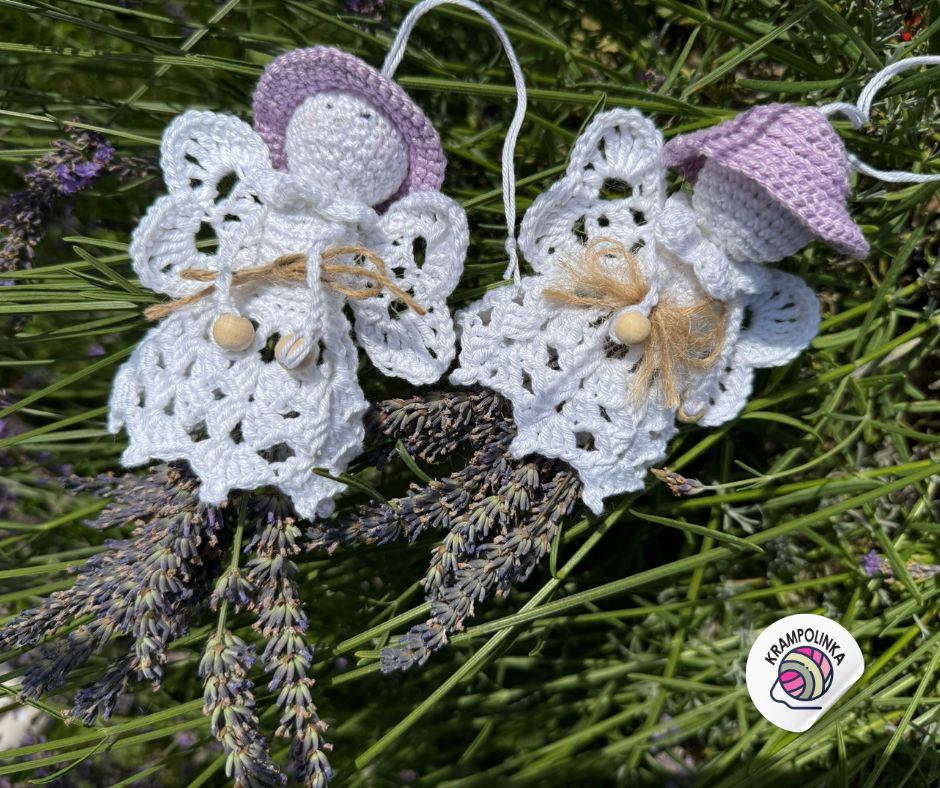
One holiday morning was originally meant for weeding the garden… but instead of grabbing a hoe, inspiration struck! Over a cup of morning coffee, a delicate fairy was born – crocheted from soft white Vlna Hep Camilla yarn.
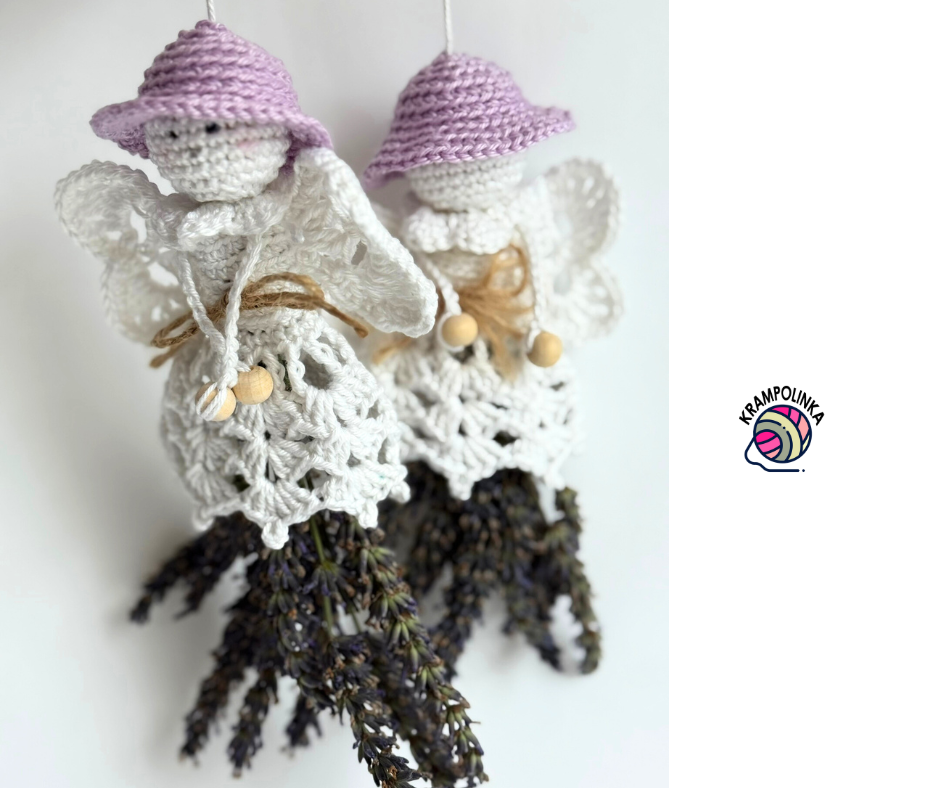
The fairy’s head is made by covering a wooden bead with a circumference of 9 cm. Her body features a fine collar and a lacy skirt, perfect for tucking in sprigs of lavender. Her hands end in tiny wooden beads, and on her back she wears crocheted wings shaped like hearts. The lavender sprigs are tied to her body with a jute string bow. The entire look is finished with a stylish lilac hat, perfectly matching the lavender hues.
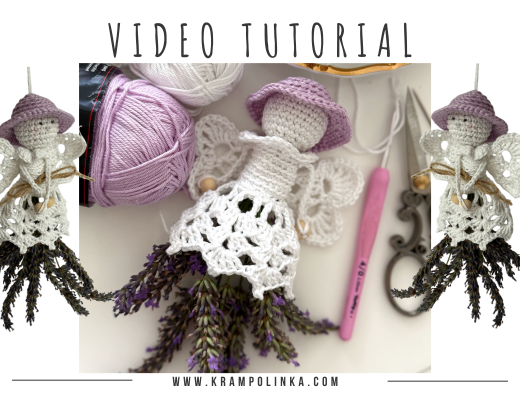
🎥 VIDEO TUTORIAL PREMIERE SUNDAY July 20th, at 10:00 am
But this fairy is more than just a decoration – she can serve as a natural moth repellent too! Hang her in your wardrobe or place her near your yarn stash – the lavender will keep everything smelling fresh and moth-free. I named her after the Latin word for lavender – Lavandula.
🧚♀️ FAIRY LAVANDULA
Yarn: Vlna Hep Camilla / 100% cotton, 50g / 125m
Yarn Usage: 1 ball white, 1 ball lilac
Hook Size: 2.0 mm
Dimensions: 15 cm
Notions: Yarn needle with large eye, stitch marker, wooden bead (circumference 9 cm), two small wooden beads for hands, white sewing thread
Time Estimate: approx. 60 minutes
Skill Level: Adventurous Beginner
Stitch Abbreviations (US terms):
CH – chain
SL ST – slip stitch
DC – double crochet
SC – single crochet
TR – treble crochet (double yarn over)
MR – magic ring
BLO SC – single crochet in back loop only
🧠 Head | Hook 2.0 mm
Round 1: Work CH 1 and 6 SC into a magic ring (MR). Do not join; continue in spiral. (6 sts)
Round 2: 2 SC in each stitch around. Place a stitch marker in the first SC. (12 sts)
Round 3: (2 SC in next st, 1 SC in next st) – repeat around. Mark the first stitch. (18 sts)
Round 4: (2 SC in next st, 1 SC in next st, 1 SC in next st) – repeat around. Mark the first stitch. (24 sts)
Rounds 5–10: SC in each stitch around. (24 sts)
Attach a hanging loop to the wooden bead using a cow hitch knot (lark’s head knot) and pull it through the center of the magic ring. Insert the bead into the crocheted head.
Round 11: (SC2tog, SC in next st, SC in next st) – repeat around. (18 sts)
Round 12 and onward: SC2tog in every round until the opening closes.
Leave a long yarn tail and fasten off.
🧍♀️ Body | Hook 2.0 mm
Round 1: Chain 18, join with a SL ST to form a ring.
Round 2: CH 1 (counts as first SC), SC in each stitch around. Continue in spiral. (18 sts)
Rounds 3–7: SC in BLO (back loop only) in each stitch. Place a stitch marker in the first stitch of each round. End Round 7 with a SL ST.
Round 8 (Collar): CH 2 (counts as first DC), then work 4 DC into the same stitch. Skip 1 stitch, SC in next stitch, skip 1 stitch, 5 DC in next stitch – repeat around. End the round with a SL ST. Fasten off and weave in the ends.
👗 Skirt | Hook 2.0 mm
Round 1:
Join yarn to any CH stitch of the body.
CH 4 (counts as first TR), CH 2, then work 2 TR in the next stitch, CH 1, skip 2 stitches.
Pattern repeat: 2 TR, CH 2, 2 TR in the same stitch, CH 1, skip 2 stitches.
End the round with a SL ST. Use SL ST to move to the center of the next CH-space (arch).
Round 2:
CH 3 (counts as DC), then work 2 DC into the same CH-space.
In each CH-space of the next arch: 3 DC, CH 1, 3 DC.
At the end of the round, finish with 3 DC, CH 1, and a SC into the second chain of the initial CH 3 – this places you in the center of the arch.
Round 3:
CH 3 (counts as DC), then work 2 DC.
In each CH-space: 3 DC, CH 2, 3 DC.
End with 3 DC, CH 1, SC in the second chain of the beginning CH 3.
Round 4:
CH 3 (counts as DC), then 2 DC.
In each CH-space: 3 DC, picot, 3 DC.
To finish: 3 DC, picot, SL ST into the second chain of the starting CH 3.
Fasten off and weave in the ends.
Note: Picot = CH 3, SL ST into the first of those 3 chains.
✋ Arms | Hook 2.0 mm
Fold the yarn end in half.
Insert the hook through the center of the small wooden bead, catch the folded yarn loop and pull it through the bead.
CH 2 using both strands of yarn.
Then, using a single strand, CH 11 to form the arm.
Attach the arm to the collar area of the body.
Repeat the process on the opposite side for the second arm.
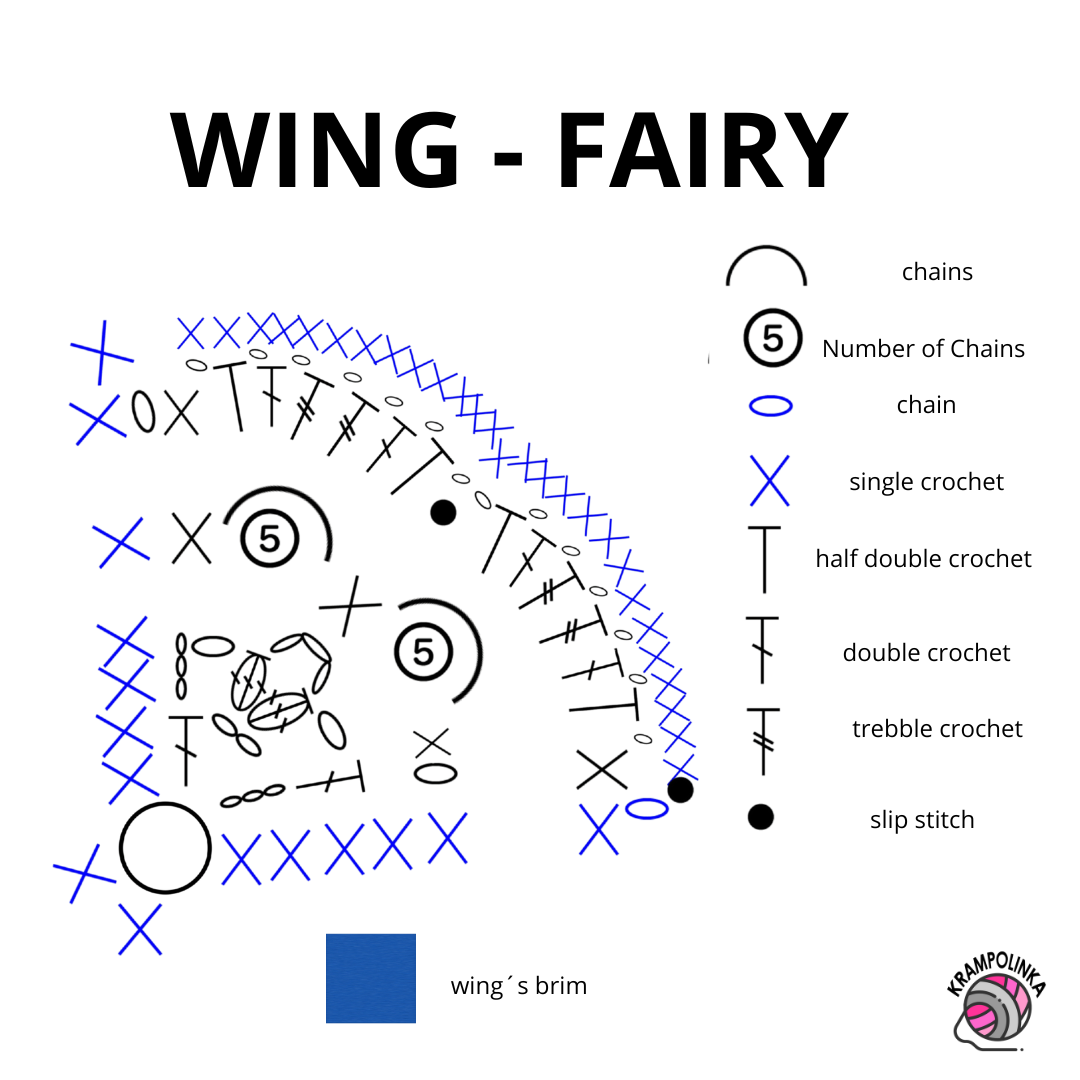
🪽 Wing (make 2) | Hook 2.0 mm
Round 1:
Into a magic ring (MR), CH 3 (counts as DC), CH 2, 1 DC. Turn your work.
Round 2:
CH 3 (counts as DC), CH 1, 2 DC together (DC2tog), CH 3, DC2tog under the CH-2 space from the previous row, CH 1, 1 DC in the third chain of the starting CH-3. Turn.
Round 3:
CH 1 (counts as SC), SC in same stitch, CH 5, SC under the CH-3 space from the previous row, CH 5, SC in the third chain of the turning chain. Turn.
Round 4:
CH 1 (counts as SC), SC in same stitch, CH 1, HDC under the arch, CH 1, DC under the arch, CH 1,
TR, CH 1, TR, CH 1, DC, CH 1, HDC, CH 1, SL ST in center SC.
Now work symmetrically on the other side:
CH 1, HDC, CH 1, DC, CH 1, TR, CH 1, TR, CH 1, DC, CH 1, HDC, CH 1, SC in the turning chain from the previous row.
Edge finishing:
CH 1 (counts as SC). Work SC stitches along the edge:
– 1 SC in the row started with CH-1 (original start),
– 2 SC into the row where DCs were made,
– 2 SC into the MR,
– Around the arches: 1 SC into each CH and 1 SC into the post.
Finish with a SL ST. Fasten off and weave in the ends.
🎩 Hat – Lilac color | Hook 2.0 mm
Round 1:
Into a magic ring (MR), CH 1, work 6 SC. Continue in a spiral. (6 sts)
Round 2:
Work 2 BLO SC (back loop only single crochet) in each stitch around. Place a stitch marker in the first stitch. (12 sts)
Round 3:
2 BLO SC in next st, 1 BLO SC in next st – repeat around. Mark the first stitch. (18 sts)
Round 4:
2 BLO SC in next st, 1 BLO SC in each of next 2 sts – repeat around. Mark the first stitch. (24 sts)
Rounds 5–7:
SC in each stitch around (normal SC, not BLO). (24 sts)
End Round 7 with a SL ST.
🧵 Brim:
Round 8:
CH 1 (counts as SC), BLO SC in the same stitch. BLO SC in next stitch.
Repeat 2 BLO SC in one stitch, 1 BLO SC in next stitch around. End with a SL ST.
Round 9:
CH 1 (counts as BLO SC), BLO SC in same stitch, then 1 BLO SC in each of next 2 stitches.
Repeat 2 BLO SC, 1 BLO SC, 1 BLO SC around. End with a SL ST.
Round 10:
CH 1, BLO SC in each stitch around. End with a SL ST. Fasten off and weave in the ends.
🧵 Finishing
Weave in all yarn ends, leaving only one long tail coming from the head.
Using a sewing needle and white thread, sew the wings to the back of the body. Make sure the right side of the wings is facing forward (towards the front of the fairy).
Prepare a few sprigs of dried lavender. Tie them together into a small bunch about 3 cm above the flowers using jute string.
With a crochet hook, pull the loose ends of the string through the fairy’s body and tie a bow in the front.
Trim the stems of the lavender so they don’t interfere with attaching the head.
Using the long yarn tail from the head, first tighten the body around the collar area, then sew the head securely onto the body.
Finally, take the hanging loop, pull it through the center of the magic ring on the hat, and place the hat on the fairy’s head.
Shape as desired.
Usage and Permissions
This pattern is intended for personal use only. If you would like to use it for commercial purposes, please contact me first. Always include the source link: www.krampolinka.cz when sharing your projects online. The pattern is specifically written for the yarn, hook size, and tension used in this sample. If you use a different yarn or hook, your final bag size and shape may vary.
Enjoy this free pattern and you can follow my latest projects, tutorials, ideas, reviews, video podcasts, tips, and tricks:
- Krampolinka YouTube videos (subtitled since 2024)
- Krampolinka Instagram
- Krampolinka FB group
-
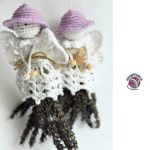
- Crochet Fairy Lavandula

-
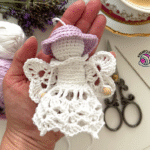
- Front view of the lavender fairy
-
- Side view with wings on display.
-
- Fairy could be nice decoration even without lavander

-
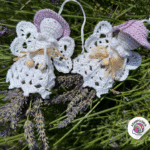
- Fairy lying flat with lavender visible.
-
- The fairy in a decorative setting

-
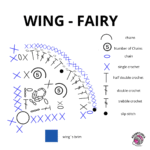
- Fairy Wing Crochet Diagram

No Comments