
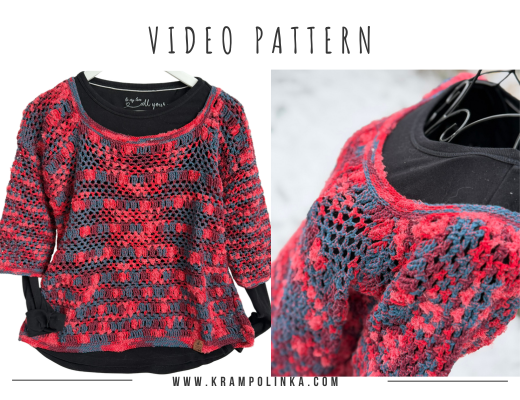
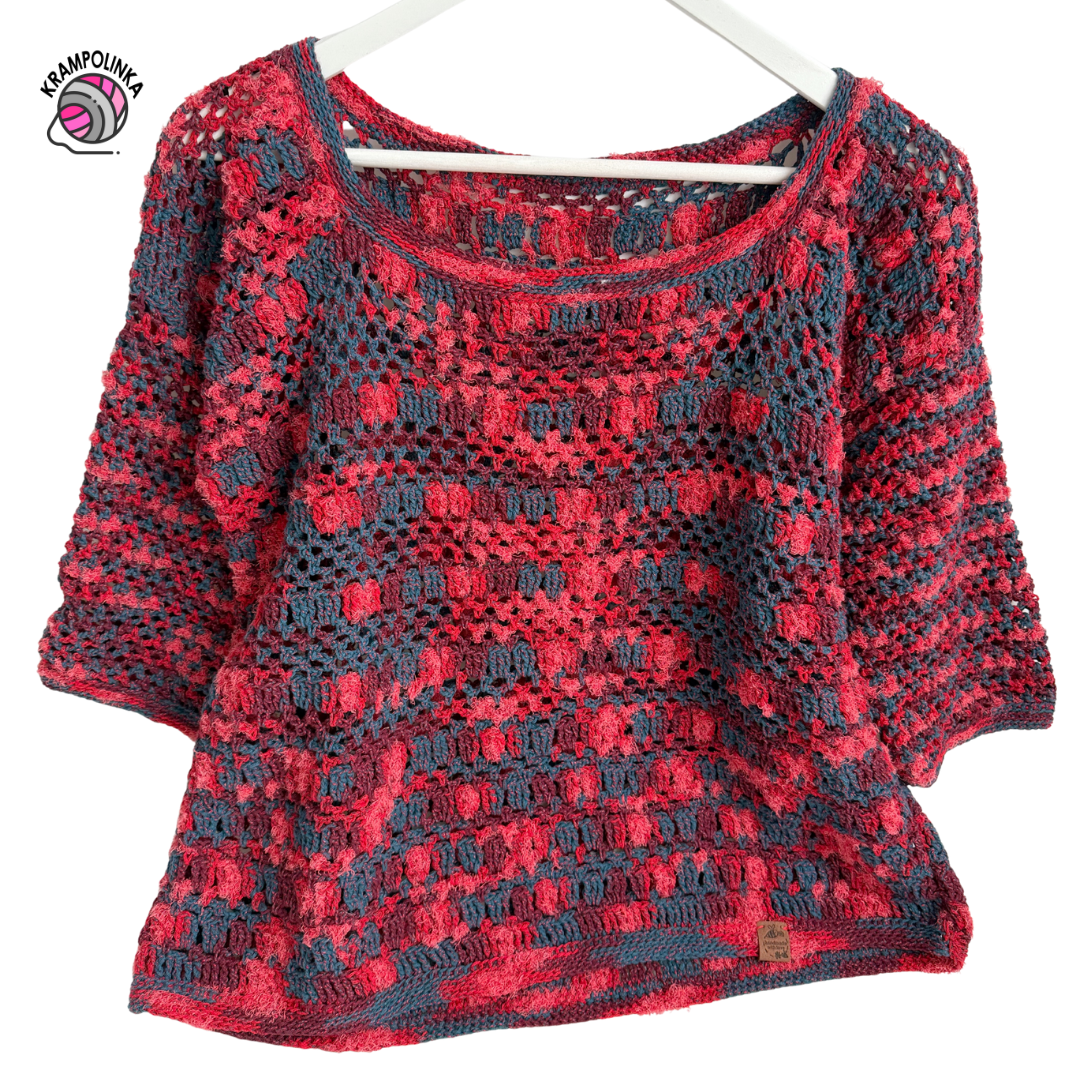
Today we’ll crochet the Dalia Sweater, which I designed using a limited-edition effect yarn Schachenmayr Daliya. It was a limited collection of yarn balls produced in Italy for Schachenmayr.
Each ball Schachenmayr Daliya has a length of 50 g / 110 m and a composition of 60% cotton, 22% polyester, 13% viscose and 5% other fibres. This yarn is special because it alternates melange sections with a gentle halo, creating beautiful colour effects and patterning as you crochet. Daliya was produced in eight colourways, but sadly it is no longer available. Those of you who managed to buy it while it was still on the market can now turn it into a truly unique crochet piece that looks like boutique fashion.
You can crochet the Dalia Sweater with any yarn that has a similar weight and yardage, i.e. around 50 g/110 m or 100 g/220 m. For summer, the sweater will look gorgeous in Schachenmayr Catania Color (50 g/125 m), for winter you can use Schachenmayr Color Drift (50 g/75 m), and for spring and autumn I recommend Schachenmayr Cotton Spritz (50 g/110 m).
I strongly recommend making a gauge swatch first. For the stitch pattern you need a number of stitches divisible by 3 + 2 edge stitches.
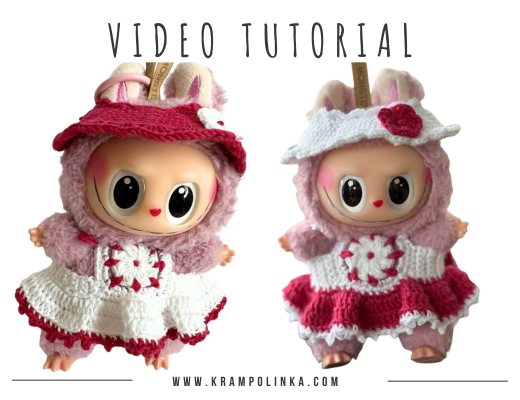
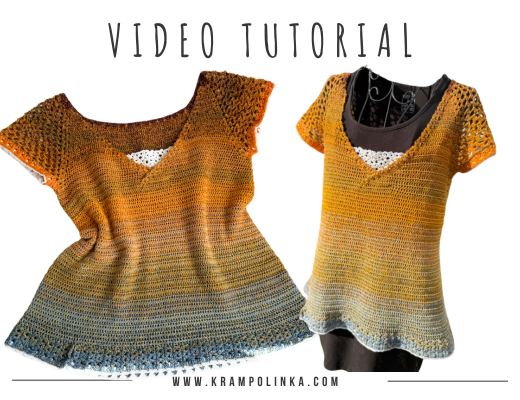
VIDEO TUTORIAL (Czech but ENGLISH SUBTITLES INCLUDED) PREMIERE December 10th, 19:00
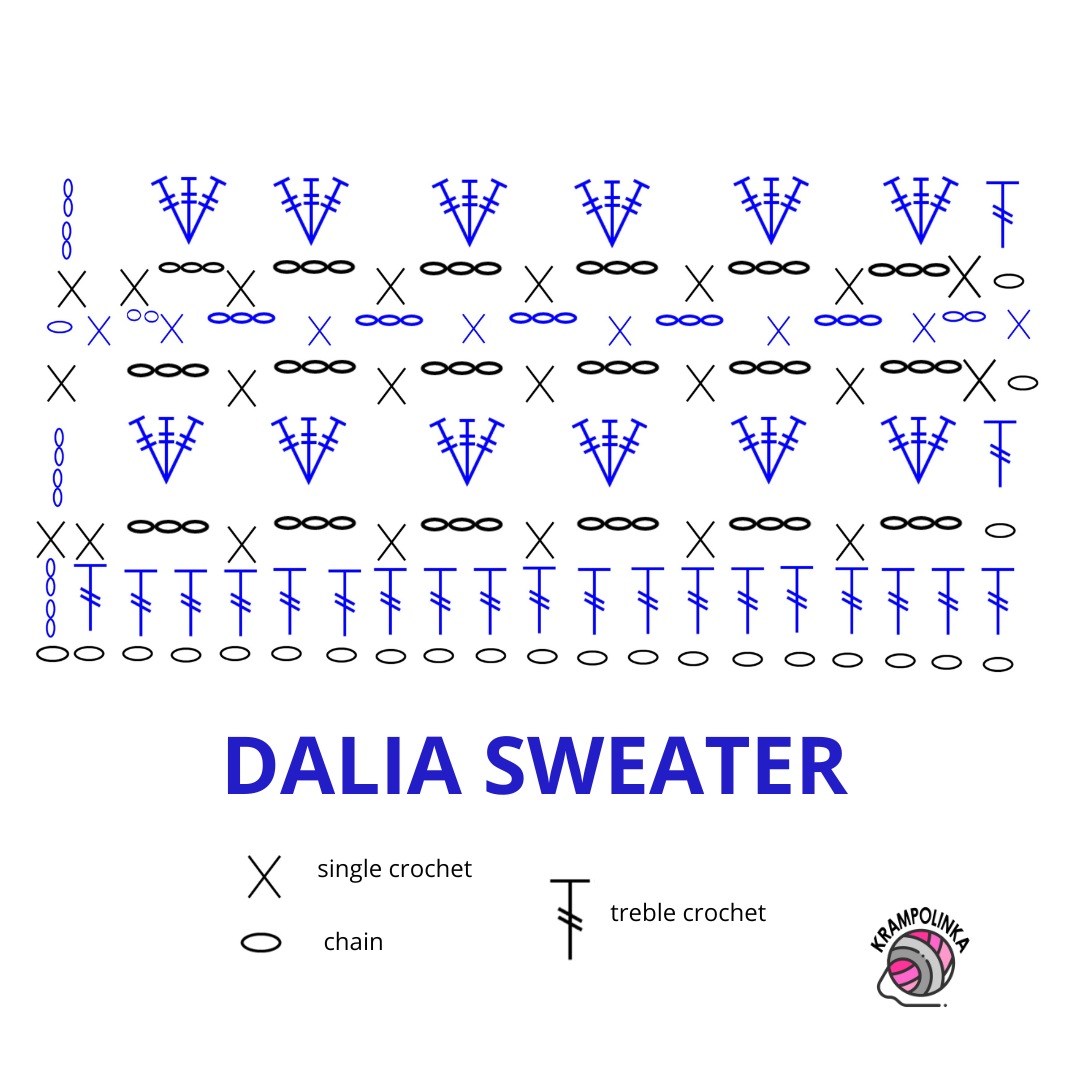
For the Dalia Sweater, I used a brand-new stitch pattern that looks especially beautiful with melange and effect yarns. The pattern alternates rows of shell stitches with rows of double treble crochet (2NDC). To make the stitch repeat work correctly, you need an odd number of shell sections.
I started with three rows of shells and one row of 2NDC, then continued with five rows of shells and one row of 2NDC, followed by seven rows of shells and one row of 2NDC. The final repeat finishes with nine rows of shell stitches.
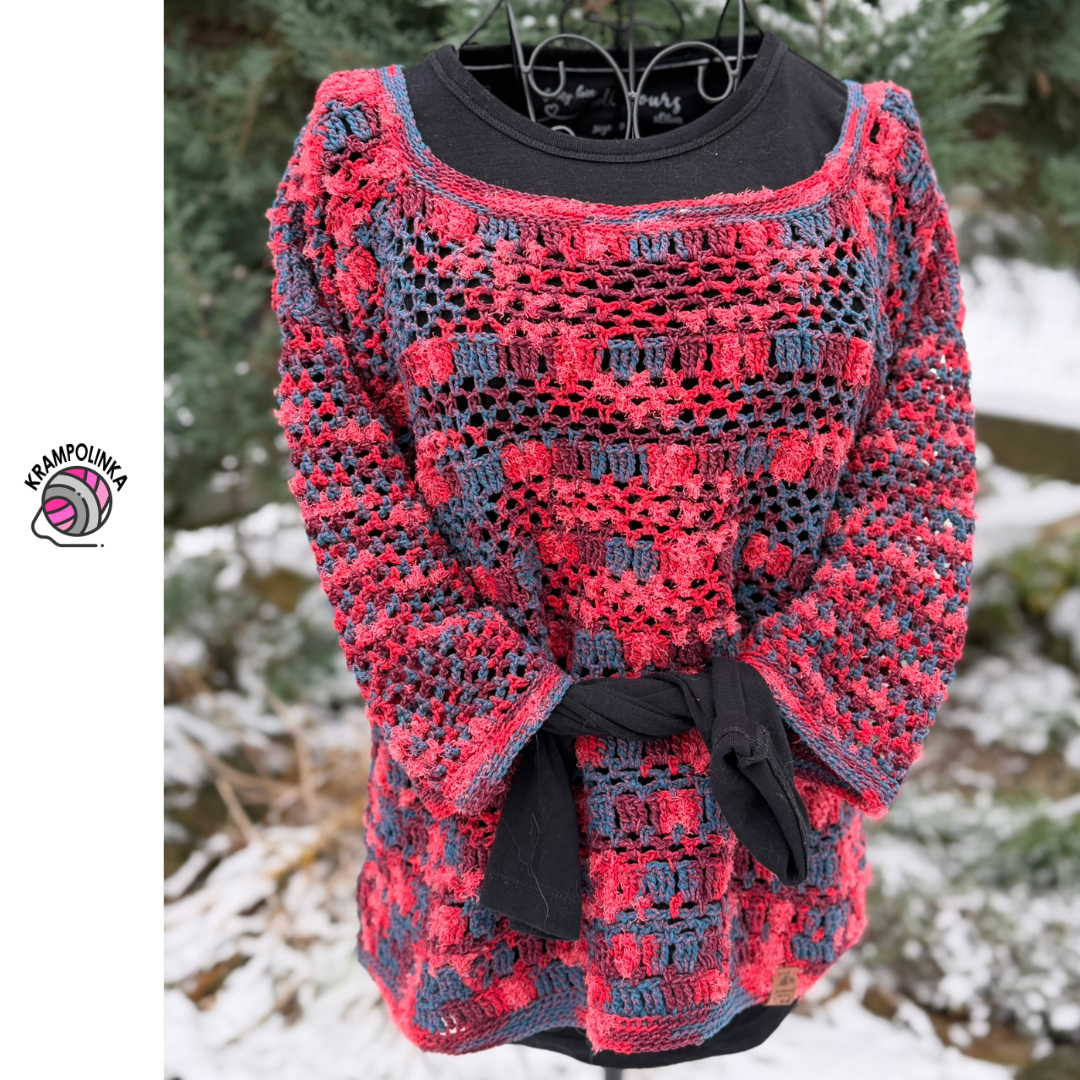
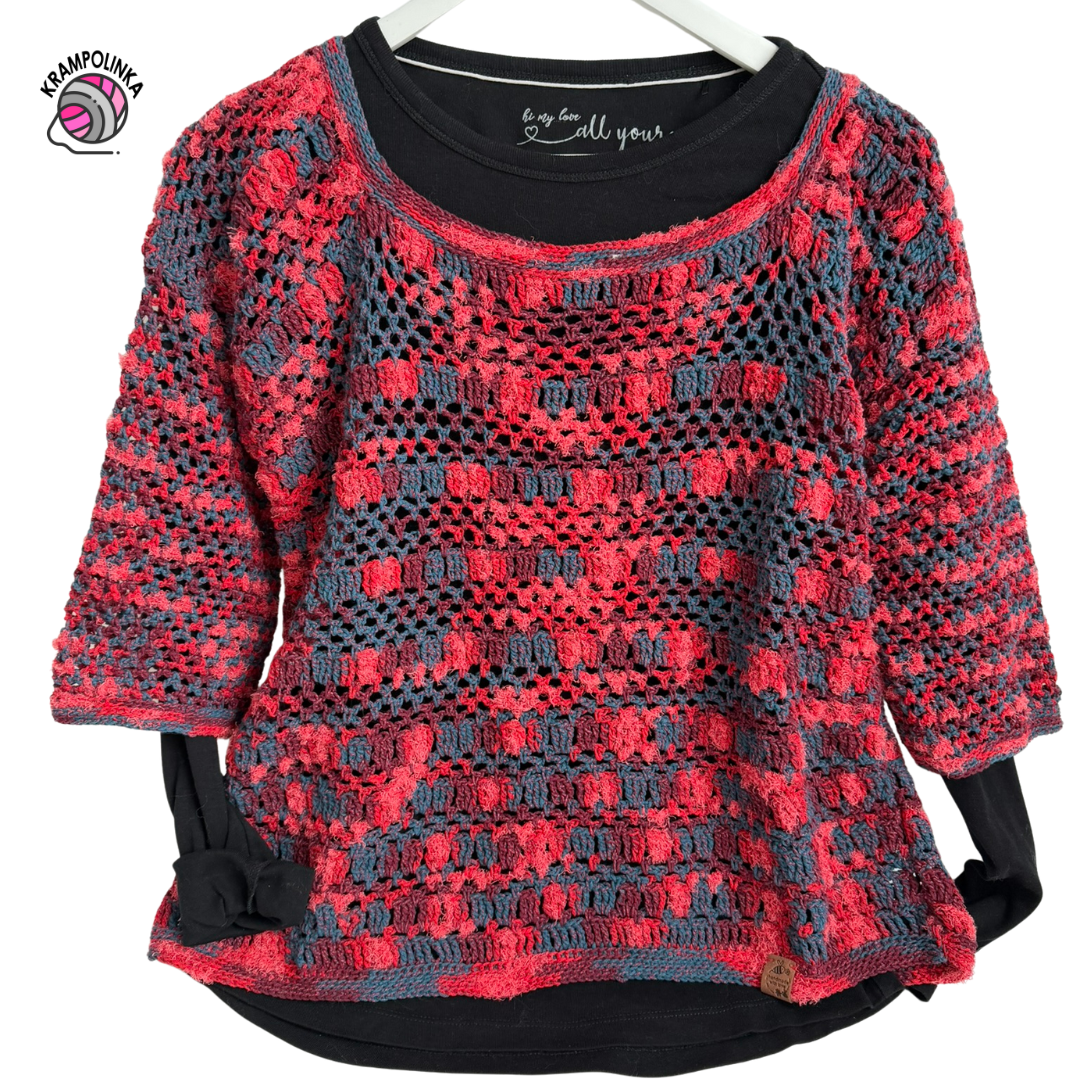
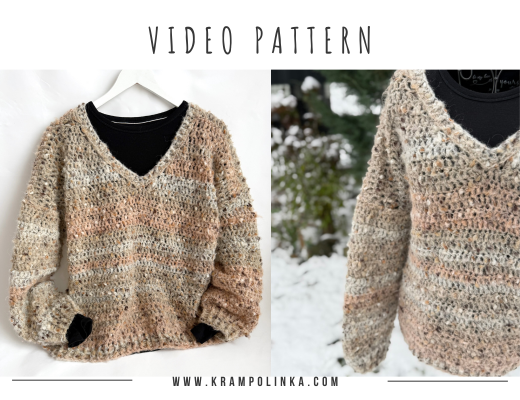
The back panel features a shallow neckline, while the front panel has a deeper rounded neckline. After joining the shoulders and sides, I crocheted the sleeves directly onto the armholes using the same shell pattern. For an oversized sweater in size 42–44, I used 10 balls of Daliya yarn.
TIP: I recommend comparing your work to a loose sweater or top that fits you well. Adjust the sleeve length to match your arms. With Daliya yarn, ten balls were enough for three-quarter sleeves.
May your Dalia Sweater turn out beautifully, and may you enjoy wearing it as much as you enjoy making it. If you’d like to inspire others or share your experience with crocheting or styling the sweater? Feel free to upload your photos to KRAMPOLINKA Facebook Group. For easy searching on Instagram, please use the hashtag #svetrikdalia. If you tag me, I’ll be happy to share your post in my Stories.
| Size (EU) | Panel Width (cm) | Stitch Count for Pattern (multiple of 3) | Starting Chain Count |
|---|---|---|---|
| 38 (M) | 48 cm | 84 | 85 + 4 chains |
| 40 (M/L) | 50 cm | 87 | 88 + 4 chains |
| 42 (L) | 52 cm | 90 | 91 + 4 chains |
| 44 (XL) | 54 cm | 93 | 94 + 4 chains |
| 46 (XXL) | 56 cm | 96 | 97 + 4 chains |
| 48 (3XL) | 58–60 cm | 102 | 103 + 4 chains |
DALIA SWEATER
Yarn & Materials
Yarn: Schachenmayr Daliya No. 00084
Yarn needed: 10 balls
Hook sizes: 5 mm and 4 mm
Finished measurements:
• Width: 60 cm
• Front length: 55 cm
• Sleeve length: 25 cm
Size: EU 42–44
Other tools: Yarn needle with large eye, decorative label
Time estimate: approx. 30 hours
Skill level: Beginner-friendly
Abbreviations (US terms)
ŘO – chain (CH)
KS – single crochet (SC)
2NDS – treble crochet (DTR / double-treble stitch)
KSRK – fishbone single crochet (SC in fishbone technique)
Front and back panel, hook 5 mm
Row 1: Chain 103, turn.
Front and back panel, hook 4 mm
Row 2: Ch 4 (counts as first DTR). Insert hook into the 5th chain from the hook. Continue working DTR in every stitch. Including the turning chain, you will have 104 DTR. Turn.
Row 3: Ch 1 (SC) and ch 3 for the first shell-space. Skip 2 stitches, SC into the 3rd stitch. Continue: ch 3, skip 2 stitches, SC into the next stitch to the end. You will have 34 shell-spaces. At the end, SC into the second-to-last stitch and finish with SC into the 4th chain of the turning chain. Turn.
Row 4: Ch 4 (counts as first DTR). Work 3 DTR into the first shell-space. Into each following shell-space work 3 DTR. End with 1 DTR into the turning chain. Turn.
Row 5: Ch 1 (SC), SC into the space. Then ch 3, SC into the space. Repeat to the end. Finish with SC into the space and SC into the turning chain. Turn.
Row 6: Ch 1 (SC), short shell-space: ch 2 and SC into the first space. Then ch 3, SC into each space. At the end: ch 2, SC into the turning chain. Turn.
Row 7: Ch 1 (SC), SC into the short shell-space. Continue ch 3, SC into each space. End with SC into the short shell-space and SC into the turning chain. Turn.
Rows 8–16: Repeat rows 4–7 (3 shell rows + 1 DTR row).
Rows 17–21: Work shell rows alternating rows 4 and 5 (5 shell rows).
Row 22: Same as row 4.
Rows 23–40: Repeat as rows 17–22 (5 shell rows + 1 DTR row).
Rows 41–47: Alternate rows 4 and 5 (7 shell rows).
Row 48: Same as row 4.
Rows 49–56: Repeat rows 17–22 (7 shell rows + 1 DTR row).
Rows 57–60: Alternate rows 4 and 5.
Divide the back neckline and work the left side
Rows 61–65: Work shell rows over 8 full shells + short shell, alternating rows 4 and 5. Work over 9 shell-spaces total (or 10 for a smaller neckline). Fasten off.
Back neckline – right side
Rows 61–65: Attach yarn at the neckline into a SC and work over 9 (or 10) shells toward the edge, alternating rows 4 and 5. Fasten off.
Front panel, hook 4 mm
Rows 1–48: Work the same as the back panel.
Divide the front neckline – left side
Rows 49–64: Work shell pattern: ch 1 (SC), SC into the space between stitches, then ch 3, SC into the space. Work over 9 or 10 pattern columns, same as the back. Total: 7 shell rows and 1 DTR row.
Row 65: While working the last shell row, join both neckline sides on the right side using slip stitches. Join panels with a sl st, ch 1, SC into the shell-space on the first panel, ch 2, SC into the shell-space on the opposite panel. Continue zig-zag joining toward the neckline. Finish with a slip stitch and fasten off.
Front neckline – right side
Rows 49–64: Attach yarn between the 10th and 9th pattern column and work toward the edge: ch 1 (SC), SC into the space, ch 3, SC into the space. Work over 9 (or 10) pattern columns. Total: 7 shell rows and 1 DTR row.
Row 65: Join the same way as on the left side.
Neckline border, hook 4 mm
Row 1: Attach yarn at the back neckline, ch 1. Work fishbone SC around the entire neckline. For shell rows: work 1 fishbone SC per row. For DTR rows: work 3–4 fishbone SC depending on how much tightening is needed. In the neckline area, work into DTR stitches. On the back neckline: 2 fishbone SC per shell and 1 fishbone SC into SC. Finish with a slip stitch.
Rows 2–3: Ch 1 (SC), then fishbone SC in the back loop only. Finish with a slip stitch. (Row 4 is optional.)
Side seams, hook 4 mm
Sew from the hem toward the armhole on the wrong side, leaving 17–18 cm for the armhole. Join the panels with slip stitches. On DTR rows, work 3–4 slip stitches; on shell rows, work 1 slip stitch. Continue directly into the sleeve.
Sleeve, hook 4 mm
Row 1: Ch 1 at the seam, SC in the same place. Ch 3, skip one horizontal row, SC into the next row. Repeat around. If the row waves, skip two rows where needed. Begin the next round directly in pattern but use only ch 2 and SC into the shell-space. Work the sleeve only on the right side.
Rows 2–36: Work ch 3, SC into shell-space. To taper the sleeve, alternate 3-chain shell and 2-chain shell near the end. To close the round: ch 2, SC into space, ch 1, sl st to SC.
Sleeve cuff, hook 4 mm
Row 1: Ch 1. Work fishbone SC: insert hook under the shell-space, pull up a loop, SC. Then work fishbone SC into SC. Pattern: 2 fishbone SC under shell-space and 1 fishbone SC into SC. Finish with a slip stitch.
Rows 2–3: Ch 1 (SC), fishbone SC in the back loop only. Finish with a slip stitch. Fasten off.
Bottom hem, hook 5 mm
Row 1: Attach yarn at the side seam, ch 1, work fishbone SC into chains across the hem, finish with sl st.
Rows 2–3: Ch 1 (SC), fishbone SC in the back loop only, finish with sl st and fasten off.
Finishing
Weave in all loose ends. Add decorative label if desired.
Copyright Notice
This pattern is for personal use only. For commercial use, please contact me directly. Always include the source credit: www.krampolinka.com. The pattern is designed specifically for this yarn, hook size, and my personal tension. If you use a different yarn, hook, or tension, your final product may vary in size or shape.
Enjoy this free pattern and you can follow my latest projects, tutorials, ideas, reviews, video podcasts, tips, and tricks:
- Krampolinka YouTube videos (subtitled since 2024)
- Krampolinka Instagram
- Krampolinka FB group
-
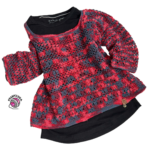
- Detail of the Dalia Sweater texture with soft melange shading.
-

- Close-up of the neckline with the fishbone stitch edging.

-

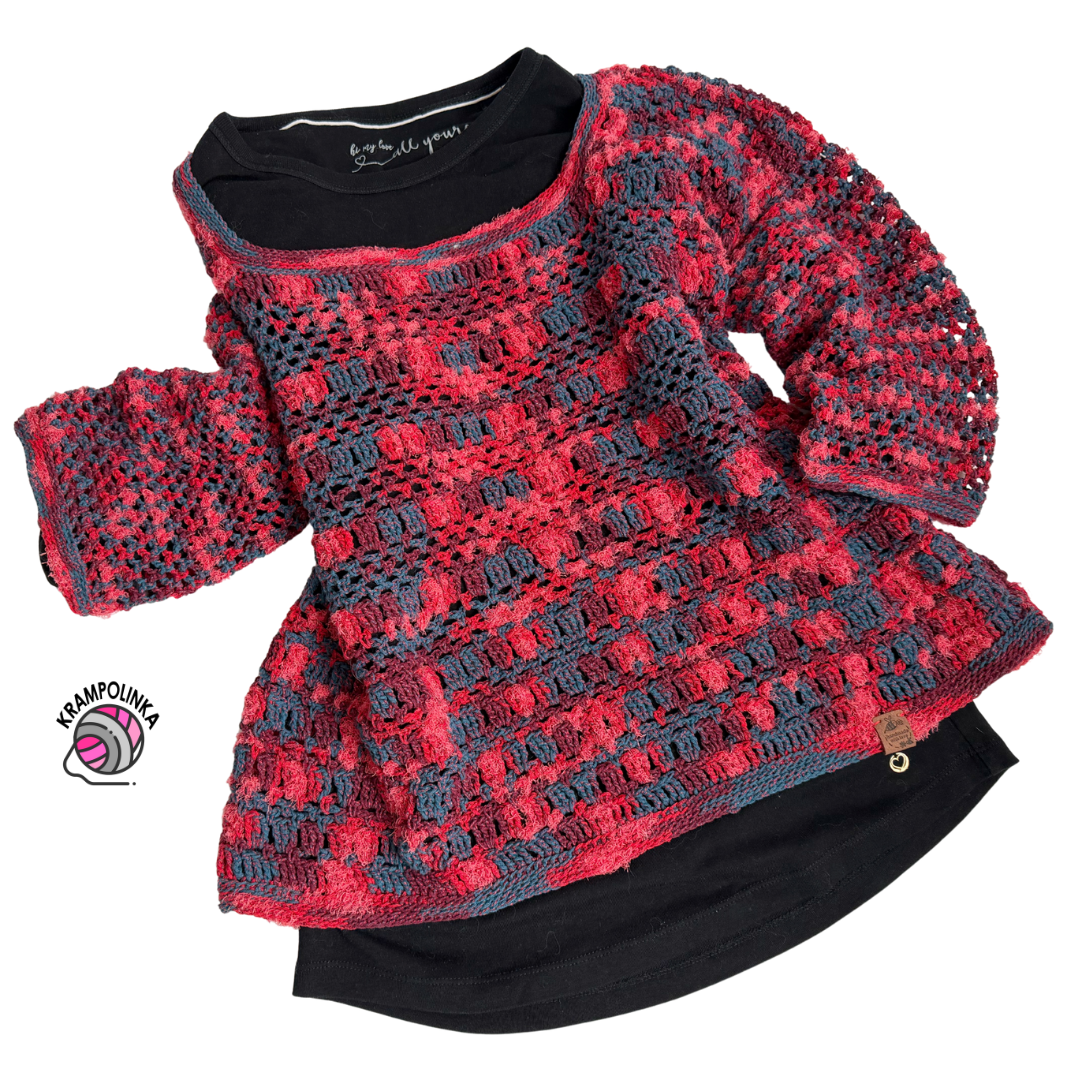
- Sleeve detail highlighting the airy shell pattern.
-

- Front panel of the Dalia Sweater showing the shell-stitch pattern.
-
- Flat-lay of the finished Dalia Sweater in size 42–44
-
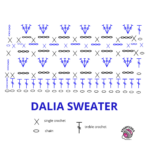
- Crochet graph Dalia Sweater

No Comments