
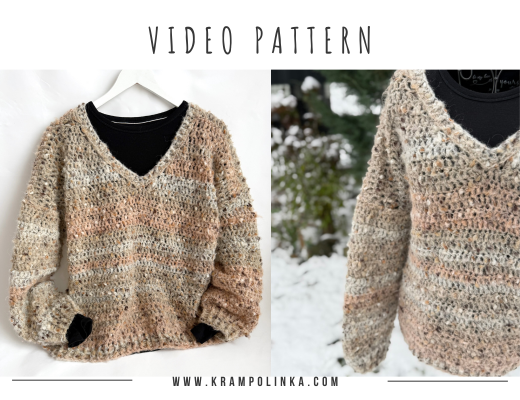
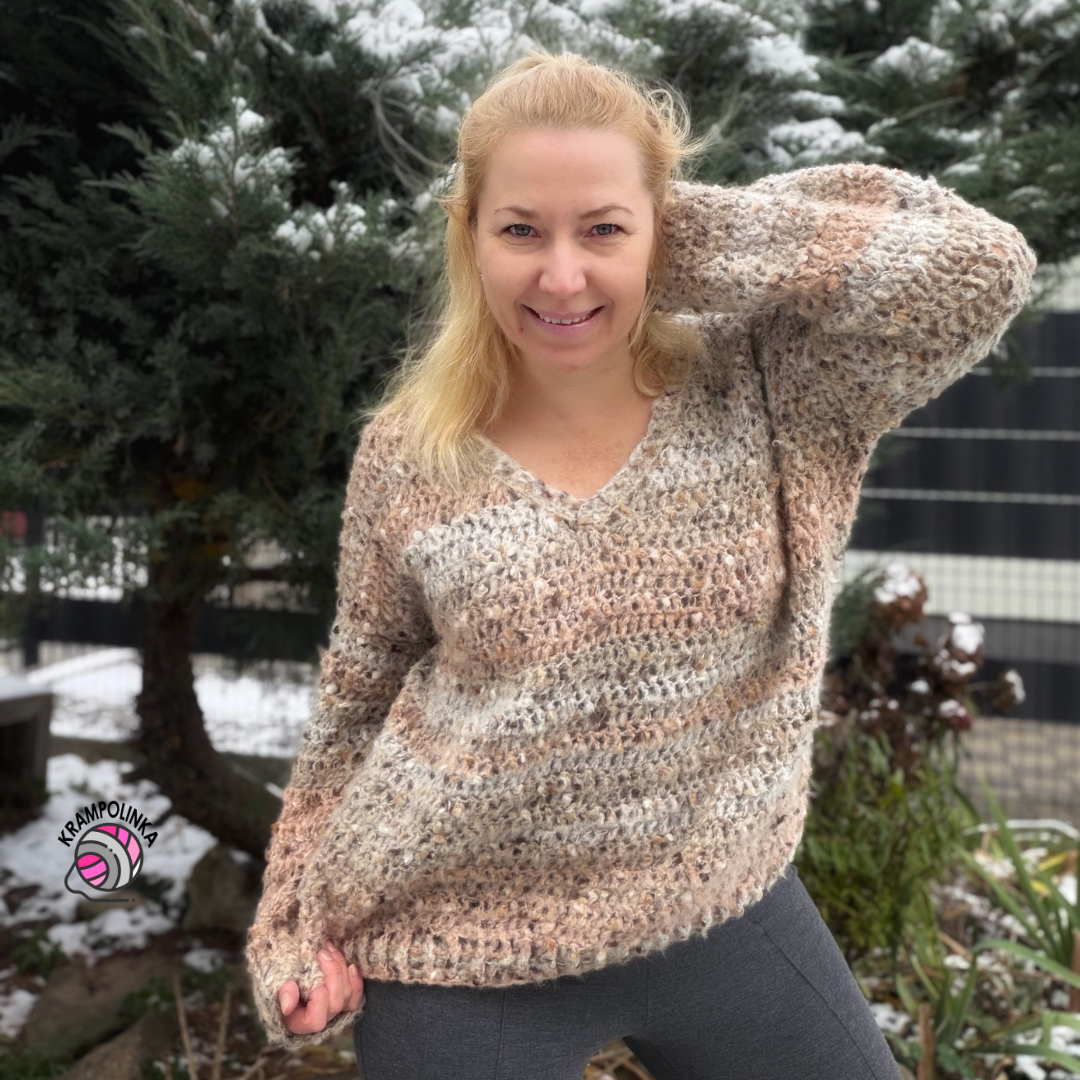
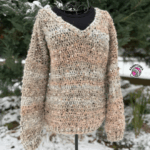
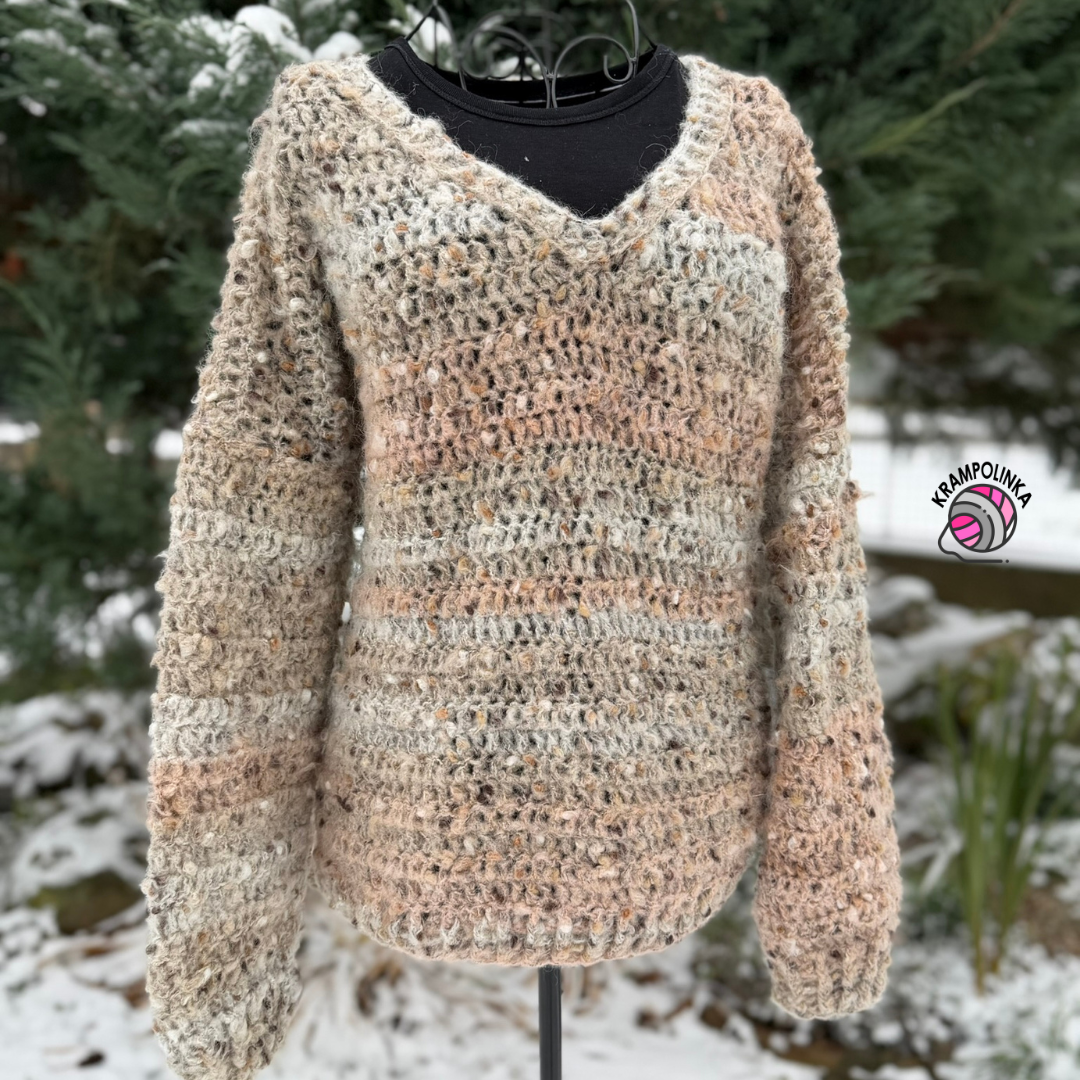
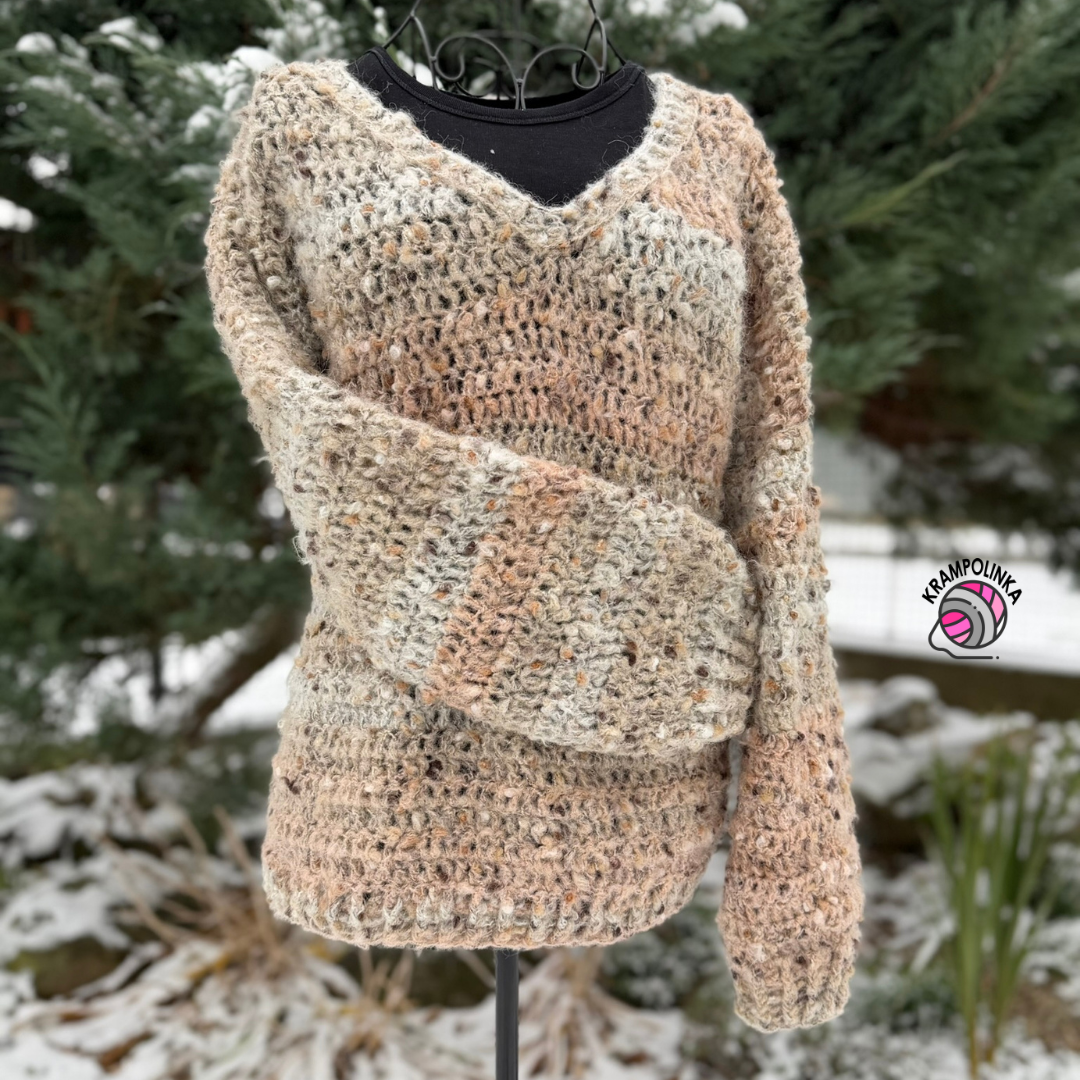
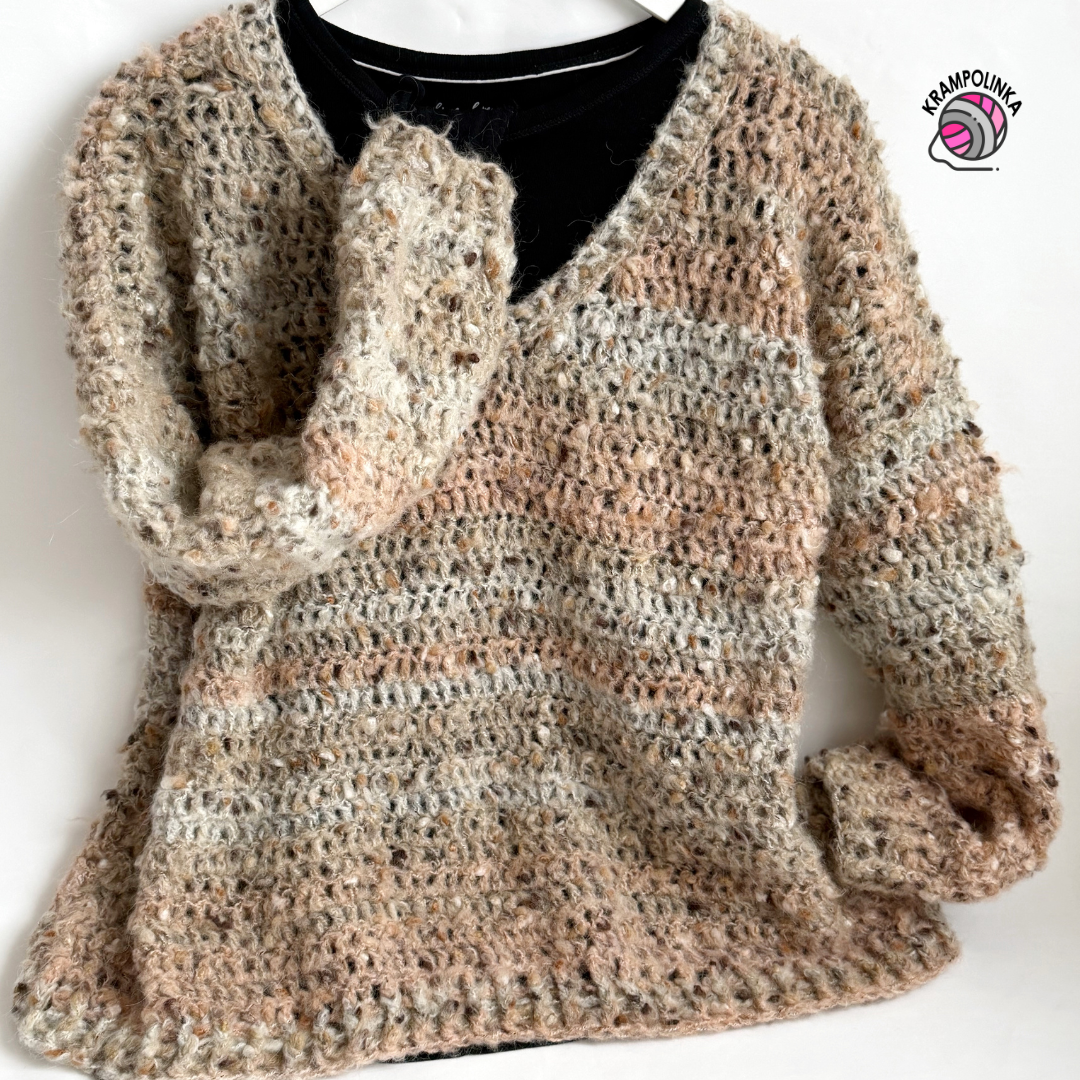
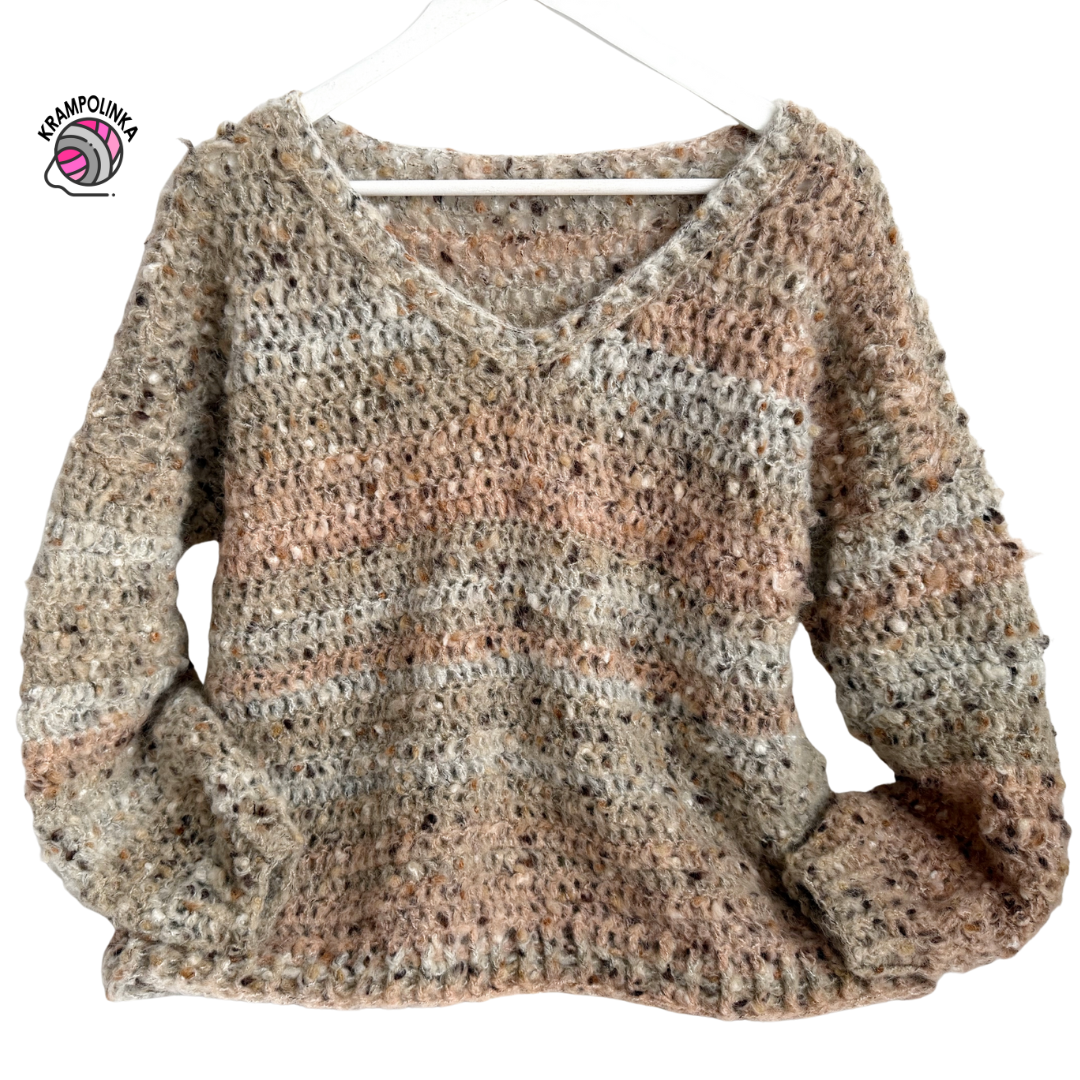
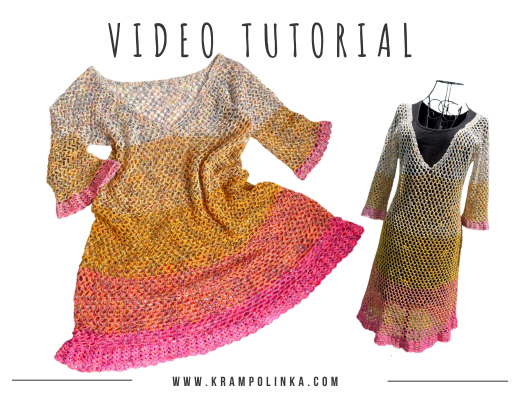
When you get your hands on the beautiful Schachenmayr Pebble Mohair yarn, you need very little to create something stunning – just a few double crochets and you’ll have an elegant, airy sweater that even a beginner can make.
Schachenmayr Pebble Mohair (50 g / 100 m) is an unusual blend of 10% mohair, 70% acrylic, 10% polyester and 10% wool. It has a soft halo and little nubs that make even the simplest stitches look lovely — double crochet, half double crochet, moss stitch or near-moss stitch. I previously used a similar yarn for a “homeless hat + cowl” set, and that’s exactly why Pebble Mohair works so well for winter accessories like scarves, vests or ponchos.
The yarn can be frogged — carefully — if needed. Although the recommended hook size is smaller, I used an 8 mm hook for the double crochets to achieve a light, airy look, and for short stitches or moss stitch I would choose at least a 10 mm hook. The result? A lightweight, fluffy, feather-soft sweater.
VIDEO TUTORIAL (Czech but ENGLISH SUBTITLES INCLUDED) PREMIERE December 4nd, 19:00
We crochet the sweater from the bottom hem upwards. Both the front and back panels start the same way. With my tension, one double crochet is just under one centimeter. If your tension is different, first make a gauge swatch — for example, ten stitches by five rows. Measure yourself and the swatch, then calculate the number of stitches needed for your size. I recommend working the sweater a little larger for a comfortable oversize fit.
Both panels are shaped at the neckline area. The back panel has a shallow neckline, while the front panel has a deeper “V”. After finishing both pieces, simply seam them together at the shoulders. Then seam the sides on the wrong side from the bottom hem up to the armhole, leaving a wide enough opening for the sleeves. The sleeves are crocheted directly onto the armhole. You can gradually decrease to shape the sleeve, or crochet straight and tighten the sleeve only with the cuff — this creates a balloon-style sleeve.
In the final step, add edging to the bottom hem and neckline. The entire sweater is made with double crochet stitches, and for the edging I used front and back post stitches. This project is truly beginner-friendly — and the best part? It works up very quickly, so within a few days you can wear your new elegant and trendy sweater to work or outdoors.
TIP: Compare your work regularly with a loose-fitting garment you like. Adjust the sleeves to match your own arm length.
I hope your Pebble Sweater turns out beautifully and brings you lots of joy when wearing it. Would you like to inspire others or share your experience with crocheting or styling the sweater? Feel free to upload your photos to KRAMPOLINKA Facebook Group. For easy searching on Instagram, please use the hashtag #svetrikpebble. If you tag me, I’ll be happy to share your post in my Stories.
PEBBLE SWEATER
Yarn: Schachenmayr Pebble Mohair No. 80
Yarn usage: 9 skeins
Hook size: 8 mm, 6 mm
Measurements: 67 cm width, 56 cm front length
Size: EU 42–44
Notions: yarn needle with a large eye, decorative label/tag
Time estimate: approx. 24 hours
Skill level: beginner-friendly
Abbreviations:
CH – chain
DC – double crochet
FPDC – front post double crochet
BPDC – back post double crochet
Front and Back Panel, 8 mm Hook
Row 1: Chain 65, turn.
Row 2: Ch 3 (counts as first DC). Work 1 DC into each stitch across. Including the turning chain, you should have 66 DC.
Row 3: Ch 2 (counts as DC), DC into the next stitch. Then DC across. Count your stitches. Work the last DC into the top of the turning chain. Turn. (66 DC)
For the back panel, work Rows 4–32:
Ch 2 (counts as DC), DC into the next stitch. Continue with DC across. Count stitches. Work the last DC into the top of the turning chain. Turn. (66 DC)
Then shape the back neckline.
For the front panel, work Rows 4–24 the same way:
Ch 2 (counts as DC), DC across, 66 DC total. Turn.
Then begin shaping the V-neck.
Back Neckline, 8 mm Hook
Row 33: Ch 2 (counts as DC), DC into the next stitch. Continue across, working a total of 22 DC including the turning chain. Turn. (22)
Row 34: Ch 2 (counts as DC), DC across for 22 DC total. Turn. Fasten off. (22)
Row 33 (other side of neckline): Skip 22 DC. Attach yarn into the 23rd stitch of the neckline and crochet: Ch 2 (counts as DC), DC in each stitch to the end. Turn. (22)
Row 34: Ch 2, DC across. (22) Fasten off.
Front Neckline, 8 mm Hook – working toward the V-neck
Row 25: Place a stitch marker between stitches 33 and 34. On this side of the “V” neckline, you need to decrease 11 stitches in total. Work from the outer edge toward the center: Ch 2 (counts as DC), DC into the next stitch, then DC across. You should have 30 DC. Near the end of the row, DC2tog over stitches 31 and 32, and finish with 1 DC into stitch no. 33. Turn.
Row 26: Ch 2 (counts as DC), DC2tog over the second and third stitch, then DC across. End with 1 DC into the turning chain. Turn.
Row 27: Ch 2 (counts as DC), DC across. At the end of the row, DC2tog over the last two free stitches, skip the decreased stitch from the previous row, and finish with 1 DC into the turning chain. Turn.
Row 28: Ch 2, DC2tog over stitches 2 and 3, then DC across. End with DC into the turning chain. Turn.
Row 29: Ch 2, DC across. At the end, DC2tog over the last two free stitches, skip the decrease from the previous row, finish with DC into the turning chain. Turn.
Row 30: Ch 2, DC2tog over stitches 2 and 3, then DC across. End with DC into the turning chain. Turn.
Row 31: Ch 2, DC across. At the end, DC2tog over the last two free stitches, skip the decrease from the previous row, finish with DC into the turning chain. Turn.
Row 32: Ch 2, DC2tog over stitches 2 and 3, then DC across. End with DC into the turning chain. Turn.
Row 33: Ch 2, DC across. At the end, DC2tog over the last two free stitches, skip the decrease from the previous row, finish with DC into the turning chain. Turn.
Row 34: Ch 2, DC across. Check that you now have 22 DC, the same as on the back panel.
At the end of the row, join the shoulder seams on the wrong side using slip stitches or single crochet across all 22 stitches.
Side Seaming, 8 mm Hook
Join the sweater from the bottom edge up to the armhole on the wrong side. Work 2 SC into each horizontal row. Leave an opening equal to 10–11 rows for the armhole. Adjust the armhole height to your own body measurements. Sleeves will be crocheted directly onto the armhole.
Sleeve, 8 mm Hook
Row 1: Turn the sweater to the right side. Crochet on the right side only. This stitch pattern also helps hide any uneven edges.
Ch 2 (counts as first DC). Insert the hook under the bottom loop of the edge chain and around the side post of the row, yarn over, pull through two loops, leaving two loops on the hook—finish as a DC.
For the next stitches, pick up the front loop of the previous stitch, insert the hook around the side post of the row, yarn over, pull through two loops, then complete the DC.
Work 2 DC into each row. This method creates a beautifully continuous sleeve edge. Join with a slip stitch (SL ST) to finish the round. Turn.
Row 2: Work on the wrong side. Ch 3 (counts as DC), DC2tog over the 2nd and 3rd stitch, then DC across. At the end of the round, DC2tog over the last two stitches, join with SL ST. Turn.
Row 3: Work on the right side. Ch 3, DC around, join with SL ST. Turn.
Row 4: Work on the wrong side. Ch 3, DC2tog over stitches 2 and 3, DC across, DC2tog at the end, join with SL ST. Turn.
Rows 5–21: Ch 3, DC around, join with SL ST. Turn.
If you want to narrow the sleeve, decrease in the underarm area: once at the beginning (DC2tog) and once at the end of the round (DC2tog). Adjust the frequency of decreasing to your preferred sleeve width.
(On my sleeve, I only decreased at the very beginning and not later.)
Row 22: Ch 3. Work the round as follows: DC2tog, DC across, join with SL ST. This reduces the width before the cuff. Turn.
Sleeve Cuff, 6 mm Hook
Row 23: Work on the right side. Ch 2 (counts as DC). Alternate FPDC and BPDC around. Join with SL ST. Continue working on the right side.
Rows 24–27: Ch 2, FPDC around FPDC, BPDC around BPDC, repeat around. Join with SL ST.
Fasten off at the end of Row 27. Repeat the entire process for the second sleeve.
Bottom Hem, 8 mm Hook
Row 1: Attach the yarn at the side seam. Ch 2. Then alternate FPDC and BPDC around. Join with a SL ST.
Rows 2–3: Ch 2 (counts as DC). Work FPDC around FPDC and BPDC around BPDC all the way around. Join with SL ST.
Fasten off at the end of Row 3.
Neckline Ribbing, 8 mm Hook
Row 1: Start in the back neckline. Work on the right side. Ch 2. In this row, crochet the same stitch pattern used for the first row of the sleeve—this helps hide any uneven edges.
Work 2 DC into each horizontal row along the sides of the neckline. On the back, work DC into each stitch.
To make each DC along the row edge, first pick up the bottom loop of the edge chain, insert the hook behind the side post, yarn over, pull through two loops, and finish the DC. For the next stitch, pick up the front loop of the previous DC, insert the hook behind the row post, and complete the DC.
At the bottom point of the “V” neckline, work:
-
1 DC into the horizontal row,
-
1 DC into the center (marked) stitch,
-
1 DC into the next horizontal row.
Continue with the pattern 2 DC per row up the second side of the neckline. Join with a SL ST.
Row 2: Ch 2 (counts as DC). Then alternate FPDC and BPDC around.
At the bottom “V” point, work the decreases as follows:
-
DC2tog as BPDC,
-
DC2tog as FPDC in the center,
-
DC2tog as BPDC,
then continue alternating FPDC and BPDC.
Join with a SL ST.
Finishing
Sew in all loose ends and add a decorative label if desired.
Copyright Notice
This pattern is for personal use only. For commercial use, please contact me directly. Always include the source credit: www.krampolinka.com. The pattern is designed specifically for this yarn, hook size, and my personal tension. If you use a different yarn, hook, or tension, your final product may vary in size or shape.
Enjoy this free pattern and you can follow my latest projects, tutorials, ideas, reviews, video podcasts, tips, and tricks:
- Krampolinka YouTube videos (subtitled since 2024)
- Krampolinka Instagram
- Krampolinka FB group
-

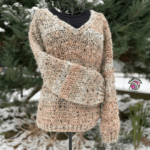
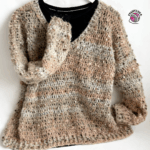
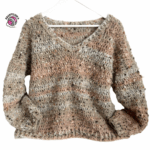
- Soft and airy Pebble Mohair sweater with a cozy oversize fit.
-
- Elegant crochet texture made with simple double crochet stitches.
-
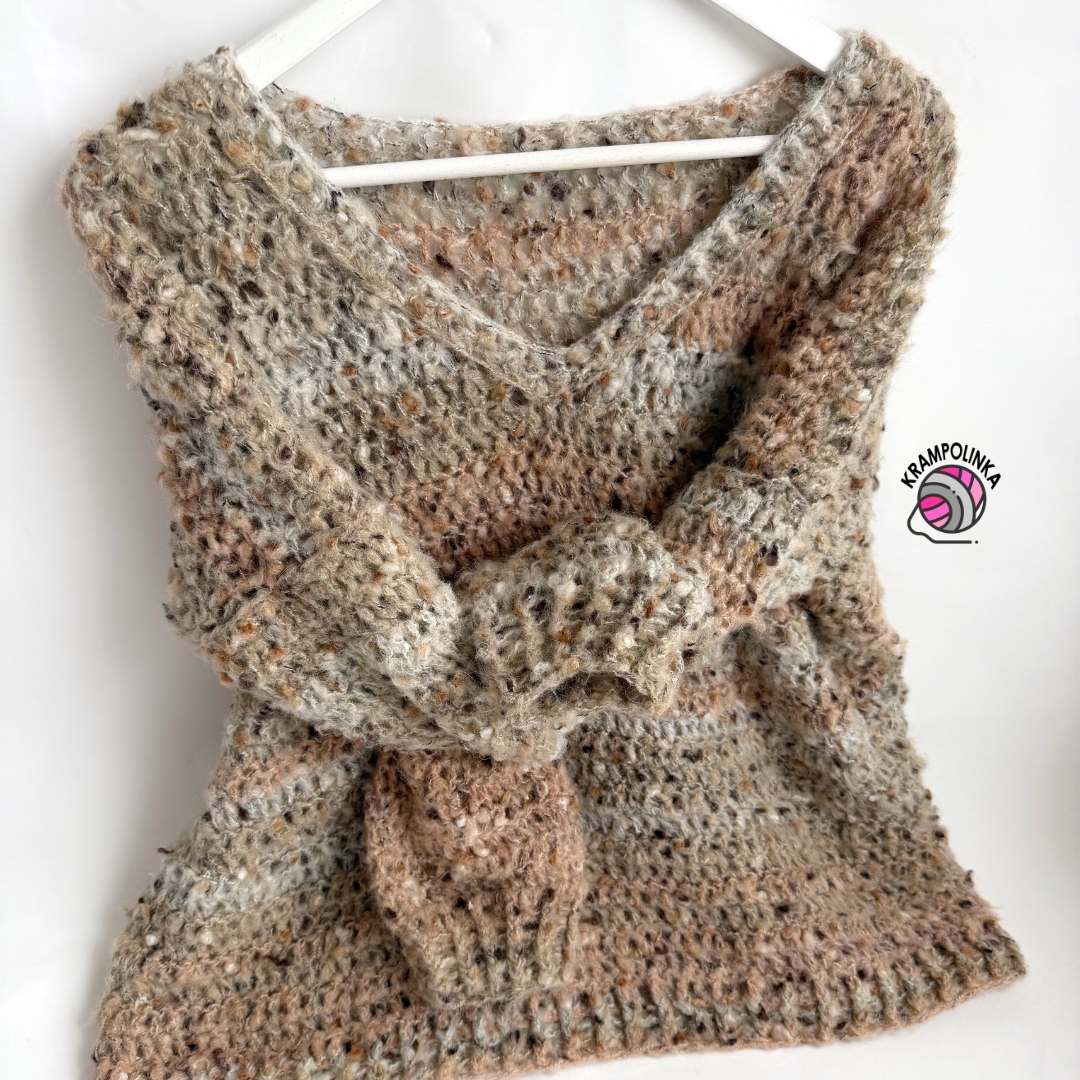
- Balloon-style sleeve finished with a ribbed cuff.
-
- Lightweight everyday sweater, perfect for layering.
-
- Beautiful drape and fluffy halo of the Pebble Mohair yarn.
-
- Classic V-neck shaping for a feminine and modern look.

No Comments