
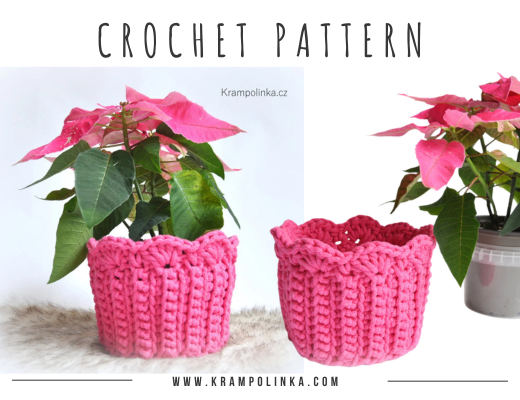
You can make a crocheted pot cover for the traditional Christmas poinsettia using soft yarn cords. For this one, I used pink Berry cords from the Czech brand YarnMellow.
YarnMellow Berry cords are available in 3 mm and 5 mm thicknesses. The inner part is made of polyester fiber, while the outer layer is recycled cotton. The cord is soft, flexible, and pleasant to the touch. One skein weighs 300 g and measures about 100 meters. If you have a spool, start crocheting from the center of the ball, which keeps its shape nicely until the end. If you’re using a hank, look for the loose end and start crocheting without removing the label. The YarnMellow Berry yarn was kindly provided by Tvorboshop.cz.
🎥 VIDEO TUTORIAL (Czech Only)
As for the Berry Pot Cover, it truly couldn’t be any simpler. This video tutorial is perfect for complete beginners. The cover is basically just a crocheted strip that’s joined together and finished with an edge at the top. There’s no bottom – you simply slip it over the flowerpot. You might be wondering why? First, a fully crocheted cover often feels a bit unstable. And second, no matter what I do, my Christmas poinsettia rarely lasts long, so I don’t bother buying a proper decorative pot for it. Instead, I repurposed a plastic soup bowl I once brought home from a takeout window – and it worked perfectly!
The flowerpot fit inside beautifully, so all I needed to do was “mask” the plastic bowl with this soft crochet cover. Since both the bowl and pot are narrower at the bottom than at the top, I alternated two hook sizes in one row to create a nice tapered (conical) shape. The entire project uses single crochet stitches, and the edge is finished with double crochets. I used 3 mm YarnMellow Berry cords, and from just one skein, I made two identical pot covers.
Now, let’s get started on this quick and easy project! I hope your Berry Pot Cover turns out beautifully. Would you like to inspire others or share your experience? Post your photos of the BERRY POT COVER in the comments or tag #krampolinka on social media KRAMPOLINKA Facebook Group . For easy searching on Instagram, please use the hashtag #berrypotcover
BERRY POT COVER
YARN: YarnMellow Berry, pink 3 mm – available at Tvorboshop.cz
Yarn consumption: one skein of pink Berry is enough for two covers
Hook sizes: 6 mm and 5 mm
Dimensions: rectangle 35 cm x 9.5 cm before edging
Other materials: yarn needle with a large eye, button or label for decoration
Time estimate: about 2 hours (don’t forget to take short breaks and stretch your hands — more tips in the article)
Difficulty level: beginner-friendly 🧶
Abbreviations used:
CH – chain stitch
DC – double crochet
SC BLO – single crochet in back loop only
SC FLO – single crochet in front loop only
SC – single crochet
TCH – turning chain (substitute chain for the first stitch)
We crochet the cover in rows back and forth. Each row starts with a turning chain (TCH) – 1 CH instead of the first SC. Count your stitches in every row.
Pot Cover – Berry Pink, Hook 6 mm
Row 1: CH 13
Pot Cover – Berry Pink, Hooks 6 mm and 5 mm
Row 2:
Using 6 mm hook – work 1 SC into the 3rd chain from the hook, then make 7 SC,
switch to 5 mm hook – make 3 SC, and the last SC into the turning chain. Turn your work.
💡 Note: Remember — the side where the starting yarn tail is will always be the side where you end and begin rows using the 5 mm hook.
Pot Cover – Berry Pink, Hooks 6 mm and 5 mm
Row 3:
Using 5 mm hook – TCH (counts as 1 SC), then starting in the stitch next to the TCH make 3 SC FLO (front loop only),
switch to 6 mm hook – make 7 SC FLO, and the last SC into the top of the turning chain from the previous row. Turn.
Row 4:
Using 6 mm hook – TCH (counts as 1 SC), then starting in the stitch next to the TCH make 7 SC BLO (back loop only),
switch to 5 mm hook – make 3 SC BLO, and the last SC into the top of the turning chain from the previous row. Turn.
Rows 5–36:
Repeat Rows 3 and 4, alternating between the 5 mm and 6 mm hooks.
In the last row, finish with the 5 mm hook on the same side as the starting yarn tail.
Fold the rectangle in half (right sides together) and join the short sides with SC stitches, working through the front loop of the SC and the chain from the first row.
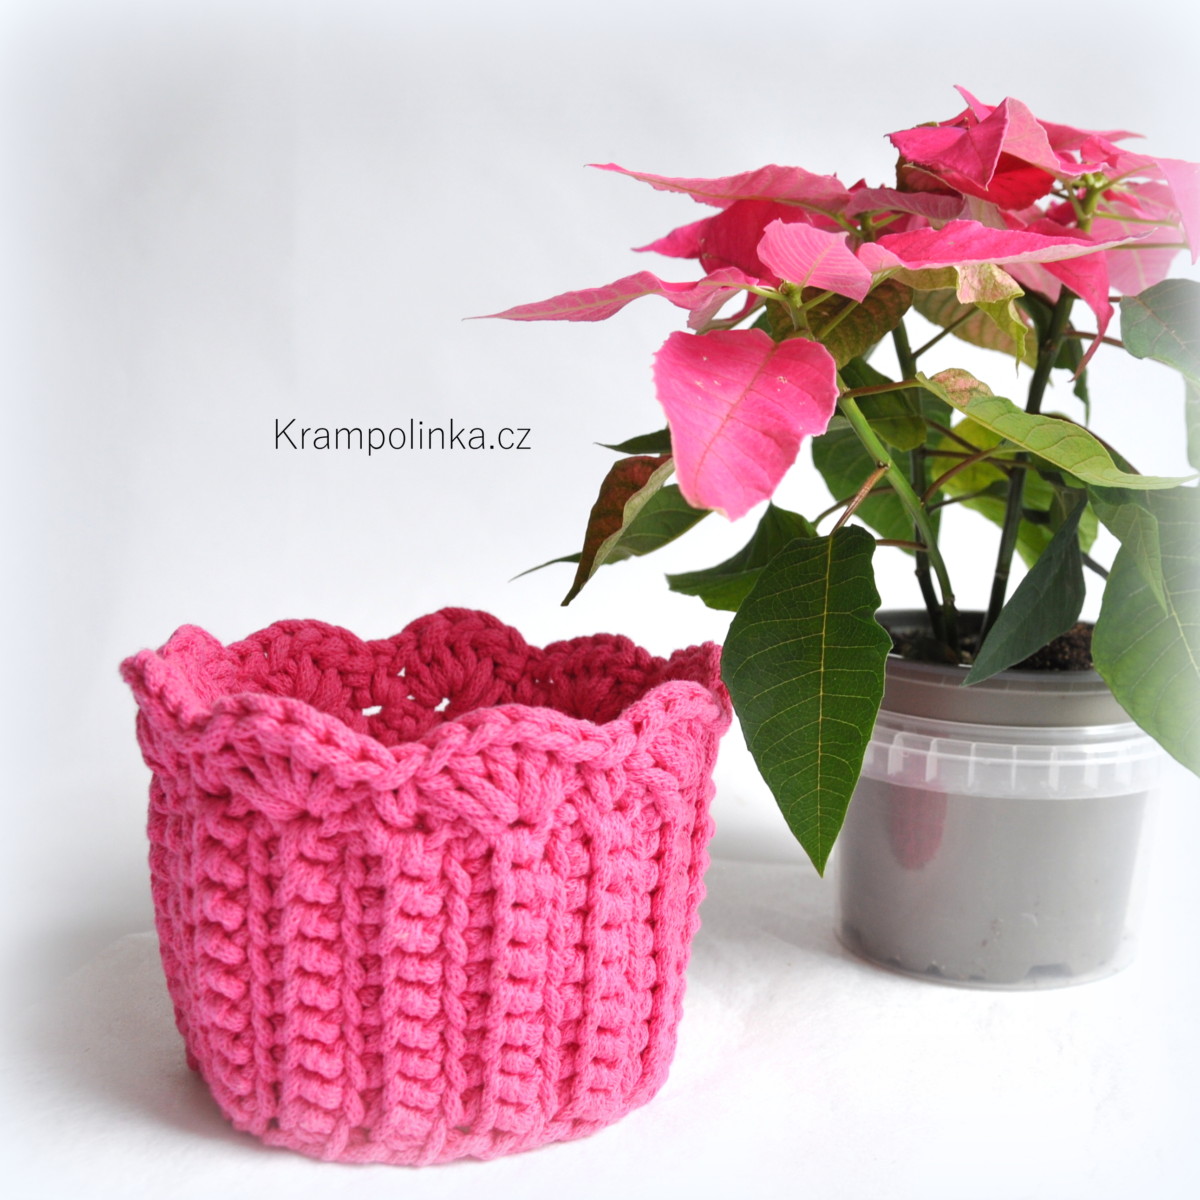
Edging – Berry Pink, Hook 6 mm
Turn the cover right side out and crochet around the top edge (the side where you used the 6 mm hook). TCH = substitute for first SC. In the next stitch: 5 DC, then 1 SC in the next stitch. Repeat [5 DC in next stitch, 1 SC in next] all the way around. Finish with a slip stitch to join.
FINISHING TOUCHES
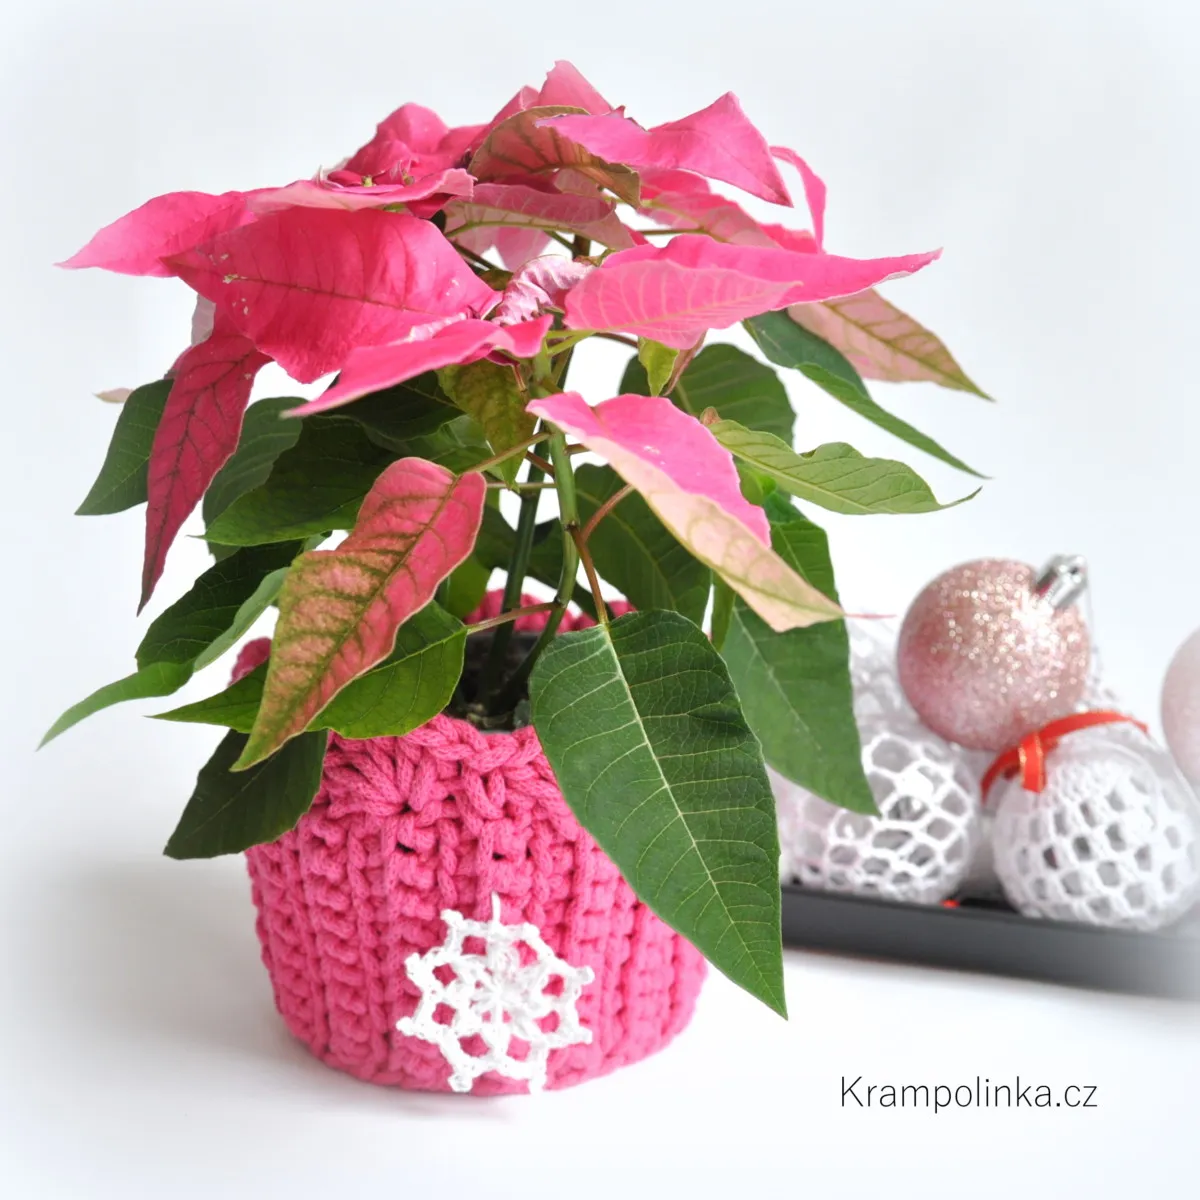
Weave in all loose ends. Sew on a button approximately at the level of the fifth row from the top. Decorate with a label or tag if desired.
Permissions
This pattern is intended for personal use only. If you would like to use it for commercial purposes, please contact me first. Always include the source link: www.krampolinka.com when sharing your projects online. The pattern is specifically written for the yarn, hook size, and tension used in this sample. If you use a different yarn or hook, your final bag size and shape may vary.
Enjoy this free pattern and you can follow my latest projects, tutorials, ideas, reviews, video podcasts, tips, and tricks:
- Krampolinka YouTube videos (subtitled since 2024)
- Krampolinka Instagram
- Krampolinka FB group
-

- Crochet Pot Cover for christmas
-

- Simple crochet project for beginners
-
- We crochet a strip and then we joint them

-

- I crochetted with 5mm cord


No Comments