
Autumn Stylish Slouchy Hat with Flower Pattern from the New Perfetto Soft Yarn
When I first unwrapped the Perfetto Soft skeins, I was immediately surprised by the softness and fluffiness of the fiber. Thanks to the finer twist, the yarn feels airy and is a real pleasure to touch. Each skein has 100 g and 235 meters and is made of 100% acrylic. Perfetto Soft is therefore the perfect choice for those who cannot tolerate wool but still want to wear warm pieces.
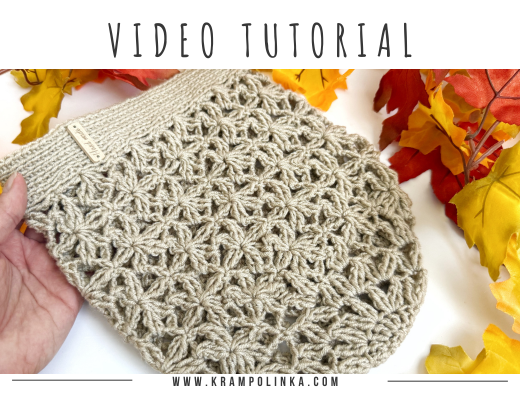
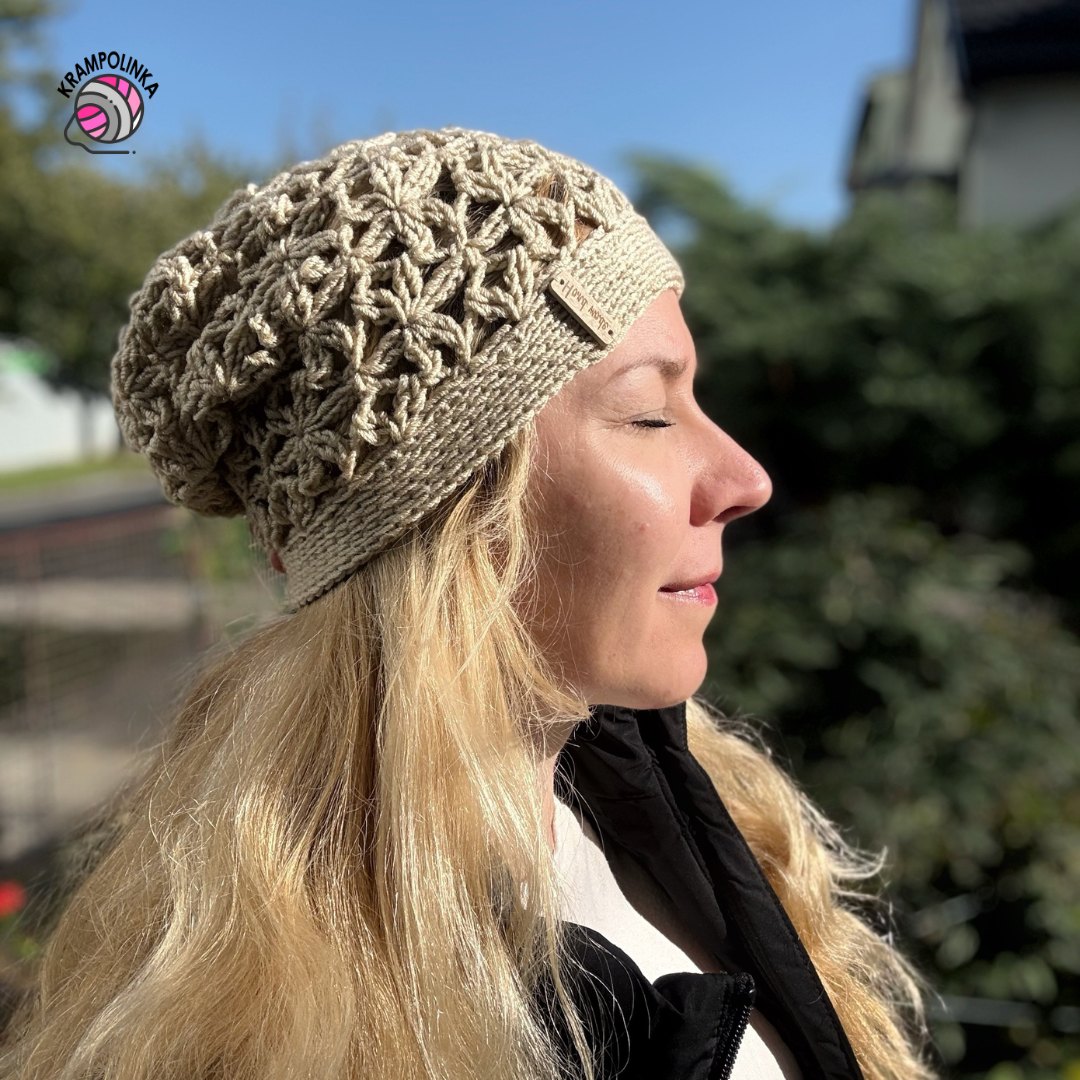
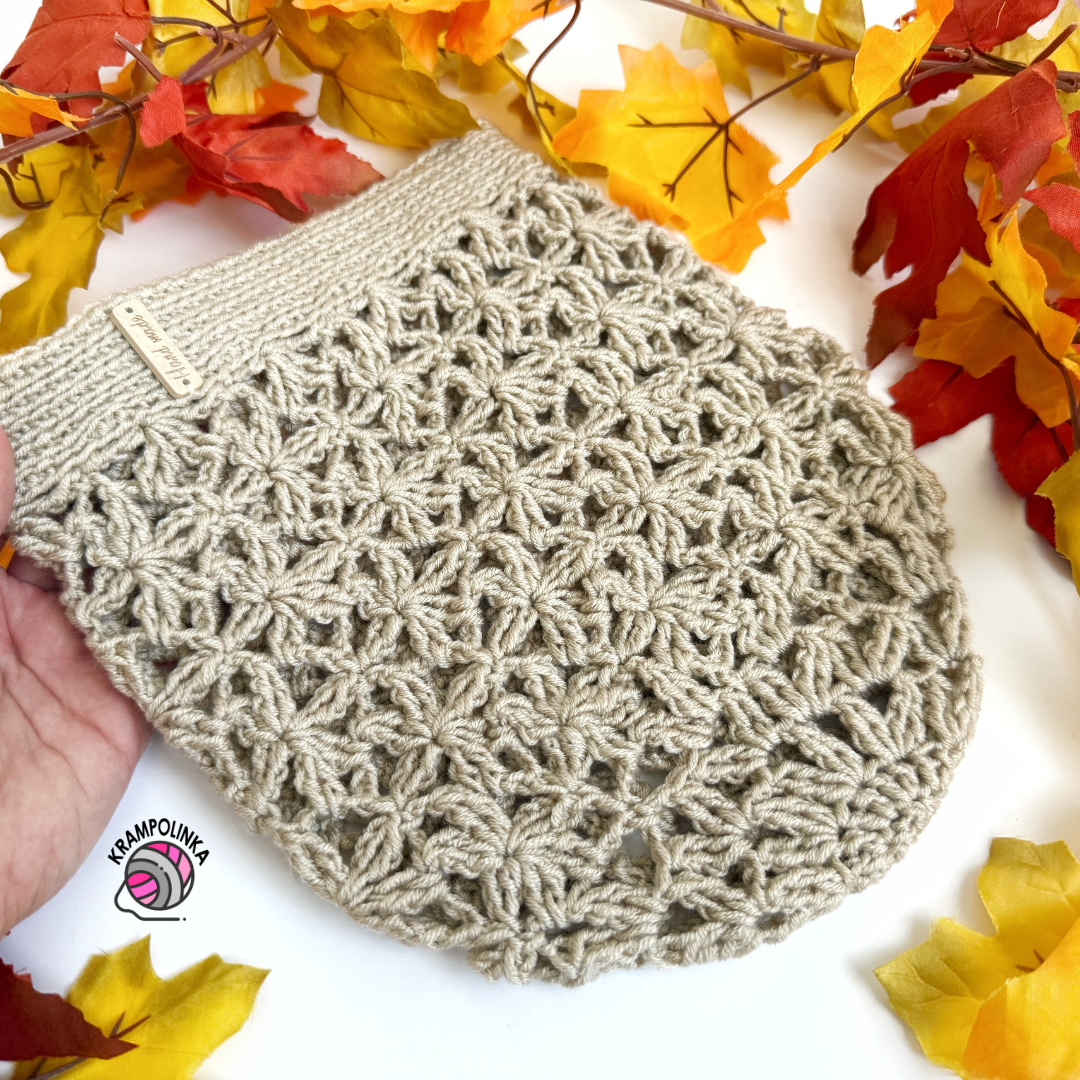
On the hook, I tried combining this yarn weight with a simplified flower pattern made of double treble crochet stitches. The result is a trendy lacy slouchy hat that looks airy yet keeps the ears beautifully warm.
In general, Perfetto Soft yarn is suitable for crocheted clothing from autumn to spring, hats and scarves, soft blankets and pillows, and even toys. Another big plus is the OEKO-TEX 100 certificate, which guarantees safety and skin-friendliness.
You can watch the unboxing of the yarn package here. You can get the yarn at a great price and in a beautiful color range at Bavlnkarna.cz, and for our Slovak friends at Bavlnkaren.sk.
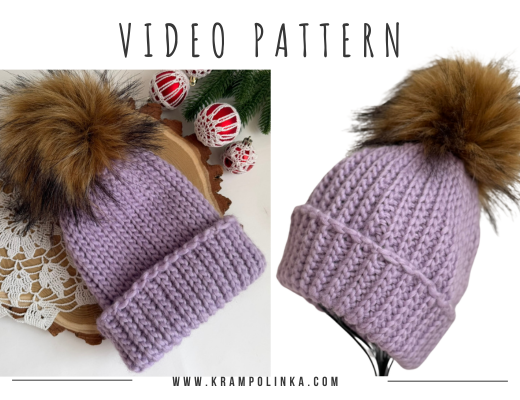
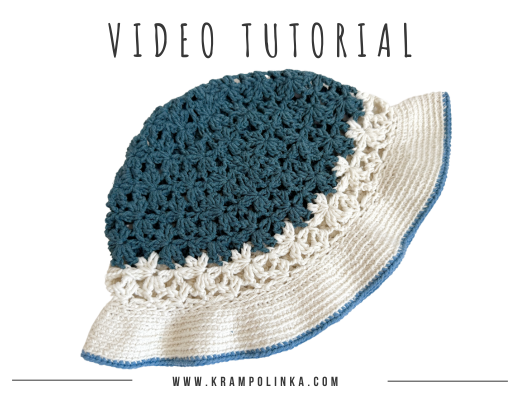
📹 VIDEO TUTORIAL PREMIERE – Sunday, September 21, 2025, at 10:00 AM with ENGLISH SUBTITLES
The slouchy hat starts from a magic ring and is worked continuously on the right side. The first rounds are made with double crochet stitches, then we switch to the flower pattern, which is gradually increased. With this tutorial, you can crochet two sizes – for a 48 cm head circumference, the hat has 8 flowers, and for a 54–56 cm head circumference, the hat has 11 flowers. Just decide whether you want to start adding in the pattern from the fifth round.
The first rounds are closed with a slip stitch. I found it works best to replace the first double crochet with three chain stitches and to crochet the slip stitch at the end of the round into the second chain. In the flower pattern and when crocheting arches from chain stitches, we combine chains and double crochets, so we finish in the middle of the arch. Thanks to this, there is no visible seam on the hat.
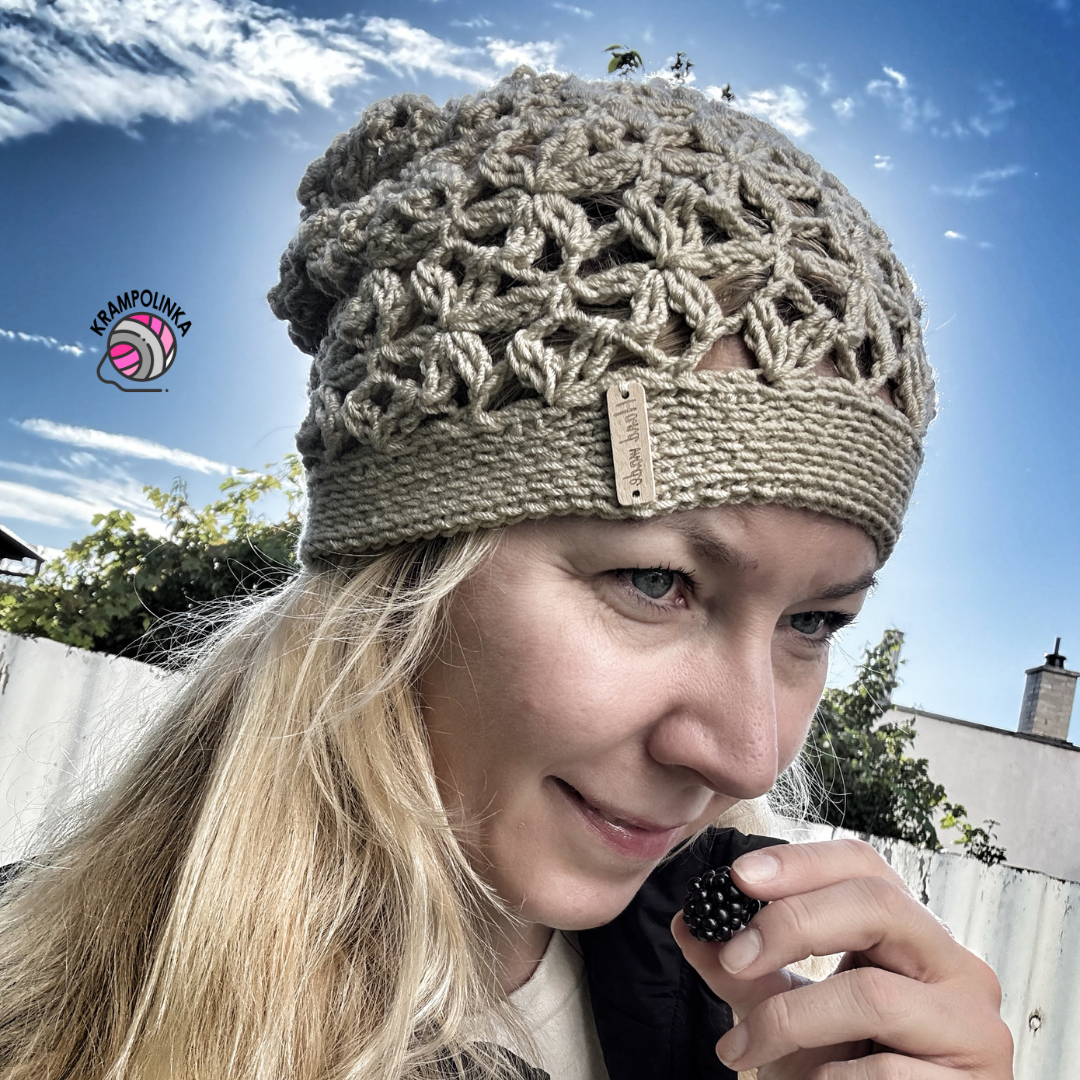
The finishing of the slouchy hat depends on your preferences. If you want only the floral look, crochet to a length of 25 cm for the child size or 27 cm for the adult size. The last rounds are made of single crochet stitches in a herringbone pattern. If you prefer a warmer brim around the ears, crochet to 22–23 cm for the child size or 24–25 cm for the adult size, and then continue with the herringbone single crochet brim until the desired hat length is reached. For the brim, we paradoxically choose a larger hook size so the hat doesn’t tighten too much.
TIP: If you use two colors of yarn and alternate them every two rounds, you’ll get a beautiful and interesting flower pattern.
I hope your Perfetto slouchy hat turns out beautifully and that you’ll enjoy wearing it with joy. Do you feel like inspiring others or sharing your experience with crocheting or styling the hat? You can post your photos in the Krampolinka Facebook group. On Instagram, please use the hashtag #homeleskaperfetto for easy searching. If you tag me in your projects made with my patterns, I may reshare them in my InstaStories to inspire others.
PERFETTO SLOUCHY HAT
Yarn: Mez Cucirini Perfetto Soft from Bavlnkarna.cz or Bavlnkaren.sk
Yarn usage: 1 skein
Hook: 4 mm for the hat, 5 mm for the brim
Size: brim width 24 cm, length 27 cm
Notions: yarn needle with a large eye, tag/label for decoration
Time estimate: approx. 2 hours
Skill level: adventurous beginner
Abbreviations (US terms):
- ch = chain
- sl st = slip stitch
- dc = double crochet
- sc = single crochet
- tr = treble crochet (double-treble in UK terms)
- petal = made of ch 4 + tr, OR two tr crocheted together
- bottom half of the flower = ch 4 + tr, 2 tr together, 2 tr together, all joined together + ch 1 and 1 petal into the center of the cluster
- top half of the flower = petal – ch 4 – petal, crocheted into the center of the flower from the previous row
Hat (Hook 4 mm)
Round 1: Into a magic ring crochet ch 3 (counts as 1 dc), 8 dc. Join with sl st into the 2nd chain of the starting ch-3. (9 sts)
Round 2: Ch 3 (counts as 1 dc), dc in the same st. Continue with 2 dc in each st around. Join with sl st into the 2nd chain of the starting ch-3. (18 sts)
Round 3: Ch 4 (counts as tr), tr in the same st, crochet 2 tr together. Skip 1 st, ch 2. The repeat for this round is: 2 tr together – ch 2 – 2 tr together, skip 1 st, ch 2. Repeat to end. At the end of the round, work 2 tr together, ch 1, sc into the first tr cluster of the round. Finish in the middle of the arch. (9 clusters)
Round 4: Ch 4 (counts as tr), tr in the same st, crochet 2 tr together. The repeat for this round is: 2 tr together – ch 3 – 2 tr together under the ch-space of the previous round. To increase, also place 2 tr together – ch 3 – 2 tr together into the ch-space between two clusters. In this round, increase 3 times, meaning every 4th pattern is worked between clusters. You’ll have 12 clusters. At the end of the round, work 2 tr together, ch 1, dc into the first tr cluster. Finish in the middle of the arch. (12 clusters)
Round 5: Ch 1, sc into the arch. Ch 4, then crochet the top half of the flower: 2 tr together – ch 4 – 2 tr together into the ch-space of the pattern. Continue with the repeat: ch 4 – sc between clusters – ch 4 and top half of the flower into the arch – ch 4 – sc into the arch – ch 4 and top half of the flower into the next arch. In total, you’ll have 8 flower clusters combined with sc in this round. At the end, ch 2, dc into the sc. Finish in the middle of the arch.
Round 6: Begin with a petal, then crochet the second petal into the next arch, join them together, ch 1. Into the center of the flower, crochet 1 petal, then sc into the arch of the top half of the flower from the previous row.
In this round we increase 3 times. For an increase: crochet 1 petal into the sc, 1 petal into the arch of the top half of the flower from the previous row, 1 petal into the first chain arch, join together, ch 1. Into the center of the flower crochet 1 petal, then dc into the sc.
The second flower is worked as a mirror: 1 petal into the dc, 1 petal into the chain arch, 1 petal into the top half of the flower, join, ch 1. Into the center of the flower crochet 1 petal, then sc under the sc.
When not increasing, crochet: 1 petal into the sc, 1 petal into the first arch, 1 petal into the second arch, join together, ch 1. Into the center of the flower crochet 1 petal, then sc under the chain arch in the top half of the flower from the previous row. At the end of the round, crochet 1 petal into the sc and finish with sl st into the center of the flower. By the end of this round, you have the base for 11 flowers.
Round 7: Start with 1 petal. Continue with the pattern: ch 4 – sc into sc (or into dc in this round) – ch 4. Into the flower center: petal – ch 4 – petal. Repeat across. At the end of the round, crochet 1 petal, ch 2, dc into the joined stitch of the first petal of the round.
Round 8: Ch 1 instead of sc, sc under the arch. Crochet 1 petal into the sc, 1 petal into the first arch, 1 petal into the second arch, join them together, ch 1. Then 1 petal into the flower center, sc into the chain arch of the top half of the flower from the previous row. Repeat to end. Join with sl st.
Round 9: Ch 1 instead of sc, sc under the arch – ch 4. Crochet petal – ch 4 – petal into the flower center, then ch 4 – sc into sc – ch 4. Repeat across. At the end: ch 2, dc into the sc. Finish in the middle of the arch.
Round 10: Start with 1 petal, then crochet the second petal into the next arch, join them together, ch 1. Into the flower center: crochet 1 petal, then sc under the arch of the top half of the flower. Continue with the flower pattern. At the end of the round, crochet the last petal into the flower center.
Rounds 11–16: Repeat rounds 7–10. End on a round where you have the bottom halves of the flowers with a straight edge.
Brim of the Slouchy Hat (Hook 5 mm)
Round 1: Ch 1 instead of sc. Yarn over the chain, insert the hook under the stitch of the petal, yarn over and pull through all loops on the hook, yarn over and make 1 sc.
For the herringbone single crochet (hsc): insert the hook into the front loop of the previous stitch, then under the stitch of the petal, yarn over, pull through all loops on the hook, yarn over and make 1 sc.
Pattern repeat for this round: 3 hsc under the stitch – 1 hsc into the flower center – 3 hsc under the stitch – 1 hsc into the sc. Join with sl st at the end of the round.
Rounds 2–5: Ch 1 instead of sc. Yarn over the chain, insert the hook under the stitch of the petal, yarn over and pull through all loops on the hook, yarn over and make 1 sc. Then continue with herringbone single crochet in the back loop only of the stitch from the previous round. Join with sl st at the end of the round.
Note: The number of brim rounds can be adjusted to your own preference. The brim can also be crocheted continuously in a spiral without joining. In this case, finish the last round with two slip stitches in the back loop only.
Finishing
Weave in all loose ends.
Usage and Permissions
This pattern is intended for personal use only. If you would like to use it for commercial purposes, please contact me first. Always include the source link: www.krampolinka.cz when sharing your projects online. The pattern is specifically written for the yarn, hook size, and tension used in this sample. If you use a different yarn or hook, your final bag size and shape may vary.
Enjoy this free pattern and you can follow my latest projects, tutorials, ideas, reviews, video podcasts, tips, and tricks:
- Krampolinka YouTube videos (subtitled since 2024)
- Krampolinka Instagram
- Krampolinka FB group
-
- Soft and fluffy Perfetto Soft yarn ready for a cozy autumn project.
-

- Beautiful flower pattern detail forming in the body of the hat.
-
- Starting the slouchy hat from a magic ring with double crochet stitches.
-

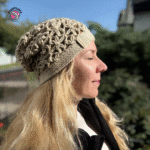
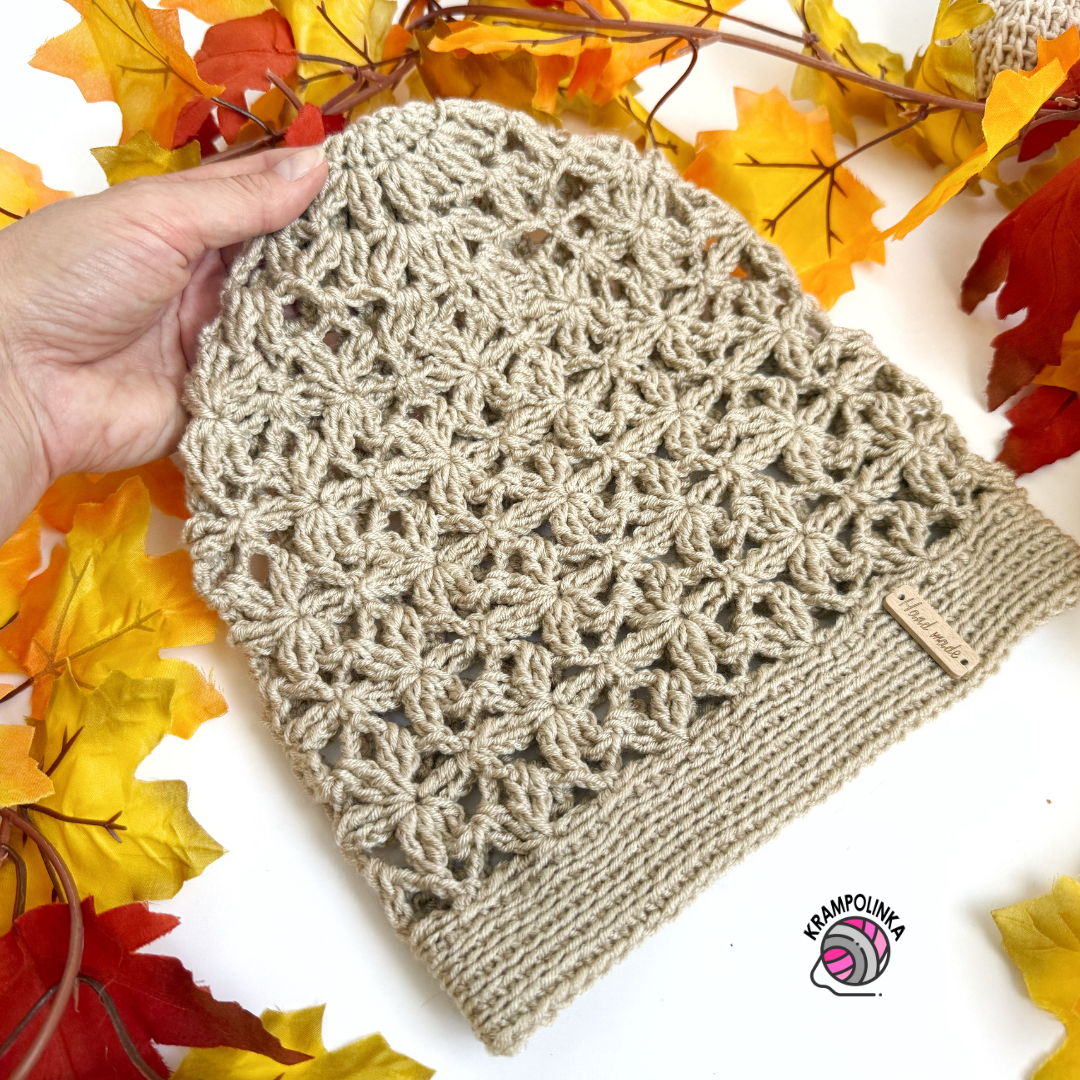
- Finished Perfetto Slouchy Hat – airy, trendy, and perfectly snug around the ears.
-
- Working the herringbone single crochet brim for extra warmth and style.

-
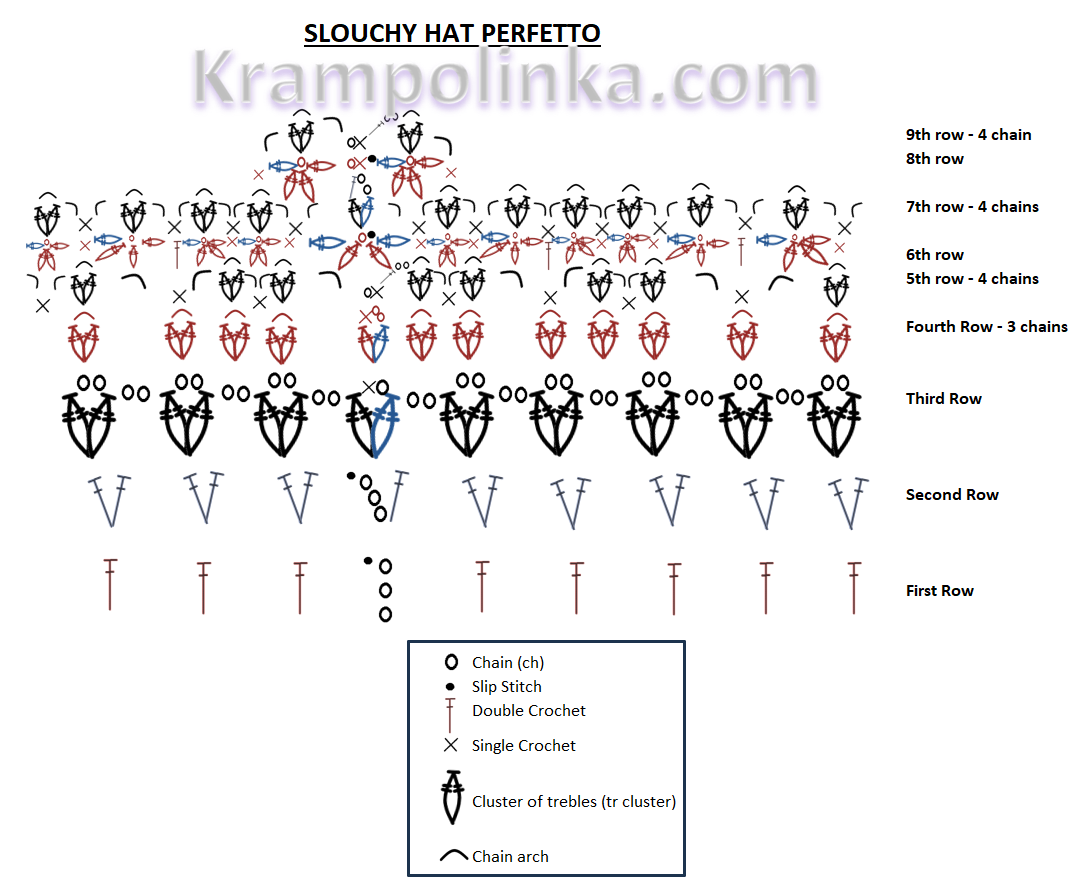
- Crochet Diagram Perfetto slouchy hat

1 Comment
[…] this yarn, we also crocheted the Perfetto slouchy beanie, which perfectly complements the […]