
Crochet headbands made with a vintage 1935 stitch pattern and merino wool are a beautiful and practical accessory for the winter season.
In this tutorial, you will find instructions for a crochet headband made with two different yarn types. Both yarns work perfectly with the pattern and are ideal for the upcoming winter.
Vlna Hep Dream is 100% Australian merino wool. One 50 g ball contains 125 m (which corresponds to 250 m per 100 g). This yarn weight is suitable for hats, cowls, scarves, sweaters, blankets, and headbands for autumn and spring. If you crochet it double-stranded, you will get a wonderfully thick winter yarn (equivalent to 100 g/125 m). The yarn is excellent for crocheted garments.
Vlna Hep Extra is 100% South American merino wool. One 50 g ball contains 81 m (162 m per 100 g). This yarn weight is perfect for winter headbands, beanies, cowls, and also oversized sweaters and vests. The yarn is incredibly soft, fluffy, and pleasant to wear.
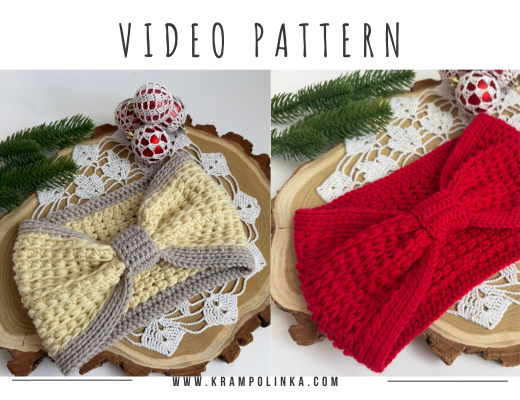
VIDEO TUTORIAL (Czech but ENGLISH SUBTITLES INCLUDED) PREMIERE December 2nd, 19:00
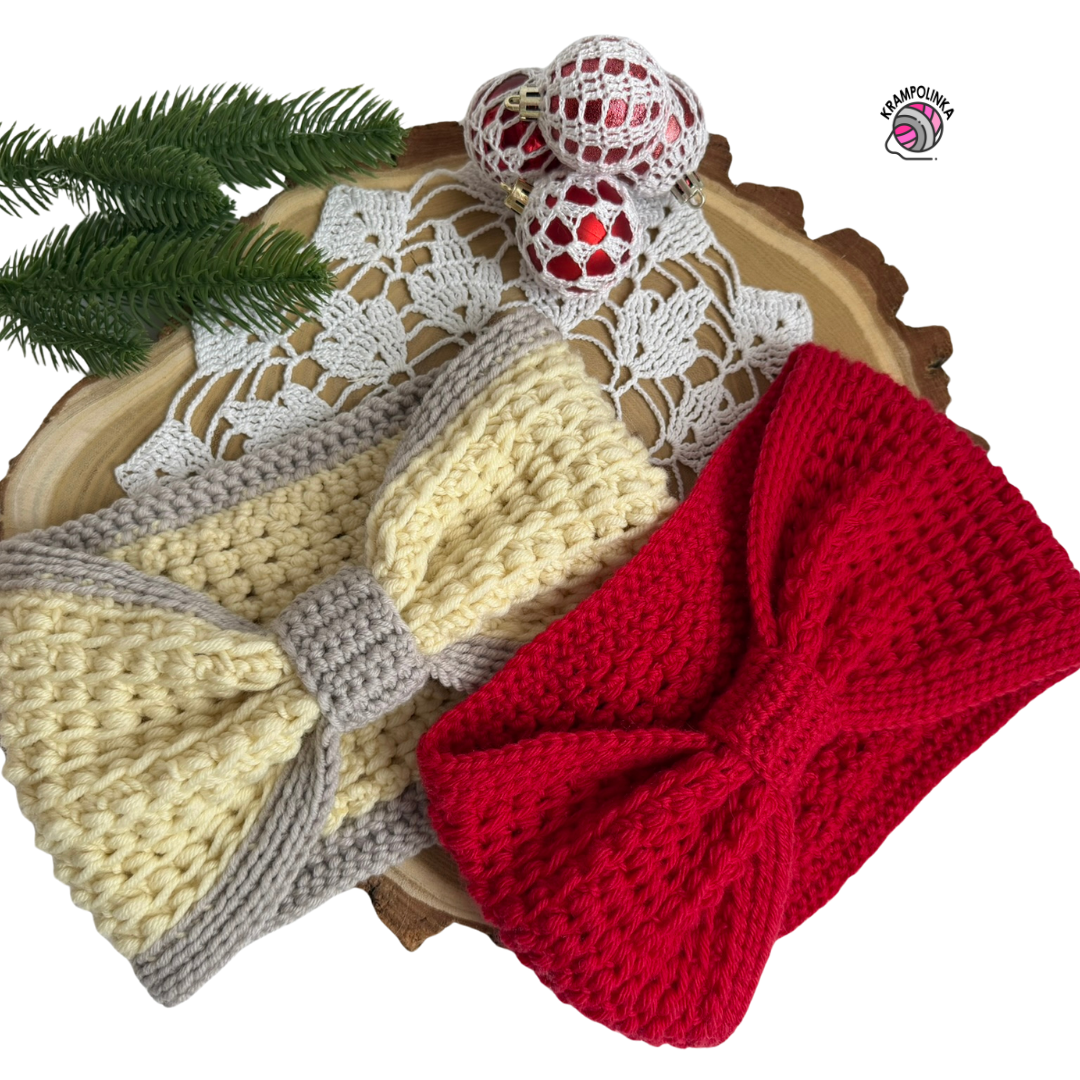
I found the inspiration for this stitch in the book Nomota from 1935. The stitch originally looked slightly different, but during testing this modern variation emerged. The pattern is nicely textured and works wonderfully with thicker yarns, such as the yellow Extra headband. For comparison, I also prepared the pattern and a finished headband using the thinner Dream yarn (red).
The stitch needs to be crocheted in continuous rounds in one direction, otherwise it loses its final appearance. The pattern consists of two chain stitches worked into the back loop and joined together at the top. I named the stitch the double chain stitch. The headband is crocheted in one continuous spiral without joining the rounds to avoid a visible seam. Beginners can absolutely manage this pattern. Just pay attention when working the first pattern row. To make the edges firmer, we alternate hook sizes on the sides of the headband.
The headband starts with a foundation chain with an even number of stitches. The pattern includes separate instructions for Dream and Extra yarn. Once the headband reaches a height of about 12 cm, we continue by crocheting the edging. The edging is worked with back loop slip-stitch ribbing (fishbone stitch). At the top of the headband, I recommend finishing the last row with back-loop slip stitches to help shape the edge. Then crochet the bottom edging using the same stitch (without slip stitches here). Finally, create a small band that gathers the center of the headband. This creates a gentle front twist and also hides the end of the rounds.
For the Dream headband, one ball was enough. For the Extra headband, I used two balls in two colours. Choose your hook size based on your own tension. Both yarns stretch well, so crochet the headband so that it fits “just right” — it will loosen slightly with wear. If you like the pattern, you can also crochet a matching hat using my Merino Big Beanie pattern.
💡 TIP: For children’s headbands, simply adjust the number of foundation chains and the total height of the band.
I hope your Extra Dream Headband turns out beautifully and brings you joy. Would you like to inspire others or share your experience with crocheting or styling the headband? Feel free to upload your photos to KRAMPOLINKA Facebook Group. For easy searching on Instagram, please use the hashtag #celenkaextradream. If you tag me, I’ll be happy to share your post in my Stories.
EXTRA DREAM HEADBAND
Yarn: Vlna Hep Dream, Vlna Hep Extra
Yardage: 1 × Dream (red), 2 × Extra (vanilla and grey), available in your favourite yarn shop
Hook sizes:
– 4 mm for Dream headband
– 6 mm for Extra headband
– one size smaller for ribbing
Finished measurements (for head circumference 55–56 cm):
– Dream headband: height 14 cm, width 23 cm
– Extra headband: height 15 cm, width 22 cm
Notions: label/tag, tapestry needle, scissors
Time estimate: approx. 3 hours for Dream, 2 hours for Extra
Skill level: Beginner-friendly
Abbreviations and Stitches
CH – chain
SL ST – slip stitch
SC – single crochet
DCH – double chain stitch:
Insert the hook into the back loop of the stitch, CH 1.
Insert the hook into the same stitch again, CH 1.
YO and pull through all loops on the hook.
BL FSSC – back-loop fishbone single crochet:
Insert the hook under the strand of the previous stitch and into the back loop of the next stitch, YO, pull up a loop through both strands, YO and complete a single crochet.
Dream Headband (red), 4 mm hook — US terms
Round 1: Ch 84, join with a sl st into a ring (do not twist the chain).
>Round 2: Ch 1 (counts as sc), sc in each st around; continue directly to stitch pattern.
>Round 3: Work DCH, skip 1 – DCH, skip 1 – DCH, skip 1 – DCH – DCH around (approx. 47 pattern columns), continue in a spiral.
Rounds 4–16: Work DCH in each stitch in the back loop only, continue in a spiral without joining; in the last round finish with: BL ch 1, pull through two loops (as a sl st), sl st in next st, sl st in next st to close.
Dream Ribbing (4 mm / 3.5 mm hook)
Round 17: Ch 1 (counts as sc), work 2 × BL FSSC in each stitch around, sl st to finish.
>Round 18: Ch 1, work BL FSSC in each stitch around, sl st to finish.
>Round 19: Ch 1 (counts as sl st), work loose BL sl st around using a 4 mm or 5 mm hook, sl st to finish, fasten off.
Bottom Ribbing (4 mm hook)
Round 1: Attach yarn at the seam, ch 1, work BL FSSC around the foundation chain, sl st to finish.
Round 2: Ch 1, work BL FSSC around, sl st to finish, fasten off.
Center Band (Dream, 4 mm hook)
Row 1: Ch 8 + ch 1, turn (9 sts total with turning ch).
Row 2: Sc in 2nd ch from hook and across (9 sc), turn.
Rows 3–17: Ch 1 (counts as sc), sc across (9 sc), turn.
Row 18: Wrap the band tightly around the center of the headband (cover the seam) and sl st both edges together on the wrong side, fasten off.
Finishing
Weave in all ends and sew on the label.
Extra Headband (yellow), 5 mm + 6 mm hook — US terms
Round 1: Ch 76.
Round 2: Ch 1 (counts as sc), sc in each stitch; continue directly to stitch pattern.
(Switch to 6 mm hook, yellow)
Round 3: Work DCH, skip 1 – DCH, skip 1 – DCH, skip 1 – DCH – DCH around (42 pattern columns); continue in a spiral without joining.
Rounds 4–13: Work DCH in each stitch in the back loop only; continue in a spiral without joining.
Extra Ribbing (grey, 5 mm hook)
Round 14: Ch 1 (counts as sc), work 2 × BL FSSC in each stitch around, sl st to finish.
>Round 15: Ch 1, work BL FSSC in each stitch around, sl st to finish.
>Round 16: Ch 1 (counts as sl st), work loose BL sl st around using a 5 mm or 6 mm hook, sl st to finish, fasten off.
Bottom Ribbing (grey, 5 mm hook)
Round 1: Attach yarn at the seam, ch 1, work BL FSSC into the stitch loops of the foundation chain, sl st to finish.
Round 2: Ch 1, work BL FSSC around, sl st to finish, fasten off.
Center Band (grey Extra yarn, 5 mm or 4 mm hook as needed)
Row 1: Ch 6 + ch 1, turn (7 sts total with turning ch).
Row 2: Sc in 2nd ch from hook and across (7 sc), turn.
Rows 3–15: Ch 1 (counts as sc), sc across (7 sc), turn.
Row 16: Wrap the band tightly around the center of the headband (cover the seam) and sl st both edges together on the wrong side, fasten off.
Finishing
Weave in all ends and sew on the label.
Copyright Notice
This pattern is for personal use only. For commercial use, please contact me directly. Always include the source credit: www.krampolinka.com. The pattern is designed specifically for this yarn, hook size, and my personal tension. If you use a different yarn, hook, or tension, your final product may vary in size or shape.
Enjoy this free pattern and you can follow my latest projects, tutorials, ideas, reviews, video podcasts, tips, and tricks:
- Krampolinka YouTube videos (subtitled since 2024)
- Krampolinka Instagram
- Krampolinka FB group
-
- Close-up of the fishbone ribbing that shapes the edges beautifully.

-

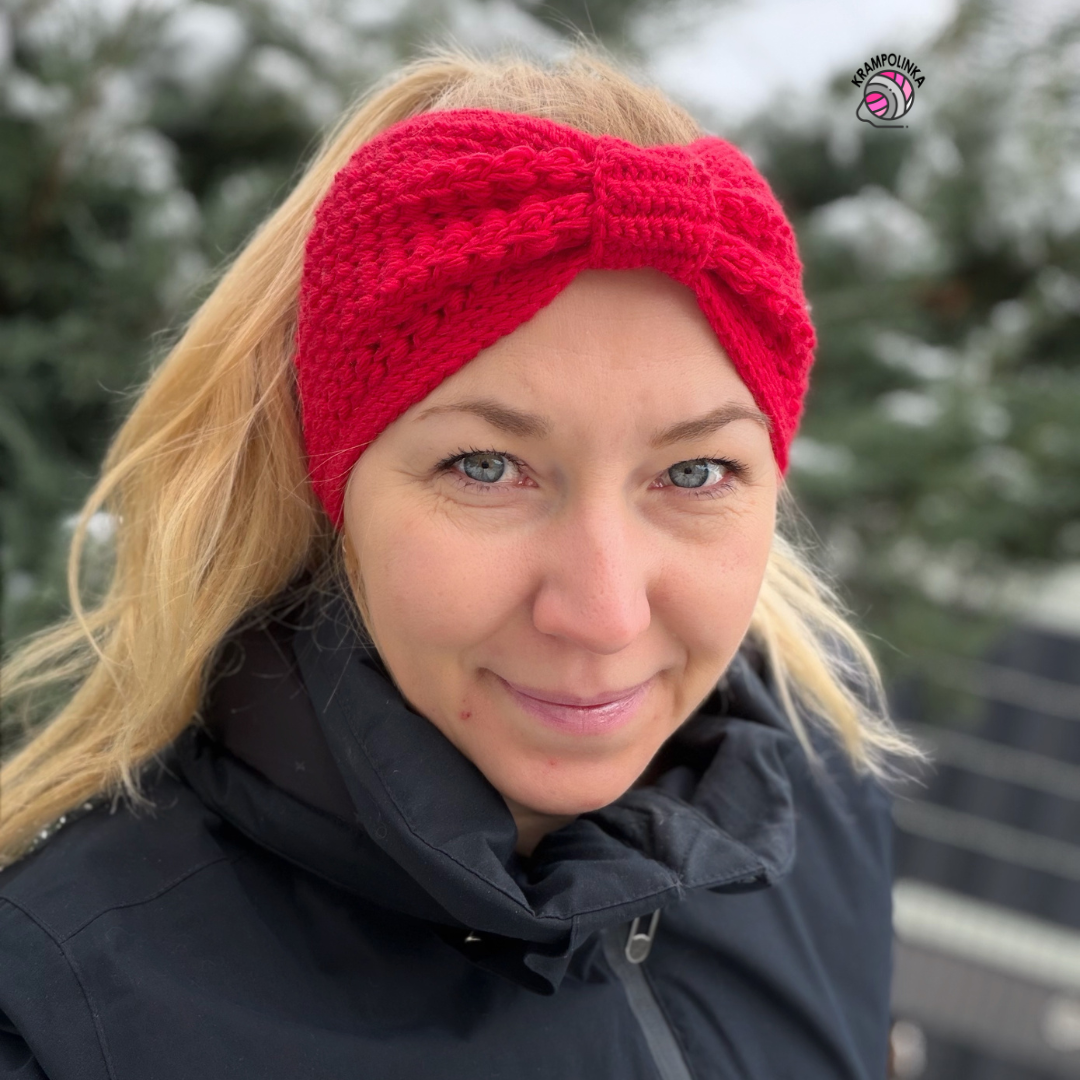
- Dream merino headband in deep red with a soft, stretchy finish.
-
- Both Dream and Extra headbands side by side for comparison.
-

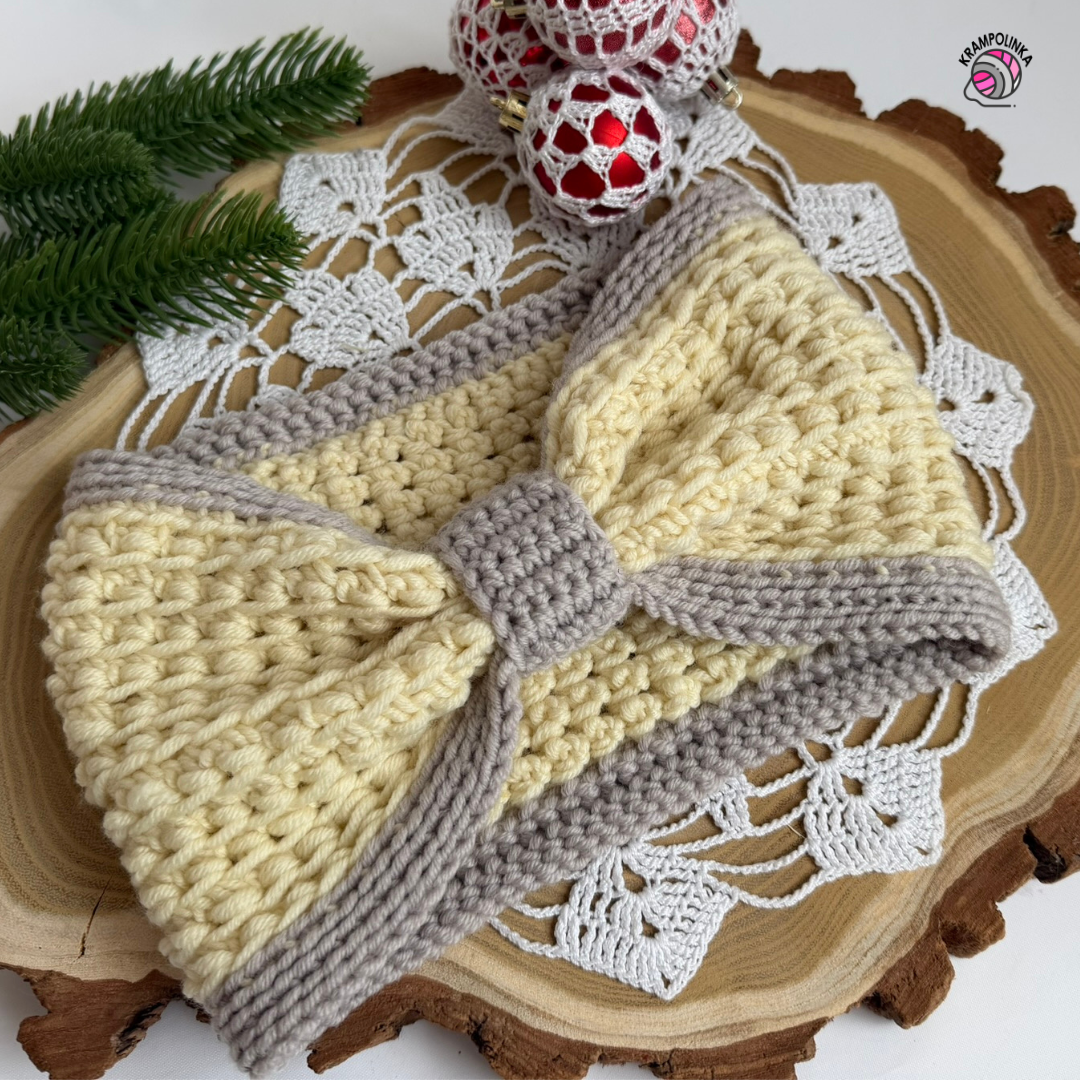
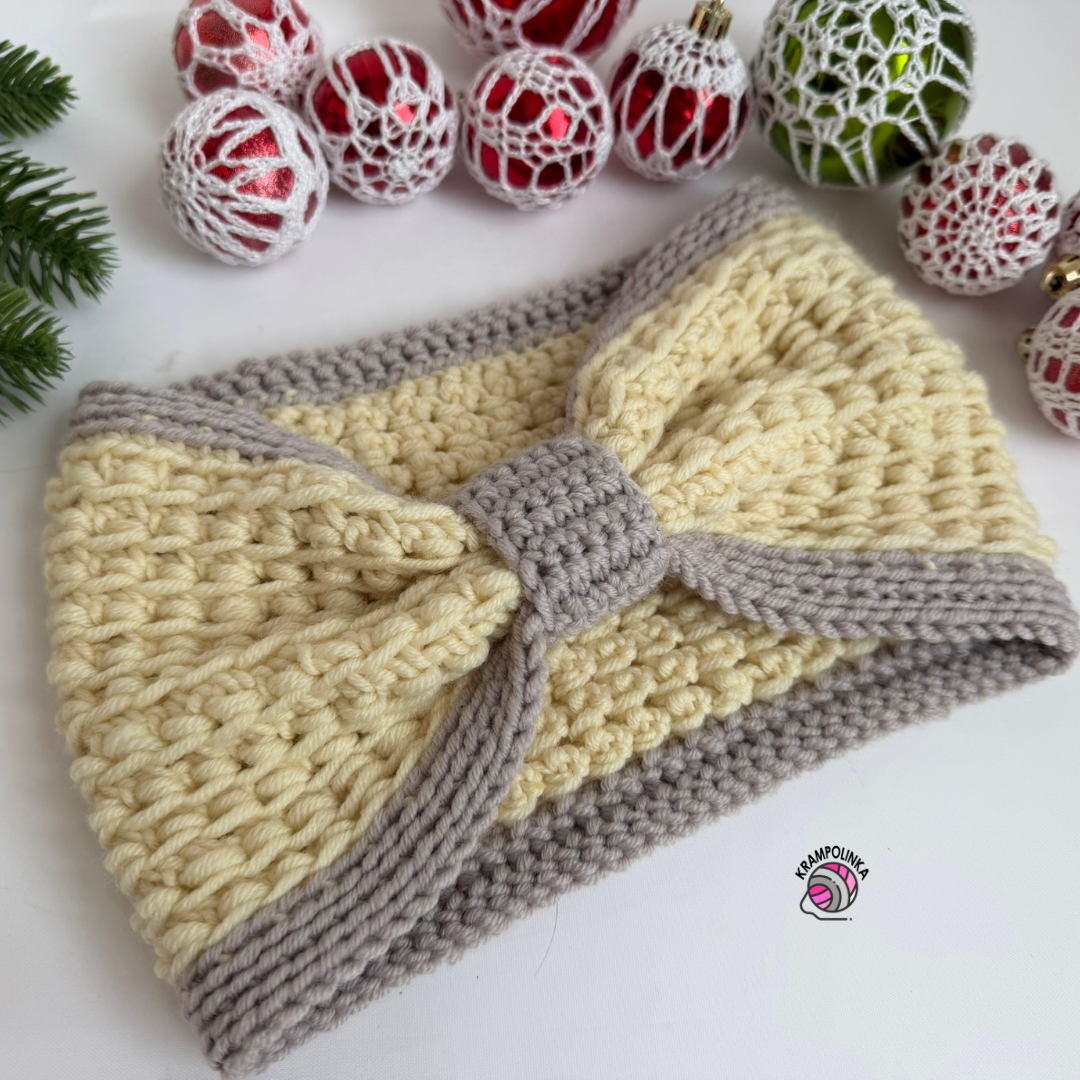
- Detail of the textured 1935-inspired stitch on the Extra headband.
-

- Front knot detail created by the wrapped center band.
-

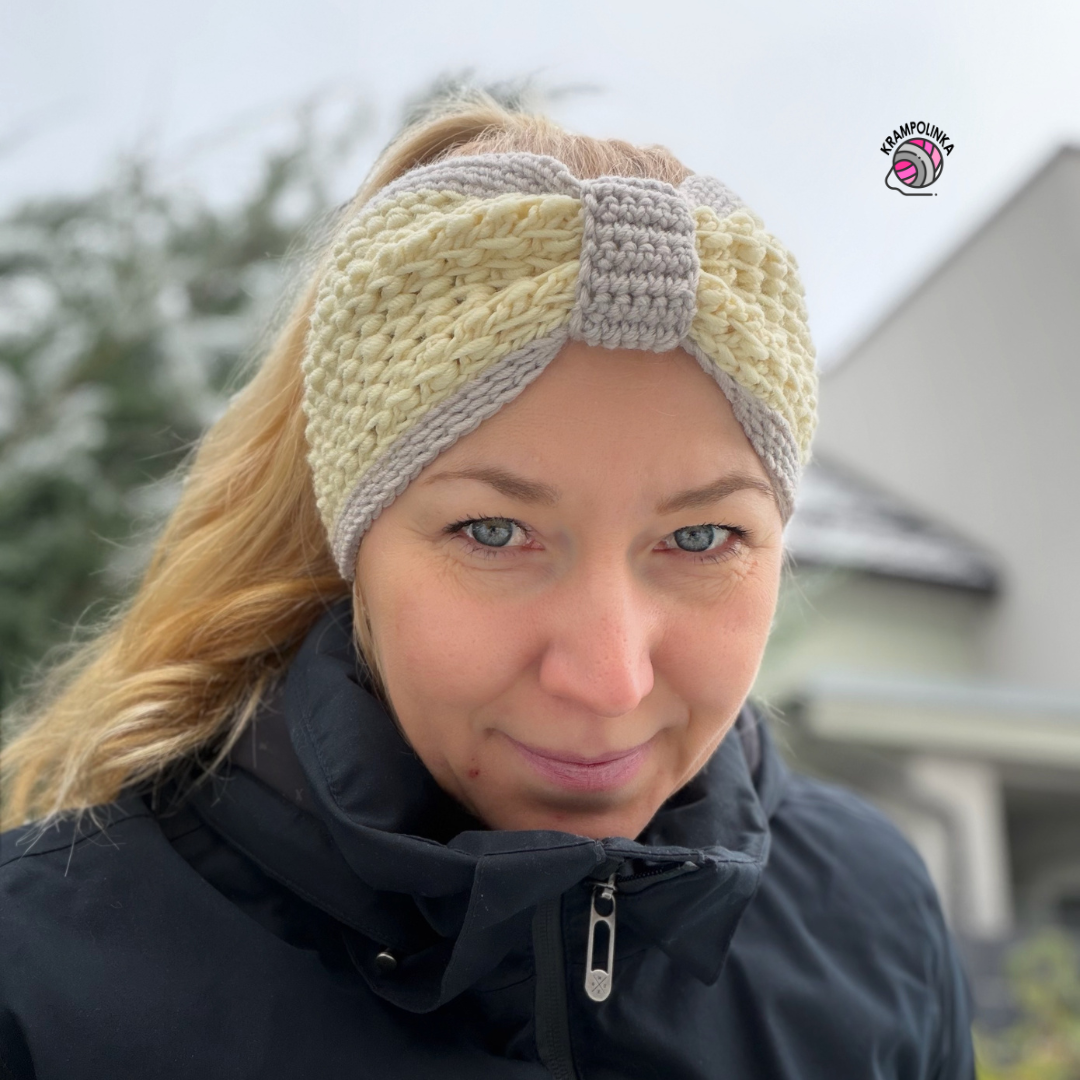
- Extra merino headband in yellow with a bold, chunky texture

No Comments