
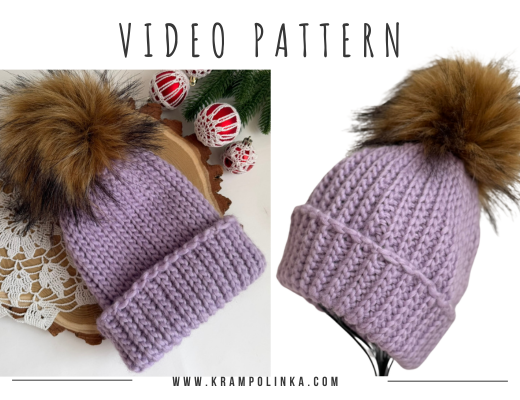
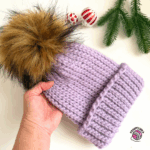
A beanie that looks knitted? You only need to crochet with Drops Snow yarn and use slip stitches.
Drops Snow is an unspun, bulky yarn, 50 g with approximately 50 m and made of 100% wool. It’s also suitable for felting. Thanks to its look and thickness, it’s perfect for oversize projects and really shines on knitting needles. For a soft and flexible crochet piece, you will need a very large hook. I crocheted this Snow beanie using a 10 mm hook. For a cowl, however, I would choose a 12–15 mm hook.
We showed Drops Snow in the “Povídání u klubíčka” podcast, and you can also read the article here. I was lucky to buy the skeins during the Drops sale, so the beanie cost me only 120 CZK! But the regular price is very friendly as well. Just check out ProHáčkování.cz.
VIDEO TUTORIAL (Czech but ENGLISH SUBTITLES INCLUDED)
Crocheting the Snow beanie is beginner-friendly. You start with a foundation chain and then crochet slip stitches in the back loop only. You create a rectangle, seam it along the long side, cinch the top, sew on a big pompom, and fold the brim.
With these types of beanies, it’s important to keep the sides straight to achieve a real rectangle and not a trapezoid. For this, I recommend marking the first chain stitch as a substitute for the first slip stitch. Start every row of slip stitches in the very first stitch and count your stitches in each row. Insert the last stitch into the substitute stitch of the previous row. At the end of the row, it may look like you’re skipping one stitch. When you turn the work and crochet into the first stitch immediately, this “gap” is always filled. That’s how you achieve straight edges.
As for the height of the beanie, it depends on the length of your starting chain. Crochet 35–38 chains to get enough length for a comfortable brim. The rectangle will shrink a little as you crochet. I used 3 skeins for the beanie.
💡 TIP: For a children’s beanie, crochet 28–33 chains. The pattern is very stretchy. Continuously measure the rectangle around the head as you work.
I hope your Snow Beanie turns out beautifully and you enjoy wearing it. Would you like to inspire others or share your experience with crocheting or styling the Snow Beanie? Feel free to upload your photos to KRAMPOLINKA Facebook Group. For easy searching on Instagram, please use the hashtag #kulichsnow . If you tag me, I’ll be happy to share your post in my Stories.
SNOW BEANIE
Yarn: Drops Snow
Yardage: 3 skeins of the same colour from ProHackovani.cz
Hook: 10 mm
Finished size: 30 cm height of the rectangle, 22 cm after folding the brim, width with brim 21 cm
Giant pompom: from Bambulky výhodně, approx. 20 cm diameter
Time: about 3 hours
Skill level: Beginner-friendly
CH – chain
SL ST – slip stitch
Pattern (10 mm hook)
Row 1:
Crochet a foundation chain of 37 chains + 1 turning chain, turn.
This length creates the height/depth of an adult beanie.
For children, crochet 28–33 chains.
Row 2:
Insert the hook into the second chain from the hook and work a slip stitch.
Continue with slip stitches into the back bump of each chain. Count your stitches.
At the end of the row, turn.
Row 3:
Work 1 CH in place of the first SL ST. Add a stitch marker here.
Insert the hook into the back loop of the first stitch and make a SL ST.
Continue working back-loop-only slip stitches (BLO SL STs).
Count your stitches.
The last slip stitch goes into the substitute stitch (the turning chain). Turn.
Including the substitute stitch, you now have 38 slip stitches.
Rows 4–63:
Work 1 CH instead of the first SL ST.
Continue with BLO SL ST into the first back loop.
Count your stitches in each row.
The last stitch always goes into the substitute stitch.
Mark the first stitch of every row.
You will have a total of 38 stitches per row.
Note:
Adjust the number of rows to the head circumference.
Check the fit by wrapping the strip around the head—once both ends meet, it’s ready for seaming.
Wool/merino stretches, so the rectangle may appear smaller.
My finished rectangle measured 30 × 35 cm.
Seaming (10 mm hook)
Row 64:
Fold the long edges together and seam with slip stitches.
Insert the hook through the back loop on one side and the front loop on the opposite side.
The pattern is reversible—choose whichever side you like more as the right side of the beanie.
Shaping the top
For closing the top, I used cotton yarn Camilla.
Drops Snow is not suitable for tightening as the fibre may break.
Sew around the edge of the beanie using a running stitch, pull tight, and secure on the inside.
Attach a giant pompom from Bambulky výhodně. I sew my pompoms on with a needle and thread.
Fold the bottom edge of the beanie to form a deep brim.
Finishing
Weave in all ends.
Add a tag or label for decoration.
Copyright Notice
This pattern is for personal use only. For commercial use, please contact me directly. Always include the source credit: www.krampolinka.com. The pattern is designed specifically for this yarn, hook size, and my personal tension. If you use a different yarn, hook, or tension, your final product may vary in size or shape.
Enjoy this free pattern and you can follow my latest projects, tutorials, ideas, reviews, video podcasts, tips, and tricks:
- Krampolinka YouTube videos (subtitled since 2024)
- Krampolinka Instagram
- Krampolinka FB group
-
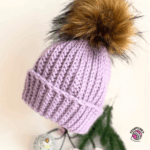
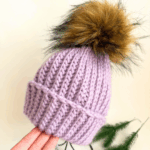
- Chunky crochet beanie made with Drops Snow
-

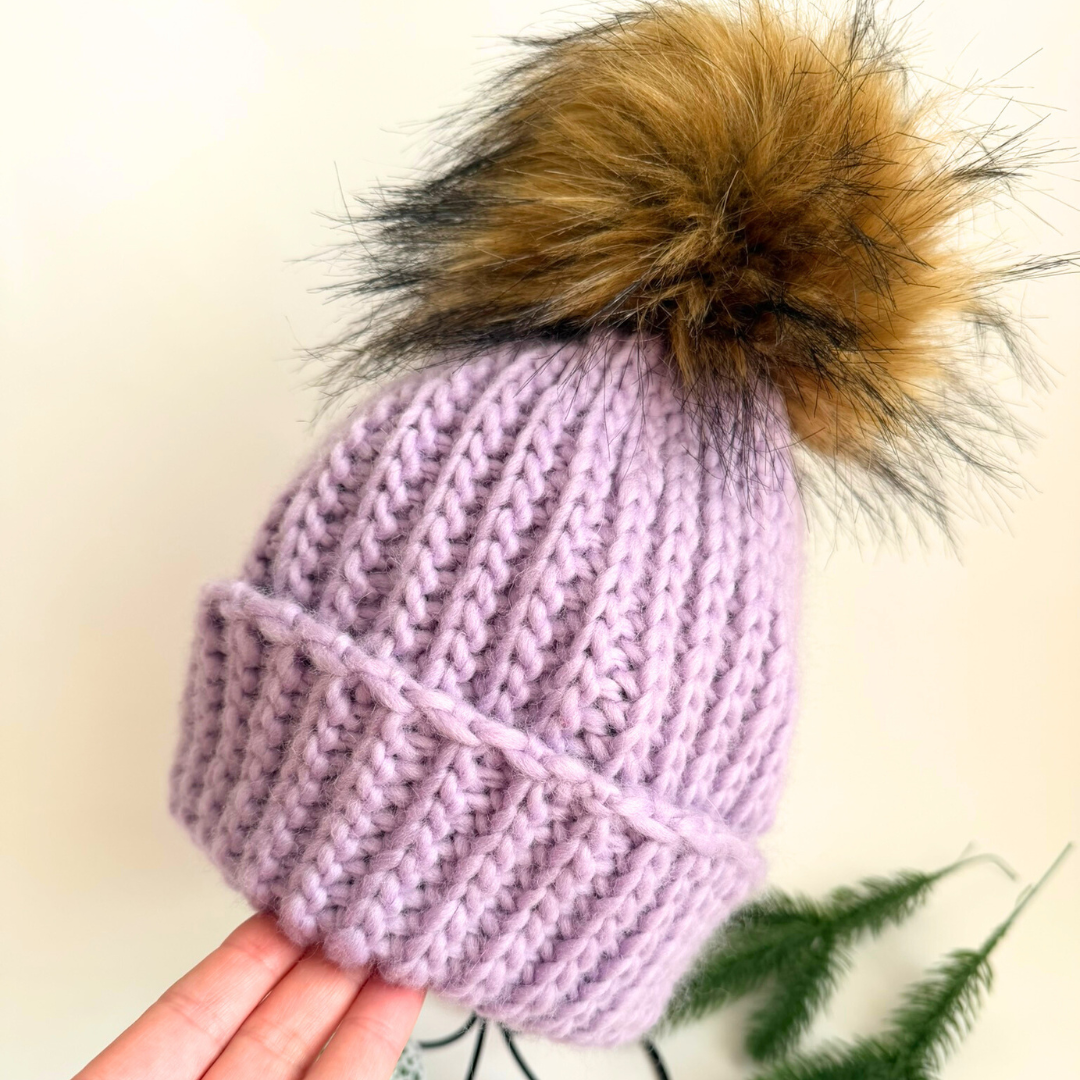
- Cozy winter beanie with an oversized pompom and soft ribbed crochet pattern.
-
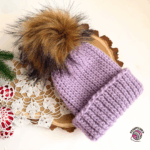
- Beginner-friendly Snow Beanie crocheted with a 10 mm hook
-
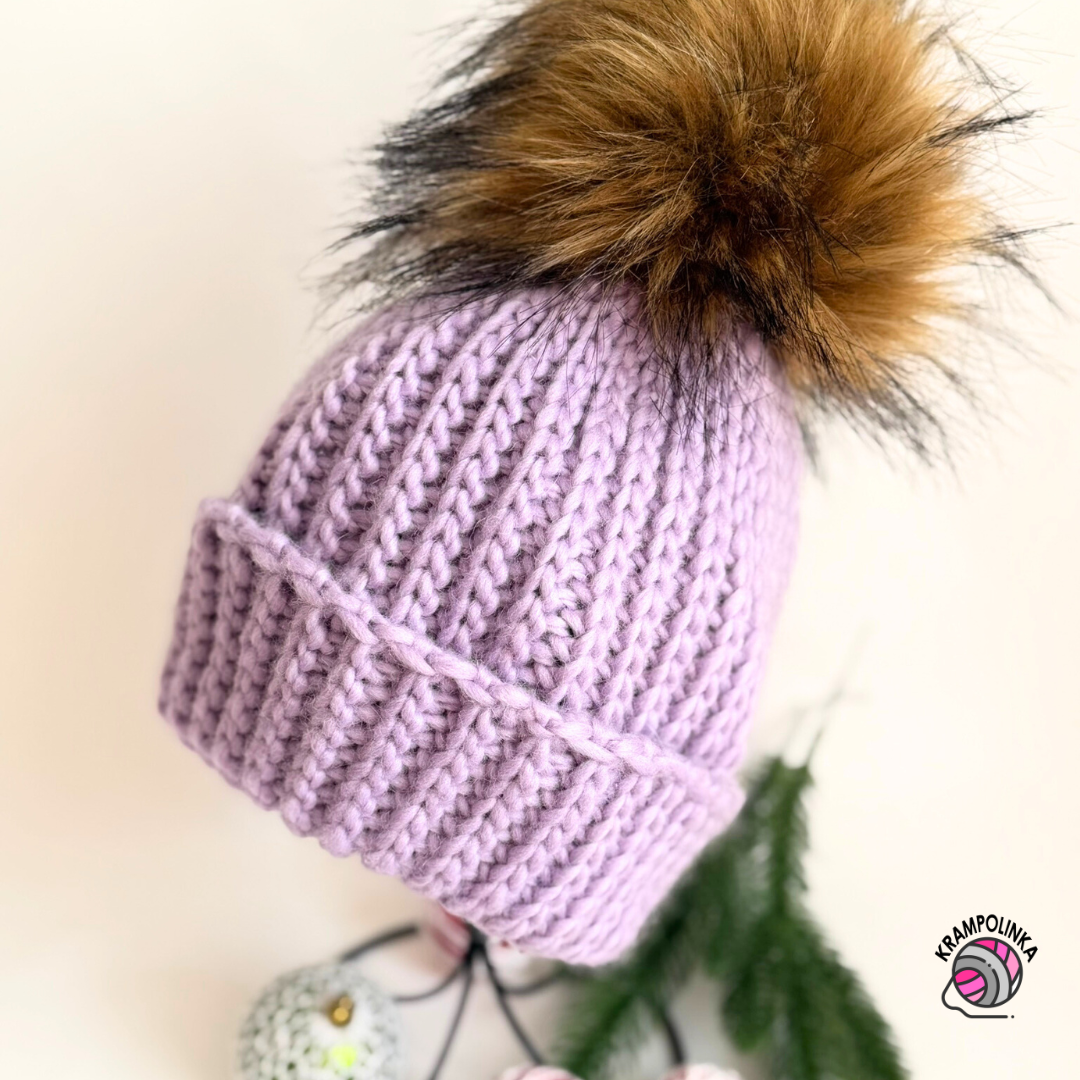
- Close-up of the knit-look slip-stitch texture created with Drops Snow yarn.
-
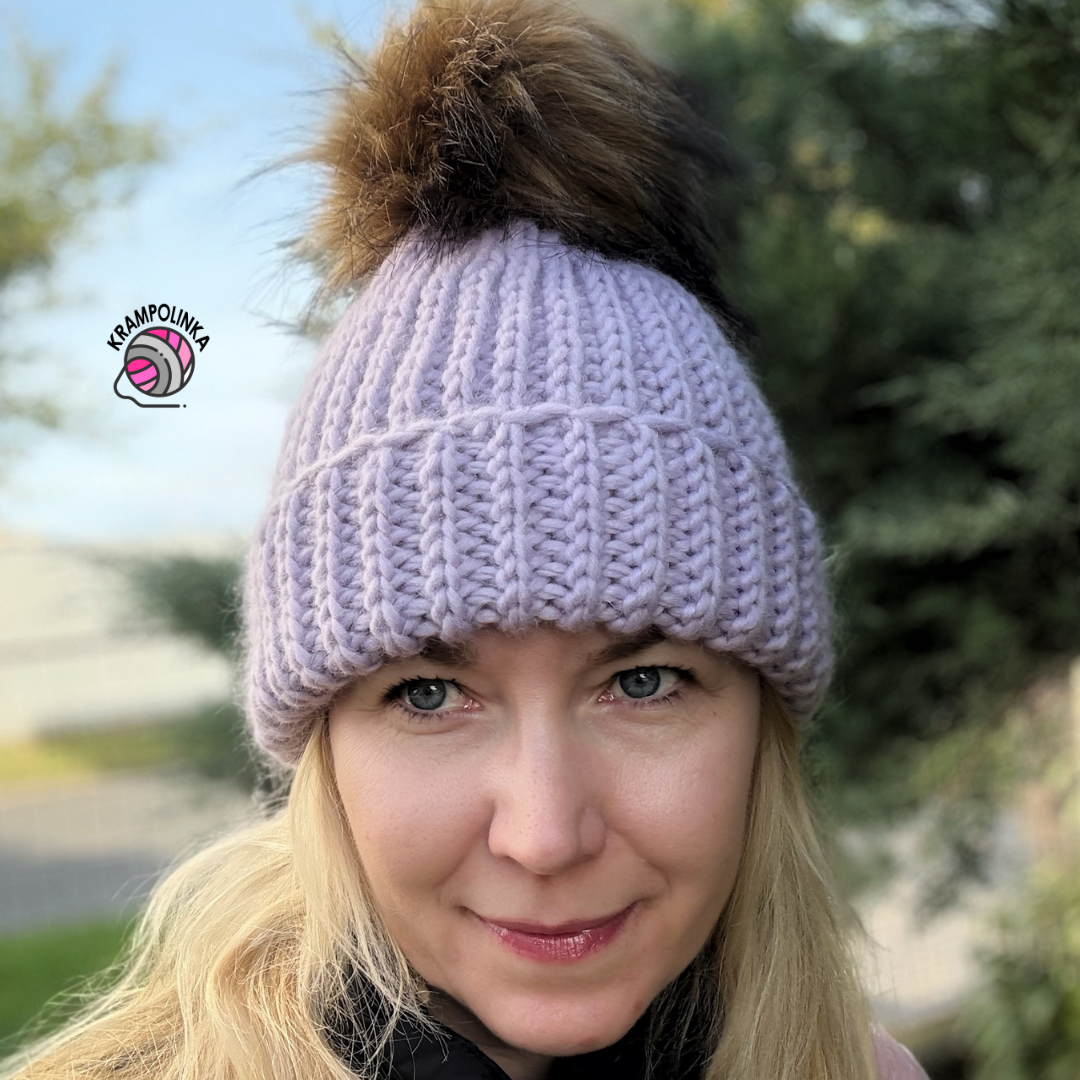
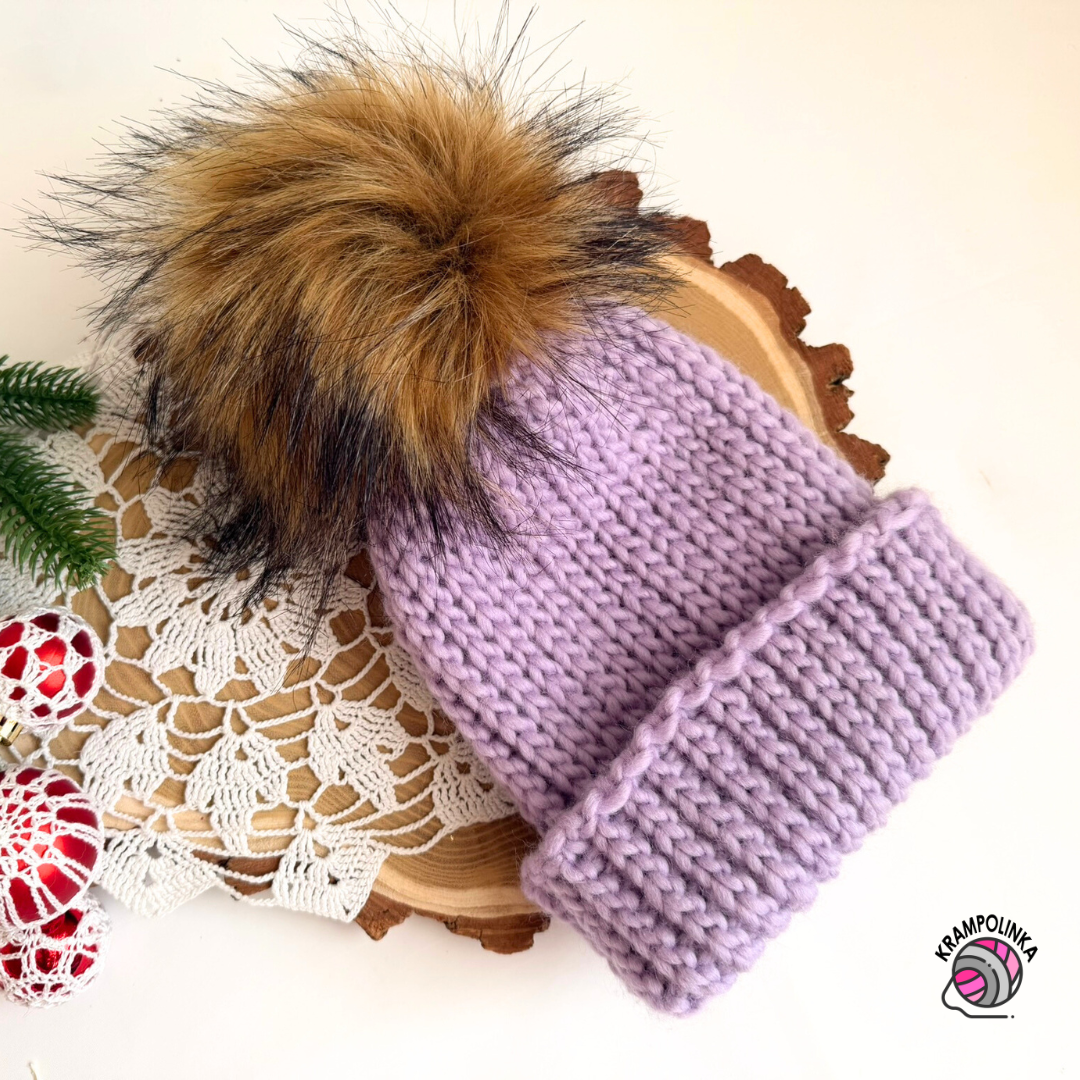
- Finished Snow Beanie laid flat – stretchy, warm, and made from three skeins of Drops Snow.


No Comments