
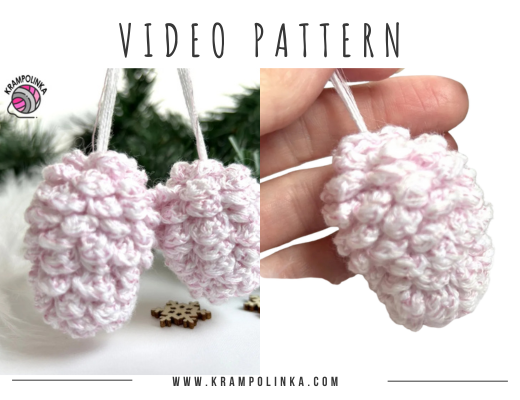
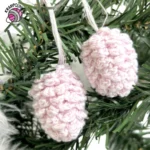
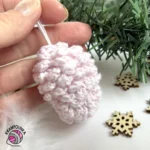
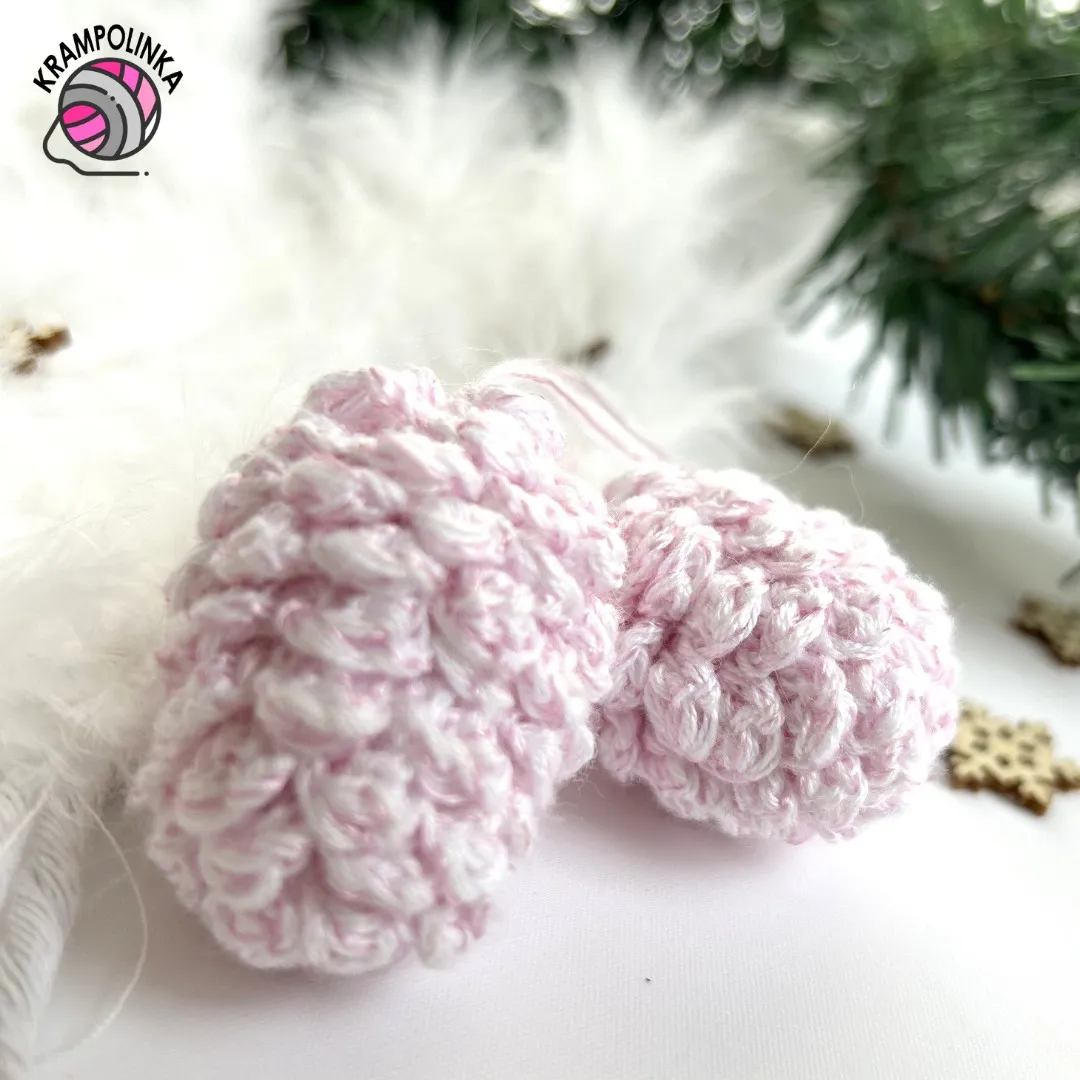
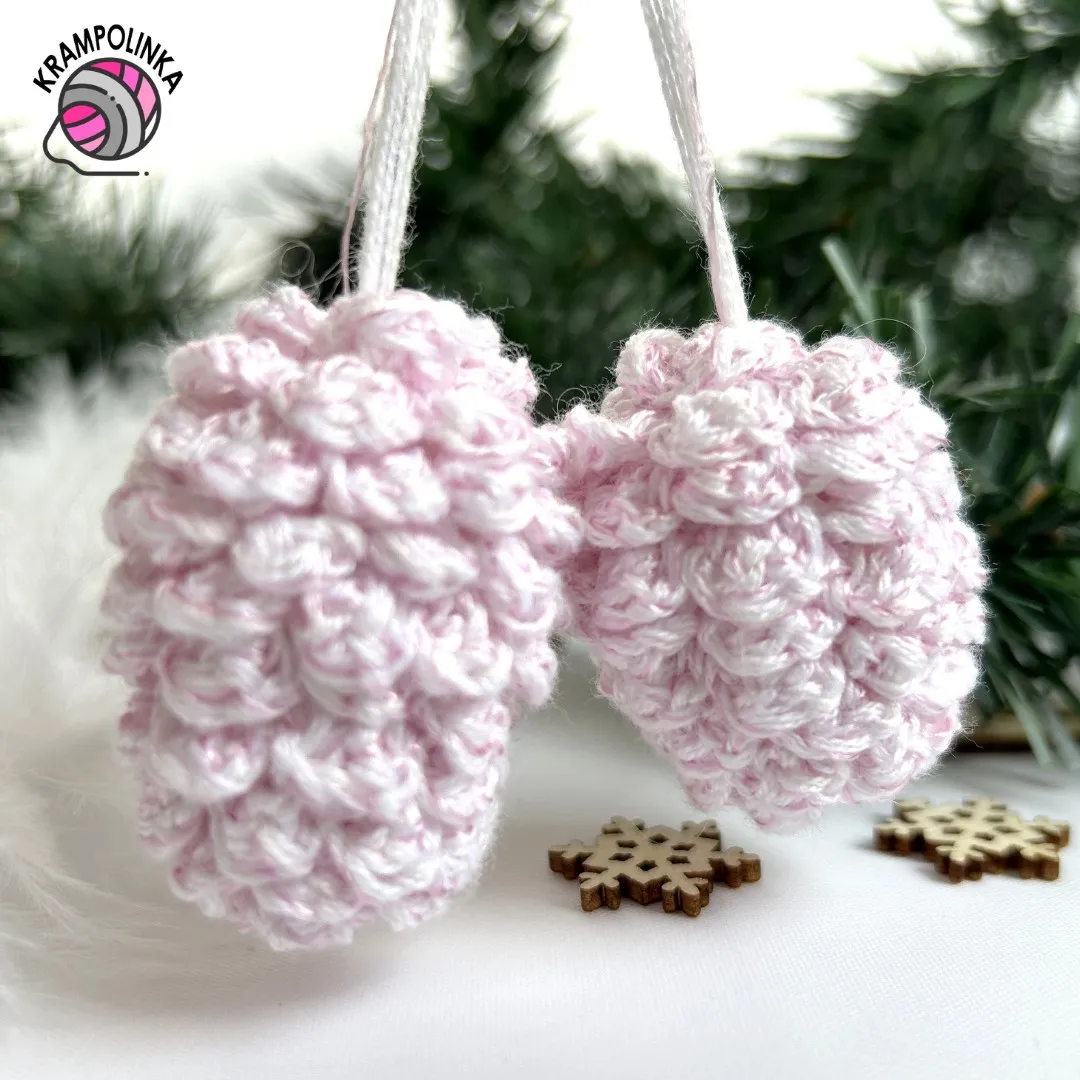
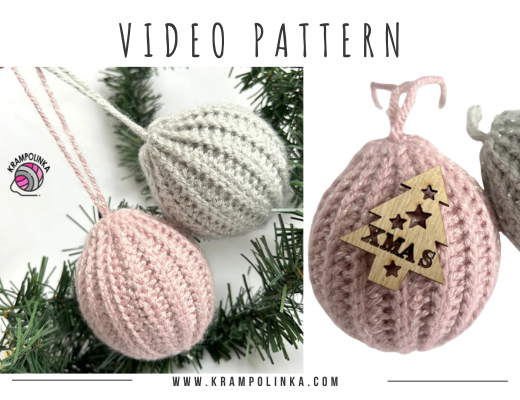
In today’s video tutorial, we will crochet a beautiful and delicate pine cone using the rainbow yarn cake Drahokam by Hravá klubka.
Hravá klubka DRAHOKAM is a box containing four rainbow yarn cakes in various shades – not only for Christmas. The yarn is made from a cotton thread, an acrylic thread, a matte viscose thread, and a lurex thread. The two-strand combination is truly unique, and its look is perfect not only for Christmas projects.
This yarn is also amazing for crocheting festive blouses, tops, dresses, light airy skirts, and elegant garments.
I used one of the yarn cakes in a very unique and unusual way to crochet Christmas ornaments – and trust me, it won’t stop at just one ornament. Next year, I’m preparing a whole collection of decorations for you – what do you think?
You can find the Drahokam yarn cakes from Hravá klubka here, and the pink collection here. The good news is that you can also buy each yarn cake separately in different lengths.
🎥 VIDEO TUTORIAL (English subtitles)
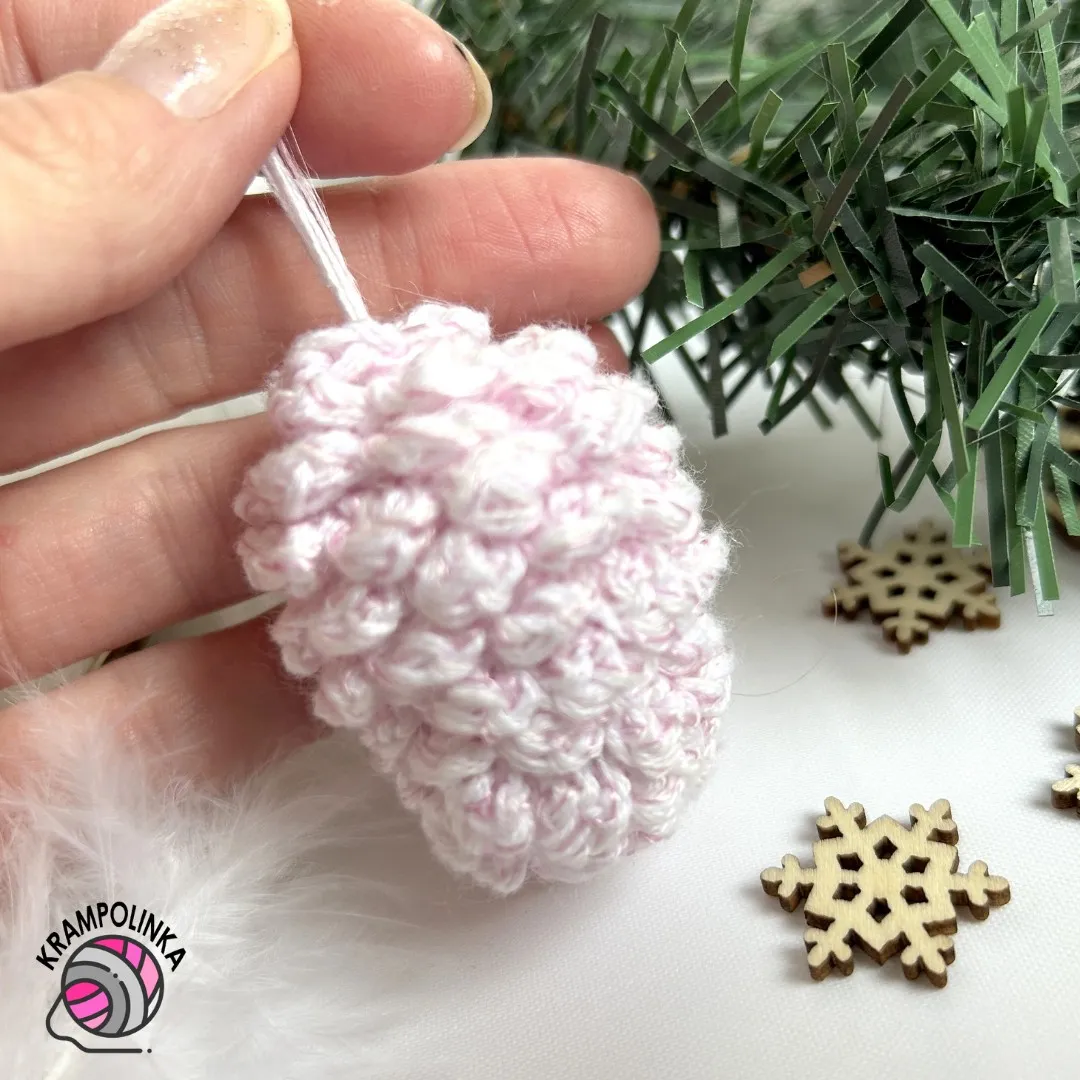
I am really happy with this pine cone. It is very easy to make, and thanks to the lurex and viscose threads, the Drahokam yarn creates a beautiful, delicate Christmas decoration. We start the pine cone by crocheting a long cylinder. Then we stuff the pine cone with polyester fiberfill and crochet back upward, creating the scales of the pine cone. For the pattern, we will work single crochet in the back loop only (BLO). This creates space to crochet the scales later. The scales are made using double crochet stitches and slip stitches.
TIPS FOR YOU
For crocheting the body of the pine cone, use stitch markers. Do not join rounds – crochet continuously in a spiral. Count your stitches in each round starting from the stitch marker.
May your Drahokam pine cone turn out beautifully. Would you like to inspire others or share your experience with crocheting the Drahokam pine cone? Please share your photos in KRAMPOLINKA Facebook Group. For easy searching on Instagram, please use the hashtag #siskadrahokam. If you tag me, I will be happy to reshare your post in my Stories.
PINE CONE DRAHOKAM
Yarn: rainbow yarn cake Drahokam by Hravá klubka
Yarn usage: 1 x 50 g cake
Hook: 2 mm
Tools: yarn needle, polyester fiberfill, stitch marker
Time: approx. 60 minutes
Level: brave beginners
Abbreviations:
- sc – single crochet
- BLO sc – single crochet in back loop only
- MR – magic ring
- ch – chain
- dc – double crochet
- sl st – slip stitch
- hdc – half double crochet
- dec – decrease
Pine Cone Body – 2 mm
Round 1: Leave a long yarn tail. Into the magic ring crochet 1 ch (does not count as a stitch), then 5 sc. Continue directly into the next round.
Round 2: Into the first sc work 2 BLO sc. Place a stitch marker into the first of these two stitches. Continue working 2 BLO sc in each stitch around. (10)
Round 3: Into the stitch with the marker work 2 BLO sc. Place the marker into the first of the two stitches. Then work 1 BLO sc. From the next stitch repeat: 2 BLO sc, 1 BLO sc around. (15)
Round 4: Into the stitch with the marker work 2 BLO sc. Place the marker into the first of the two stitches. Then work:
- 1 BLO sc into the next stitch,
- 1 BLO sc into the following stitch,
- 1 BLO sc into the next stitch.
From the next stitch repeat the pattern: 2 BLO sc – 1 BLO sc – 1 BLO sc – 1 BLO sc, twice, then continue with BLO sc to the end of the round. (18)
Rounds 5–7: Work BLO sc in each stitch around. (18)
Round 8: Decrease: crochet 2 BLO sc together, then decrease the 6th and 7th stitch, and the 11th and 12th stitch. Finish the round with BLO sc. Stuff the pine cone with fiberfill. (15)
Round 9: Decrease 2 BLO sc together all around until fully closed. Do not fasten off. Continue in a spiral, working the pine cone scales into the back loops.
Pine Cone Scales – 2 mm
Into the first back loop work one scale as follows:
- sl st, ch 2, 1 hdc,
then into the next back loop make 1 hdc,
yarn over and pull through all loops together,
finish with a sl st into the same place.
Repeat these scales working downward toward the magic ring.
Finishing
End with two slip stitches. Leave a long yarn tail and pull it through the center. Tighten the magic ring and the starting tail, and tie a knot. Tie both yarn ends together at a sufficient distance to create a hanging loop.
Copyright Notice
This pattern is for personal use only. For commercial use, please contact me directly. Always include the source credit: www.krampolinka.com. The pattern is designed specifically for this yarn, hook size, and my personal tension. If you use a different yarn, hook, or tension, your final product may vary in size or shape.
Enjoy this free pattern and you can follow my latest projects, tutorials, ideas, reviews, video podcasts, tips, and tricks:
- Krampolinka YouTube videos (subtitled since 2024)
- Krampolinka Instagram
- Krampolinka FB group
-
- Delicate crochet pine cone with subtle lurex sparkle

-
- Handmade rainbow pine cone Christmas ornament
-
- Soft crochet pine cone in festive shimmering yarn
-

- Elegant mini pine cone – handmade holiday decor 🎄✨

No Comments