
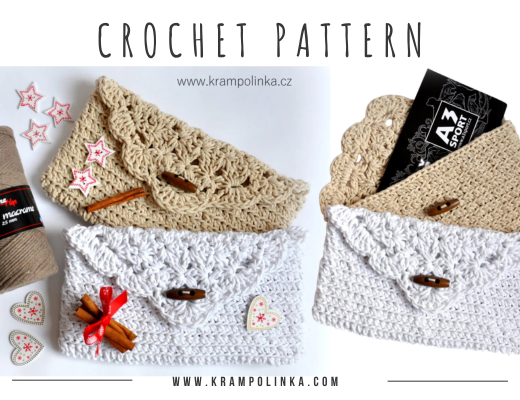
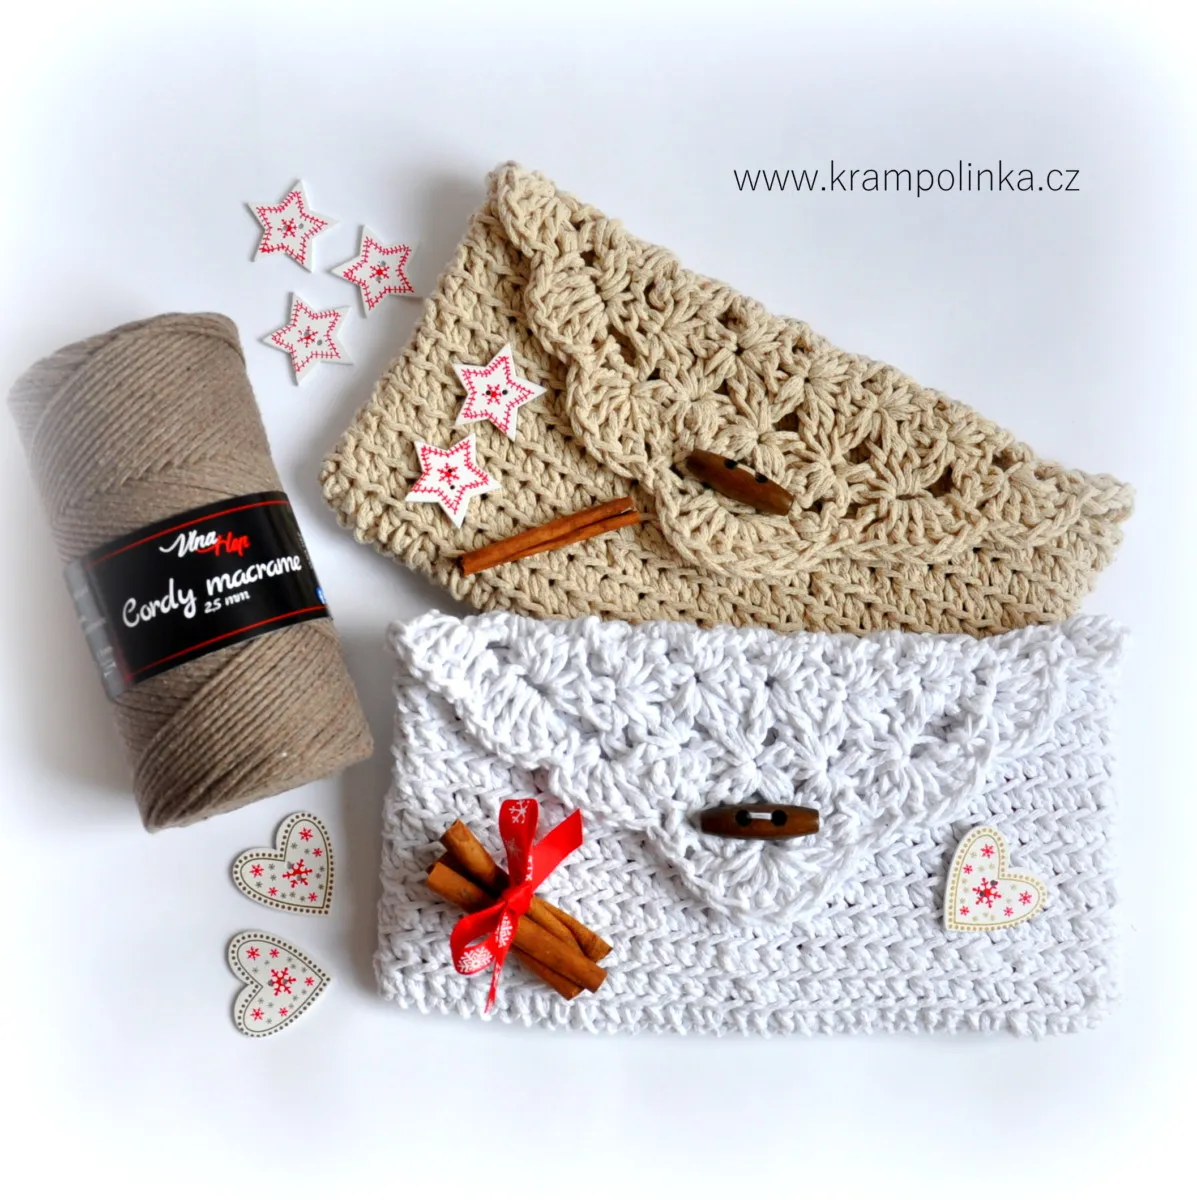
If you’re giving your loved ones gift cards or vouchers this Christmas, why not wrap them in style – the crochet way?
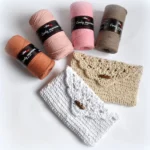
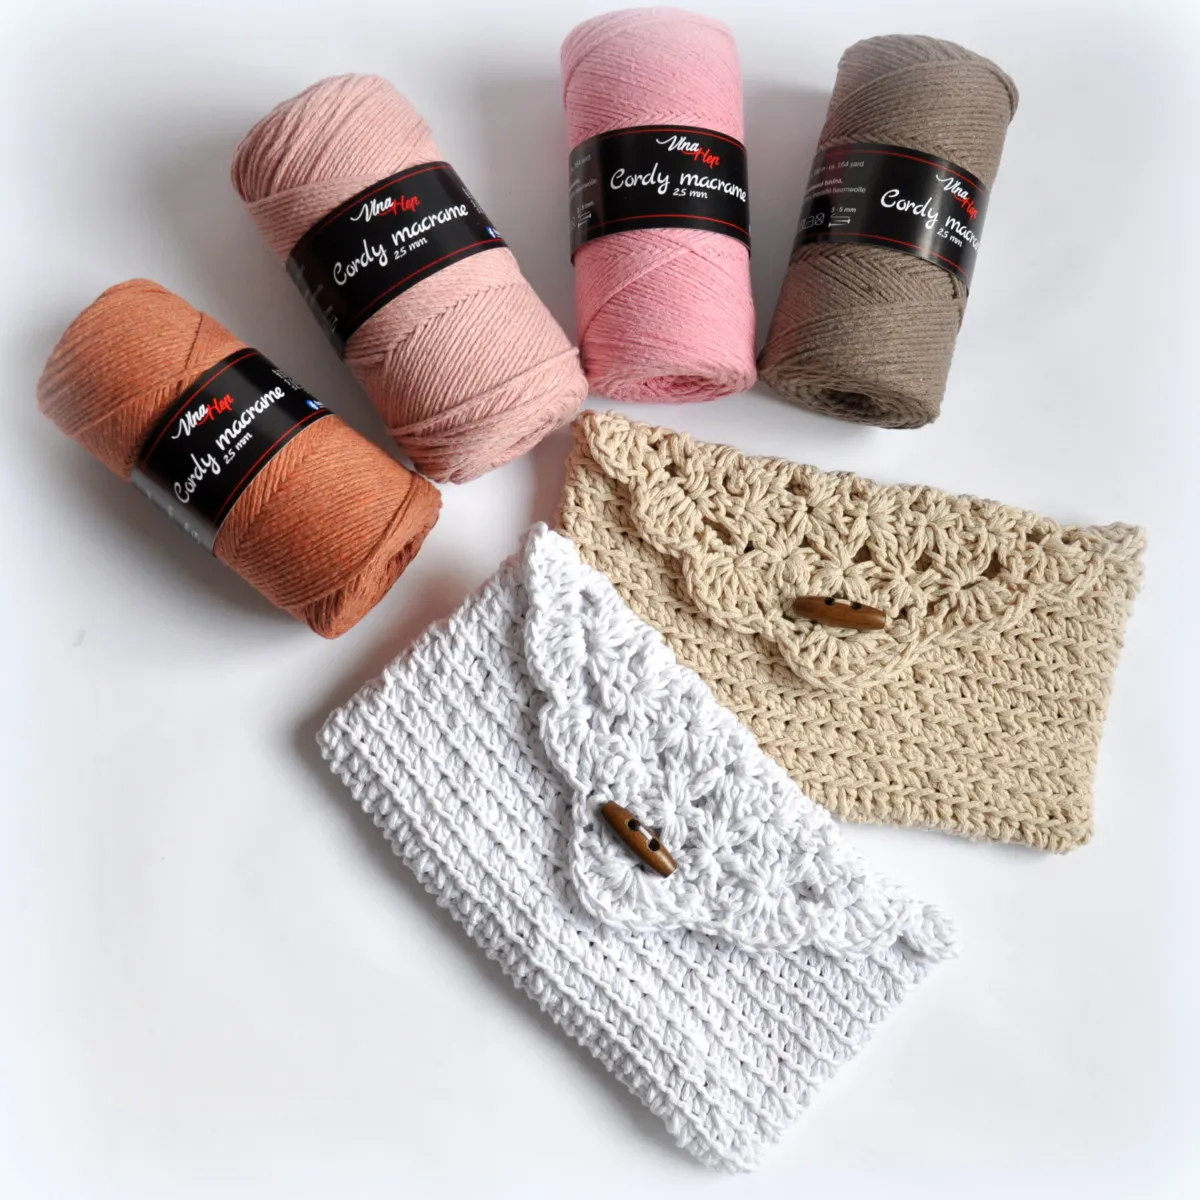
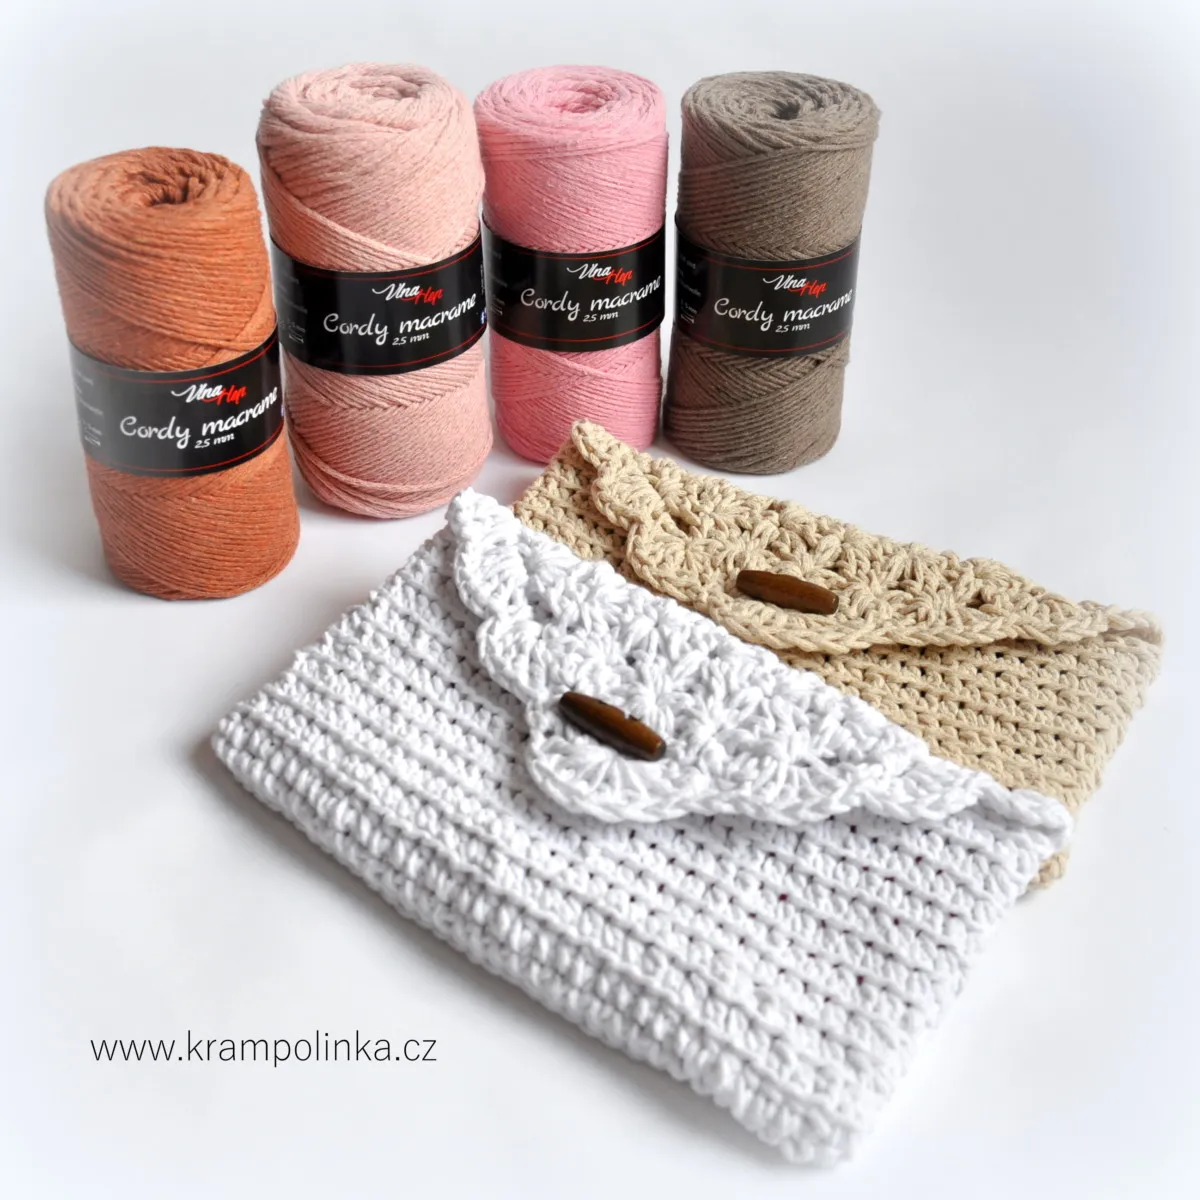
Your recipient will feel that you truly put thought and care into their gift, and you’ll enjoy the satisfaction of giving something beautifully wrapped and handmade. Today, we’ll make a crocheted envelope together. For the envelope, I used the new Vlna-Hep Cordy Macrame – a 2.5 mm cord made from recycled cotton. One 250 g skein contains 180 meters. You can watch the unboxing of this yarn here, or check out these two specific colors from www.mojegalanterka.cz.
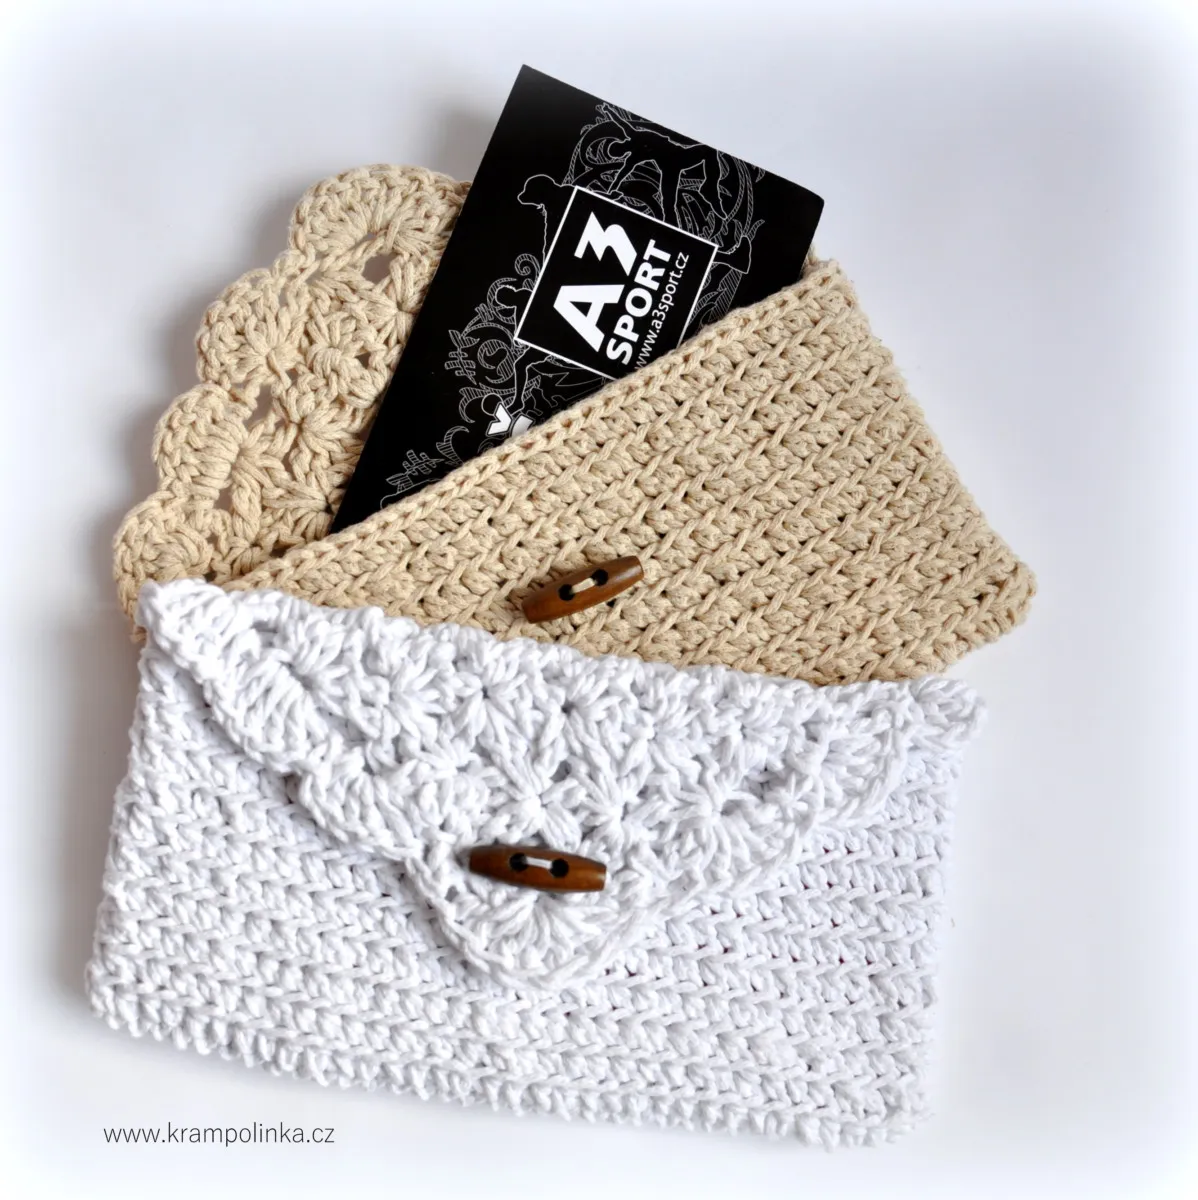
I believe that, unlike a paper envelope, this crocheted one won’t end up in the trash. And if the recipient doesn’t keep it, they’ll surely pass it on – spreading joy more than once. Its size fits nicely in your hand, so you might even want to make one for yourself to hold small essentials (like pills, cards, etc.) in your handbag.
🎥 VIDEO TUTORIAL (Czech Only)
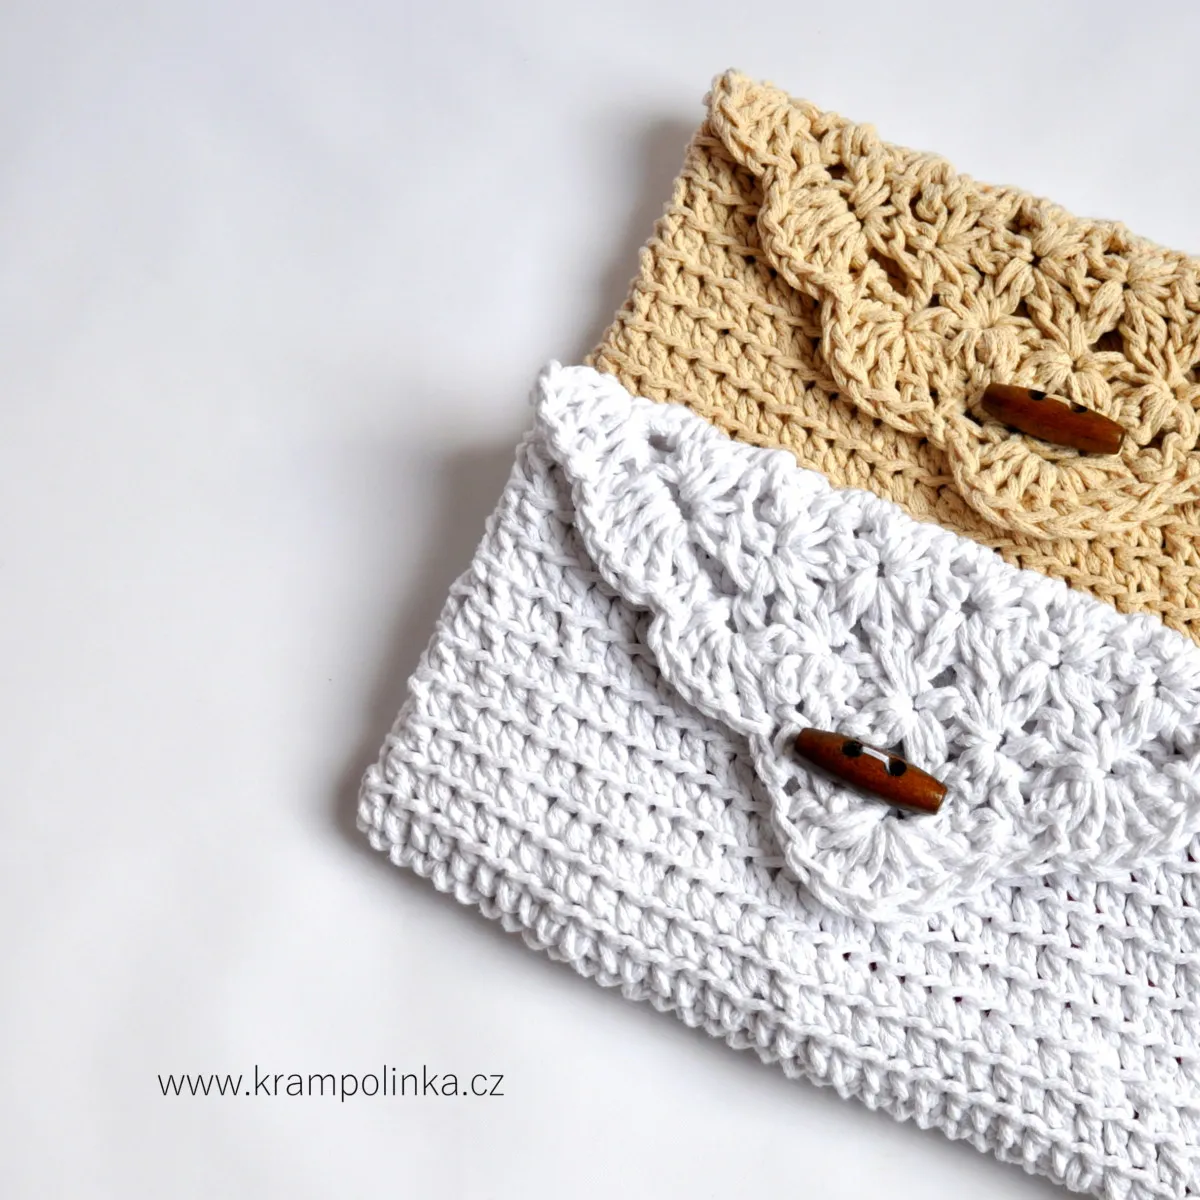
As for the shape, it’s basically a crocheted pouch worked in rounds around the foundation chain. The pattern is very simple – made only with half double crochet stitches. The flap is crocheted as part of the envelope and features a starmink (flower) stitch pattern. I’ve filmed a video tutorial, so even beginners don’t need to worry — you’ll manage it easily! The pouch is made in one piece, so no sewing is needed. And since Christmas is just around the corner, let’s get started — I still need to finish two more!
I hope your Cordy Macrame Envelope turns out beautifully. If you’d like to inspire others or share your own version, feel free to post your photos in the KRAMPOLINKA Facebook Group . On Instagram, please use the hashtag #obalkacordymacrame so we can all find your creations easily.
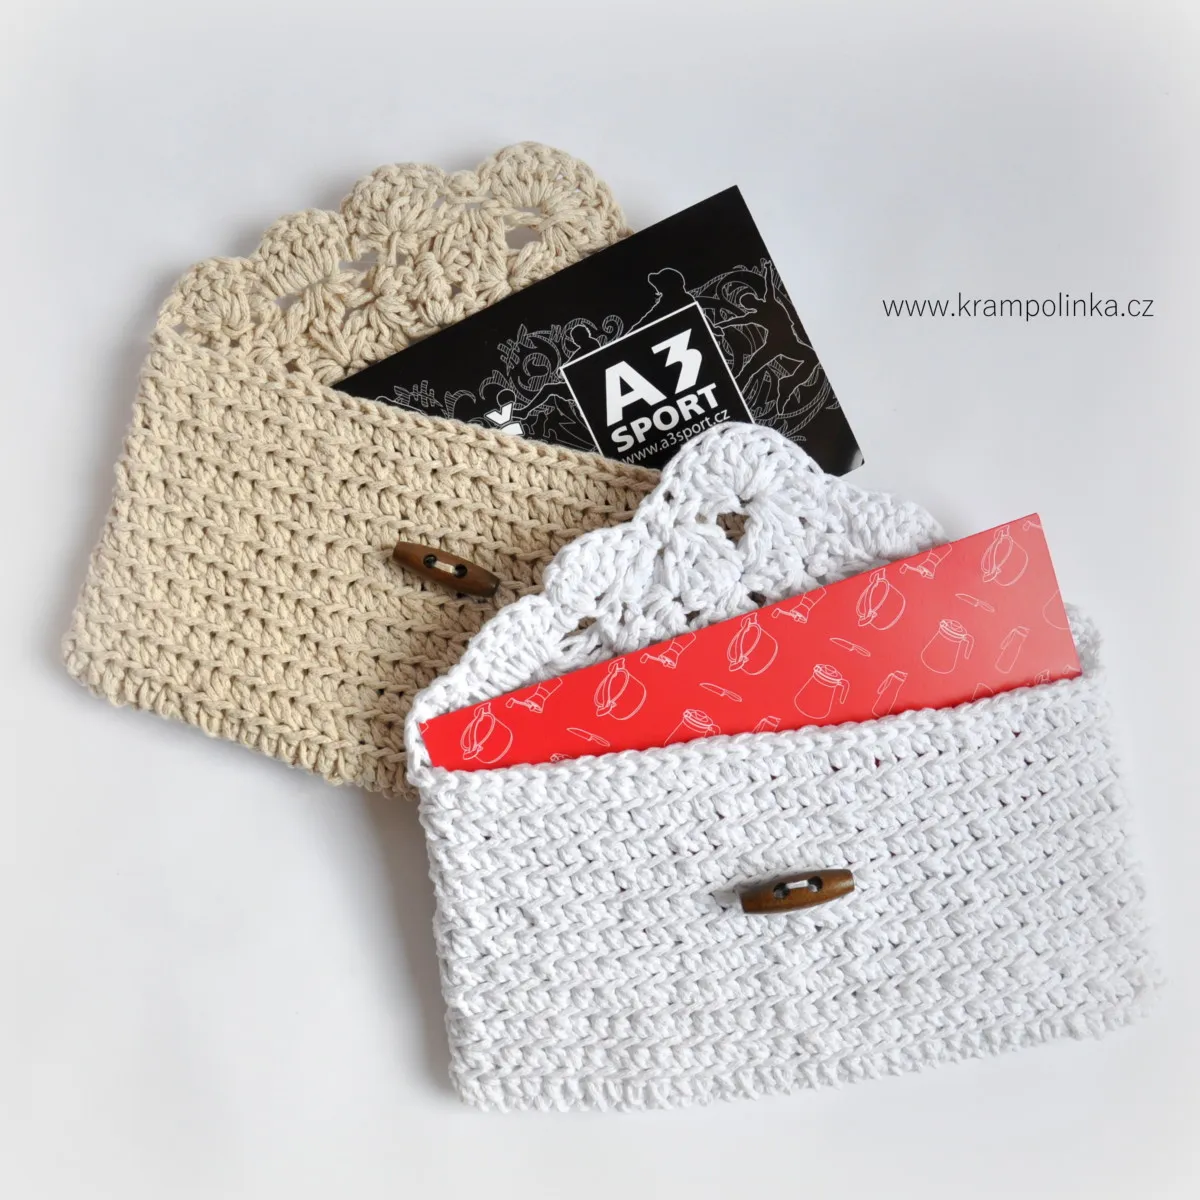
CORDY MACRAME ENVELOPE
Yarn: Vlna-Hep Cordy Macrame – a bit less than one skein, available at www.mojegalanterka.cz
Hook: 5 mm
Size: width 23 cm, height 13.5 cm
Accessories: yarn needle with a large eye, button (preferably oblong), label or tag for decoration
Time estimate: approx. 1.5 hours including finishing
Skill level: Beginner friendly
Abbreviations (US terms):
SL ST – slip stitch
CH – chain
SC – single crochet
HDC – half double crochet (also back loop HDC)
DC – double crochet
The envelope is worked in continuous rounds (without joining).
The flap is worked in rows back and forth; each row begins with 3 chains as a turning chain for the first DC, and the last DC in each row should be kept slightly loose.
ENVELOPE BASE, Cordy Macrame, Hook: 5 mm
Row 1: Chain 37.
Row 2: Work 1 HDC into the 3rd chain from the hook, place a stitch marker in this stitch. Continue working 1 HDC into each chain across. In the last chain (it looks like a small knot), work 3 HDC into the same stitch.
Now continue crocheting along the opposite side of the foundation chain, working 1 HDC into each stitch. In the last stitch with the marker, work 1 HDC, then continue to the next round using 1 SC in the back loop only.
Rounds 3–12: Work HDC in the back loop only all the way around in continuous rounds (do not join). In the last round, stop three stitches before the end, work 2 SC, then 1 SL ST, and finish with a SL ST to close the round.
ENVELOPE FLAP, Cordy Macrame, Hook 5 mm
The stitch pattern repeats over 4 stitches. In the first row, you’ll have 8 columns (starmink clusters). Each row starts with a turning chain (3 ch = first DC) and ends with 1 DC. For this part, you’ll need 34 chains. Usage and
Row 1:
Ch 3 (counts as 1 DC), DC in the next stitch, ch 2, yarn over, insert the hook through the top two loops of the turning chain and first DC, pull up a loop (half of a DC made), yarn over, insert the hook into the DC stitch, pull up a loop (half DC), yarn over, insert the hook into the same stitch again and pull up a loop (half DC), yarn over, insert the hook into the 3rd stitch, pull up a loop (half DC), yarn over, insert the hook into the same stitch again and pull up a loop (half DC). You now have 6 loops on the hook — yarn over and pull through all loops. *
Repeat the pattern between asterisks () to create 8 starmink clusters.
Finish with 1 DC, turn.
Row 2:
Ch 3 (counts as 1 DC), DC into the joining stitch, ch 2, yarn over, insert the hook through the top two loops of the turning chain and first DC, pull up a loop, yarn over, insert the hook into the DC stitch and pull up a loop (half DC), yarn over, insert the hook into the same stitch and pull up a loop (half DC), yarn over, insert the hook into the next joining stitch and pull up a loop (half DC), yarn over, insert the hook into the same stitch and pull up a loop (half DC). You now have 6 loops on the hook — yarn over and pull through all loops.
Repeat from * to * to make 6 clusters.
End with 1 DC into the joining stitch (Ch3 + DC), turn.
Row 3:
Ch 3 (counts as 1 DC), DC into the joining stitch, ch 2, yarn over, insert the hook through the top two loops of the turning chain and first DC, pull up a loop (half DC), yarn over, insert the hook into the DC stitch, pull up a loop (half DC), yarn over, insert the hook into the same stitch, pull up a loop (half DC), yarn over, insert the hook into the next joining stitch, pull up a loop (half DC), yarn over, insert the hook into the same stitch, pull up a loop (half DC). You have 6 loops on the hook — yarn over and pull through all loops.
Repeat the pattern for 4 clusters.
End with 1 DC into the joining stitch (Ch3 + DC), turn.
Row 4:
Ch 3 (counts as 1 DC), DC into the joining stitch, ch 2, yarn over, insert the hook through the top two loops of the turning chain and first DC, pull up a loop (half DC), yarn over, insert the hook into the DC stitch, pull up a loop (half DC), yarn over, insert the hook into the same stitch, pull up a loop (half DC), yarn over, insert the hook into the next joining stitch, pull up a loop (half DC), yarn over, insert the hook into the same stitch, pull up a loop (half DC). You have 6 loops on the hook — yarn over and pull through all loops.
Repeat from * to * for 2 clusters.
Finish with 1 DC into the joining stitch (Ch3 + DC), turn.
✨ Tip: You should see a gradual triangle forming — the flap is narrowing row by row.
EDGING, Yarn Cordy Macrame, Hook: 5 mm
Row 1: Ch 1 (counts as SC). Into the joining stitch, work a shell of 7 DC, then 1 SC into the same joining stitch (Ch1 + DC). Along the side edges, work the following pattern three times: 5 DC + 1 SC — the shell (5 DC) is worked into the joining stitch (Ch1 + DC or the last starmink stitch of the row), and the SC is worked under the turning chain or the last DC. Finish with 1 SL ST into the envelope edge. Do not fasten off — instead, continue with SL STs along the front edge of the envelope to reach the opposite side. On the opposite side, repeat the pattern: shell (5 DC) + 1 SC, and finish with 1 SL ST.
FINISHING TOUCHES
Weave in all loose ends. Sew on a button approximately at the level of the fifth row from the top. Decorate with a label or tag if desired.
Permissions
This pattern is intended for personal use only. If you would like to use it for commercial purposes, please contact me first. Always include the source link: www.krampolinka.com when sharing your projects online. The pattern is specifically written for the yarn, hook size, and tension used in this sample. If you use a different yarn or hook, your final bag size and shape may vary.
Enjoy this free pattern and you can follow my latest projects, tutorials, ideas, reviews, video podcasts, tips, and tricks:
- Krampolinka YouTube videos (subtitled since 2024)
- Krampolinka Instagram
- Krampolinka FB group
-

- Crochet envelope for vouchers
-
- Stylish envelope could be also a gift

-
- Easy to make crochet envelope
-
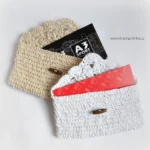
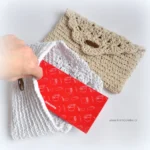
- Vouchers and gift cards perfectly wrapped
-

- Stylish crochet envelopes for christmas vouchers
-

- Envelope is crochetted in one piece

-

- I used Cordy Macrame 2 mm cord
-
- Use christmas stylling

No Comments