Cardigans VIdeo tutorials

Cliff Crochet Sweater for Beginners

24 února, 2026

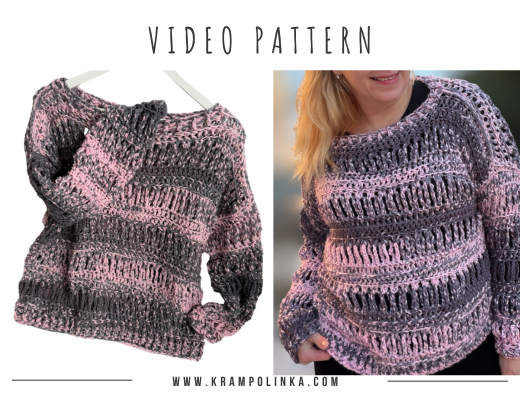
Would you like to crochet a simple and quick sweater? I’ve prepared a step-by-step video tutorial for a super trendy piece that even complete beginners can make.

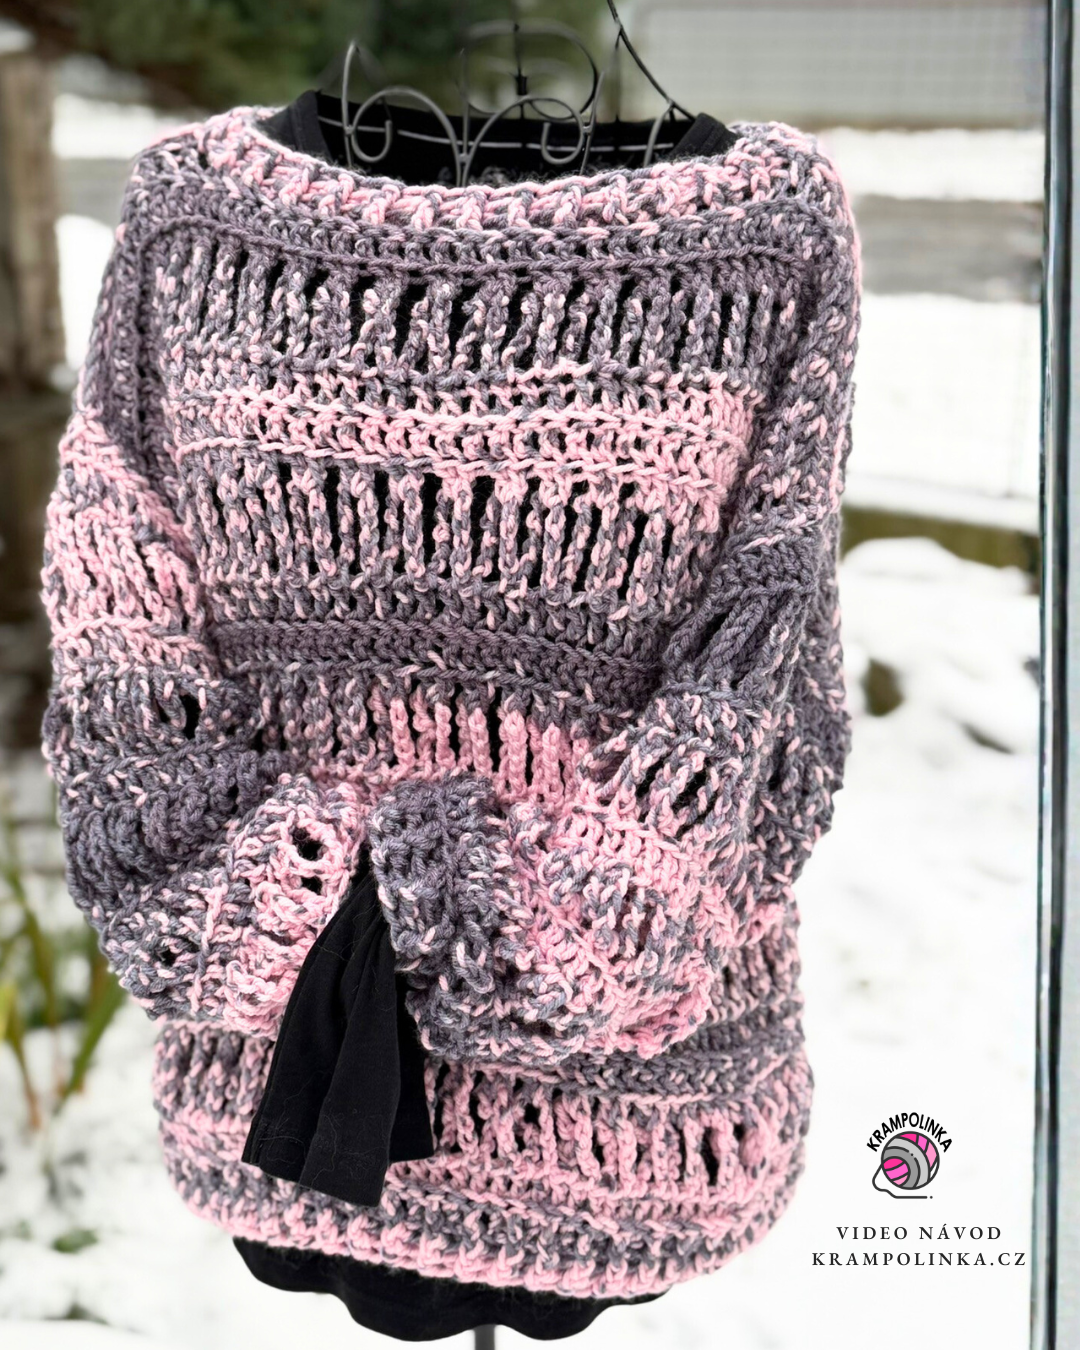
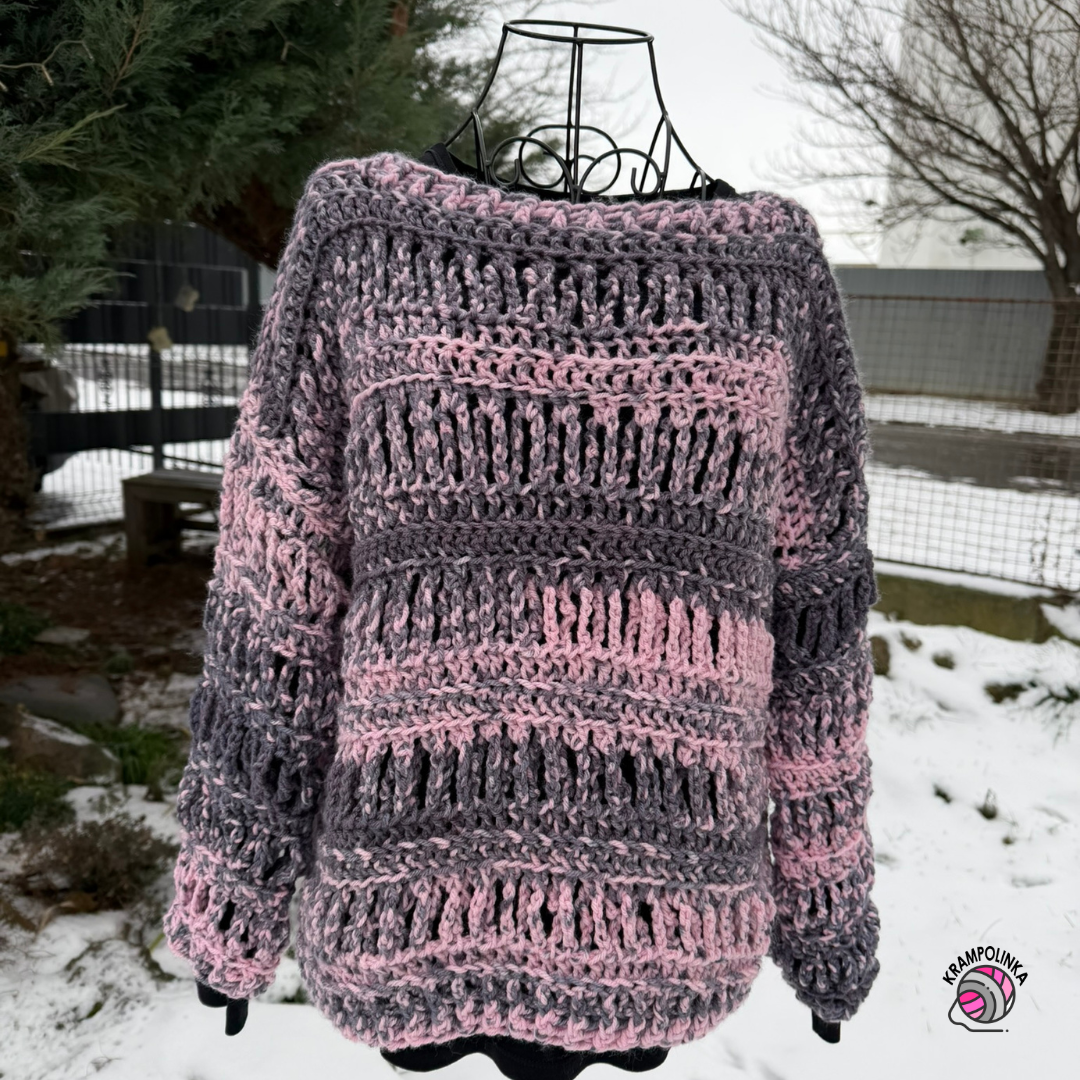
YarnArt Cliff comes in a 150 g ball with a length of 245 m (100 g / 163 m). It is a blend of 80% acrylic and 20% wool, making it pleasantly soft, warm, and easy to work with. The yarn is self-patterning and, when combined with the right type of stitches, can naturally create an eye-catching Nordic-style pattern — without complicated color changes. All you need is a hook and the right stitch structure.

Cliff yarn is perfect for hats, beanies, cowls, cardigans, and sweaters. Thanks to its softness and volume, it is also great for home accessories such as pillows or blankets crocheted in moss stitch or half-moss stitch. You can purchase this yarn in a pack of three balls at PletemeSi.cz. We unboxed the YarnArt Cliff yarn together in the podcast Povídání u klubíčka #117, and you can watch the recording here. You can also find an article featuring yarns from PletemeSi here.

VIDEO TUTORIAL PREMIERE – February 24, 2026 at 7:00 PM You can slow down the video directly on YouTube. The video also includes subtitles.

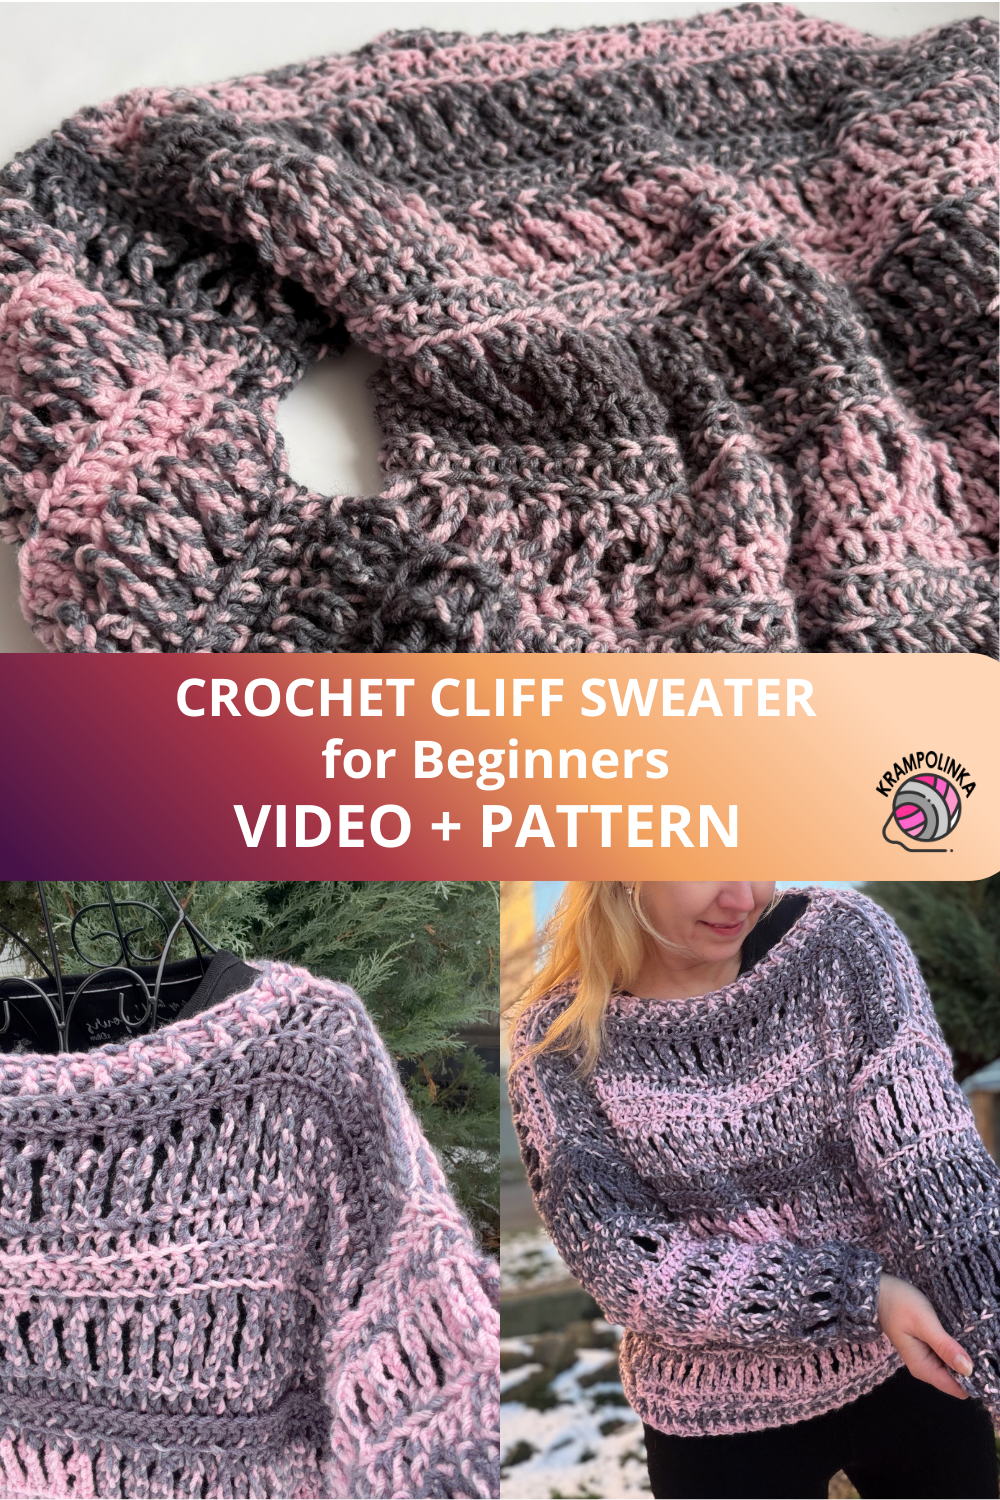
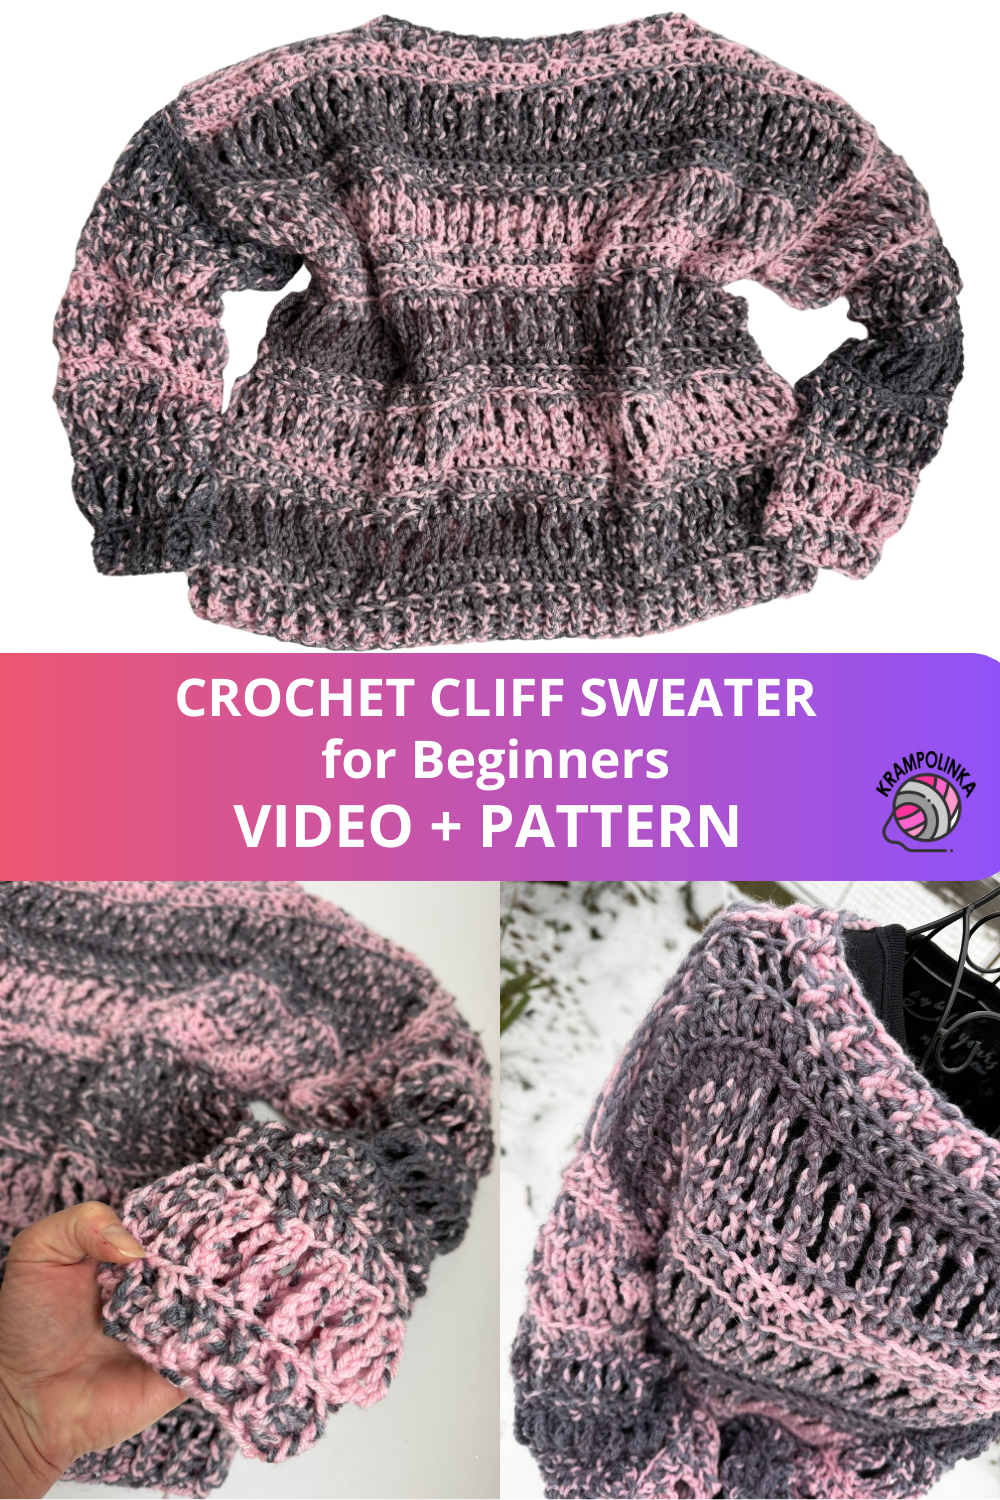
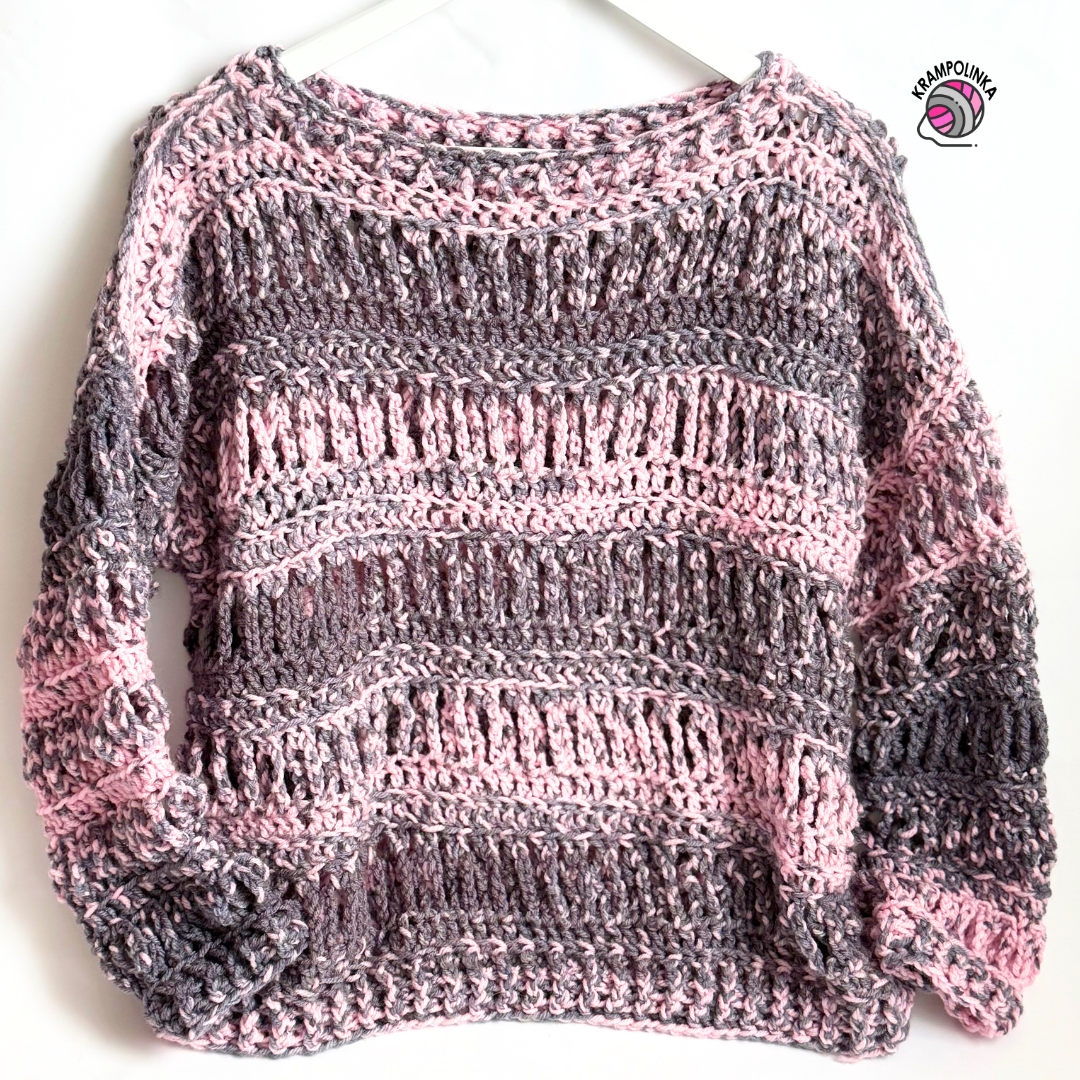
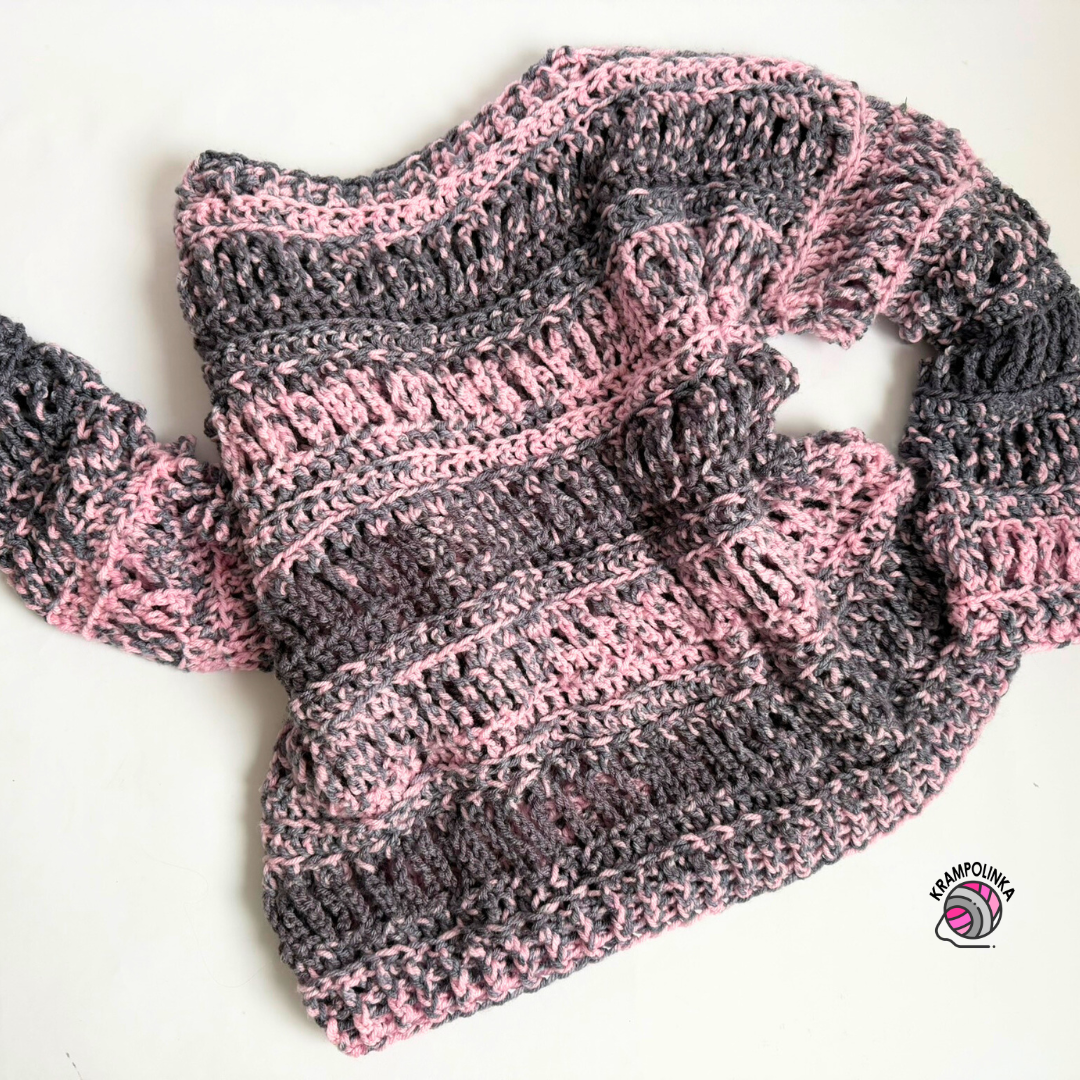
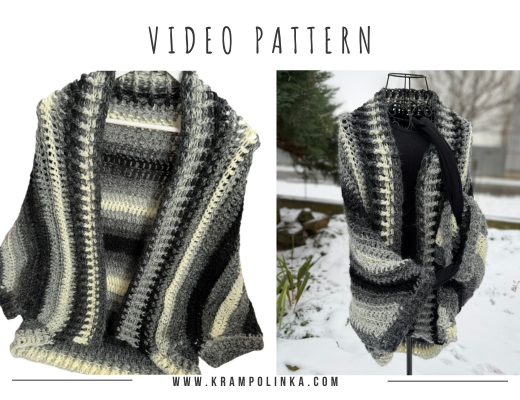
Crocheting the Cliff Sweater is designed for beginners. We crochet two rectangular panels, which are then joined together at the shoulders and sides. The sleeves and neckline are added afterward, and the bottom hem is finished with front and back post stitches.

As for the stitch pattern, we work double crochet stitches through the front and back loops combined with rows of chain stitches. Thanks to the thickness of the yarn and the selected pattern, both the structure and the beautiful color effect of YarnArt Cliff stand out — and the project grows quickly. One ball took me approximately three hours to crochet. For a waist-length sweater in size 42–44, I used three balls. To adjust the size, start with a foundation chain made with an even number of stitches.

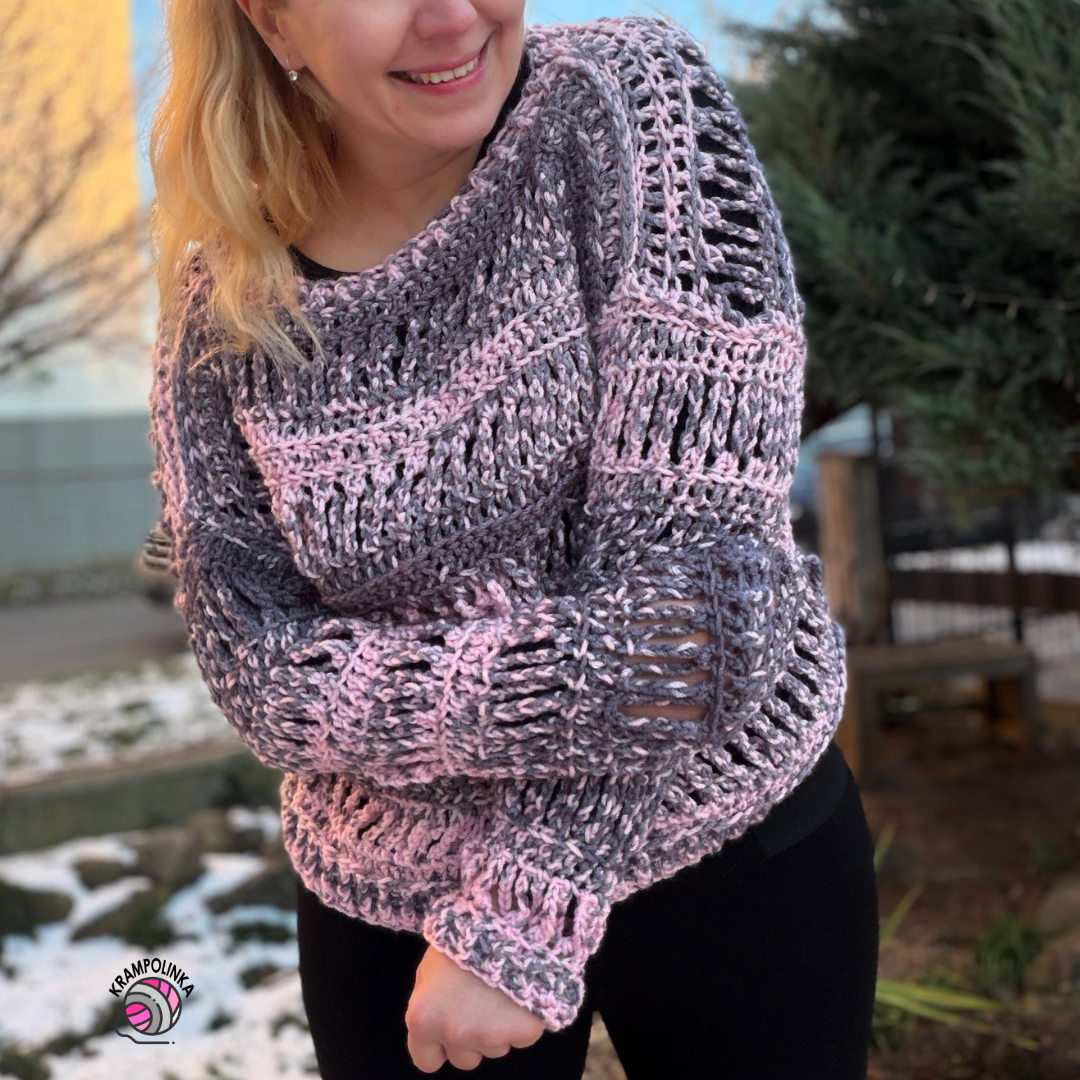
I hope your Cliff Sweater turns out beautifully and that you will enjoy wearing it with joy. Would you like to inspire others or share your experience with crocheting or styling your sweater? You can share your photos in the Krampolinka Facebook group. On Instagram, please use the hashtag #svetrikcliff so others can easily find your projects.  If you tag me in your creations made using my patterns, I can reshare them in my Instagram Stories to inspire others.

CLIFF SWEATER

Yarn: YarnArt Cliff (available at PletemeSi.cz)
Yarn usage: 3 balls, color 8302
Hook size: 8 mm
Size: 42–44 (model height: 168 cm)
Measurements: width 62 cm, front length 52 cm, sleeve length 40 cm
Additional materials: tapestry needle (large eye), decorative label
Estimated time: approx. 12 hours
Skill level: Beginner

Gauge:
20 cm = 18 double crochet stitches (dc)

Abbreviations

ch – chain stitch
sl st – slip stitch
dc – double crochet
dc flo – double crochet worked in the front loop only
dc blo – double crochet worked in the back loop only
herringbone dc (hbdc) – herringbone double crochet (recommended: see video tutorial)
herringbone sc (hbsc) – herringbone single crochet (recommended: see video tutorial)
fpdc – front post double crochet
bpdc – back post double crochet

Front and Back Panel – 8 mm hook

Row 1: Chain 59 ch. Turn.

Row 2: Ch 2 (counts as first dc). Work dc into each chain across. Turn. (60 sts)

Row 3: Ch 2 (counts as first dc). Work dc in back loop only (dc blo) across. Count the stitches. Work the last stitch into the turning chain. Turn. (60 sts)

Row 4: Ch 12, sl st into the next stitch, sl st into the following stitch. You now have 29 loops. The last loop of the row is made with ch 7 and a triple yarn-over dc. (30 loops)

Row 5: Ch 2 (counts as dc), work 1 dc under the first loop. Then crochet 2 dc under each loop across. Count the stitches. Work the last dc into the 6th chain. Turn. (60 sts)

Row 6: Ch 2 (counts as first dc). Work dc in front loop only (dc flo) across. Count stitches. Work the last stitch into the turning chain. Turn. (60 sts)

Row 7: Ch 2 (counts as first dc). Work dc in back loop only (dc blo) across. Count stitches. Work the last stitch into the turning chain. Turn. (60 sts)

Note: When crocheting the panels, alternate three rows of dc stitches with one chain-loop row.

Rows 8–23: Repeat Rows 4–7. Finish after completing Row 7.

The finished panel measures approximately 60 cm in width and 45 cm in length. Fasten off the yarn. Crochet a second identical panel.

Joining the Shoulders – 8 mm hook

Count 18 dc stitches on each side of both panels for the shoulders and mark them with stitch markers.
The neckline is formed by the remaining 24 stitches.  Join the shoulders on the right side of the work.

Place both panels together and join them using a slip stitch. Make 1 chain stitch. Insert the hook into the chain loop, then pick up the yarn through the back loop of one panel and the front loop of the other panel, pull through the loop on the hook, and crochet a single crochet (sc). Continue by inserting the hook again through the back loop of one panel and the front loop of the other, pull through, and work another sc.

Work one shoulder seam from the outer edge toward the neckline. Work the second shoulder seam from the neckline toward the outer edge.

Neckline Edging – 8 mm hook

Row 1: Attach yarn at the seam. Ch 2 (counts as first dc). Alternate fpdc and bpdc around the neckline. Crochet also around the stitch at the shoulder seam. Finish the round with a slip stitch.

Row 2: Ch 2 (counts as first dc). Work fpdc around fpdc and bpdc around bpdc. Finish with a slip stitch.

Joining the Sides – 8 mm hook

Join the sides of the sweater on the wrong side. Work from the bottom edge up to the armhole. Adjust the armhole height according to arm width.

Join both panels using slip stitches (sl st) worked into the edge stitches:

  • in rows made of dc stitches, work 2 slip stitches,

  • in chain-loop rows, work 3–4 slip stitches.

The side seam in this sample was joined up to the fourth repeat of the chain-loop section. Do not fasten off the yarn — continue directly with the sleeve.

Sweater Sleeve – 8 mm hook

Row 1: Ch 2 (counts as dc) and work 1 dc into the seam. Continue with herringbone double crochet (hbdc) as follows: yarn over, insert the hook into the center strand of the double crochet stitch, then into the edge stitch of the row, yarn over, pull through the loop on the hook, and complete the dc. This stitch creates a decorative dc ridge that forms the base for the pattern. Work 2 hbdc in rows made of dc stitches and 3–4 hbdc in chain-loop rows. Finish the round with a slip stitch.

Row 2: Work the entire sleeve on the right side. Ch 2 (counts as dc) and work dc in back loop only (dc blo) around. Finish with a slip stitch.

Row 3: Ch 12, skip one stitch, then work a slip stitch into the next stitch and another slip stitch into the following stitch. Repeat to the end of the round. The last loop is formed with ch 7 and a triple yarn-over dc. Finish in the center of the loop.

Row 4: Ch 2 (counts as dc), work 1 dc under the first chain arch, then work 2 dc under each following chain arch. Finish with a slip stitch.

Row 5: Ch 2 (counts as dc) and work dc in back loop only (dc blo) around. Finish with a slip stitch.

Row 6 (decreasing): For the first loop, ch 12, skip one stitch, then work a slip stitch into the next stitch and another slip stitch into the following stitch. Continue with ch 12, slip stitch into the next stitch and slip stitch into the following stitch. In the second-to-last loop, skip one stitch before making the slip stitches. The last loop is worked without skipping a stitch. Finish the round with ch 6 and a triple yarn-over dc. Decreasing is achieved by skipping stitches when forming the chain loops.

Row 7 (decreasing): Ch 2 (counts as dc) and work 2 dc under each chain arch. In the last arch, work only 1 dc. Finish with a slip stitch. The decrease is created by working only one dc under the final chain arch.

Rows 8–16: Repeat Rows 4–6, decreasing as needed to achieve the desired sleeve width. Finish after completing Row 5.

Note: When crocheting the sleeve, alternate two rows of dc stitches with one chain-loop row.

Sleeve Cuff – 8 mm hook

Row 1: Ch 2 (counts as dc). Alternate fpdc and bpdc around. Finish the round with a slip stitch.

Row 2: Ch 2 (counts as first dc). Work fpdc around fpdc and bpdc around bpdc. Finish the round with a slip stitch.

Bottom Hem – 8 mm hook

Row 1: Attach yarn at the side seam. Ch 2 (counts as dc). Alternate fpdc and bpdc around the hem. Finish the round with a slip stitch.

Rows 2–4: Ch 2 (counts as first dc). Work fpdc around fpdc and bpdc around bpdc. Finish each round with a slip stitch.

Finishing the Sweater

Weave in all loose ends and decorate the sweater with a label if desired.

Copyright Notice

You Might Also Like

No Comments

Leave a Reply