
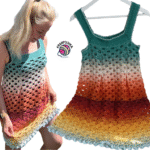
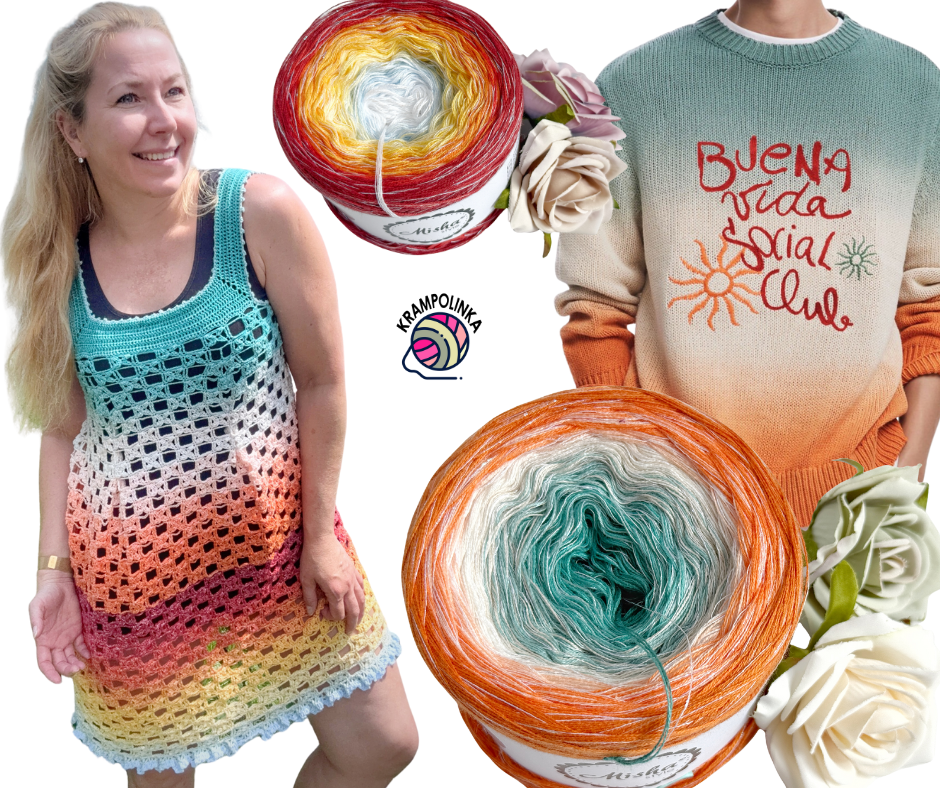
Buena Vida… the good life. That’s exactly what this tunic embodies – colorful, vibrant, and a bit free-spirited. It’s not just a crocheted piece – it’s a journey full of inspiration, a story touched by a salty breeze.
It all started with a single picture: a man in a knitted Desigual sweater, bursting with wild and joyful colors – from Caribbean turquoise and white to deep orange. The sweater had a simple yet powerful slogan: Buena Vida. That picture became the inspiration for a brand-new gradient yarn cake by MishaStyle. A 3-ply yarn with a white „lunar“ strand, 800 meters long – which we joyfully unboxed in a podcast episode of “Chit-Chat Over Yarn”. Our followers suggested names, and the winning one came from Mrs. Gabriela Uhrová in the Krampolinka Facebook group – taken directly from the sweater itself. Buena Vida – the good life. And then, the crocheting began.
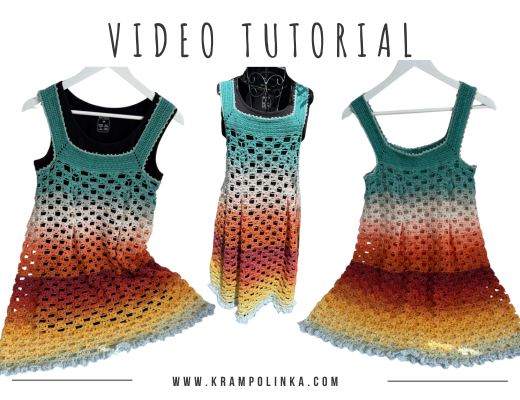
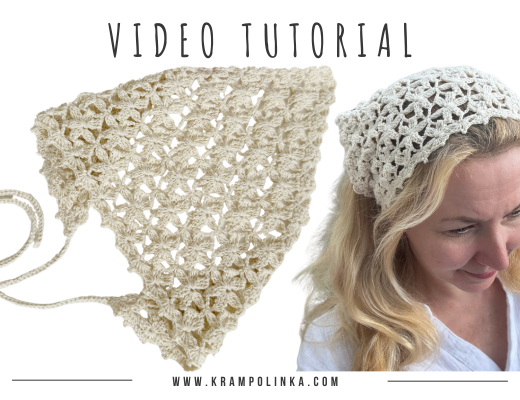
🎥 VIDEO TUTORIAL Czech language with English subtitles
The original plan was a summer top. I envisioned a simple raglan design with an elegant yet striking pattern. That pattern led me deep into history – I discovered it in a book from 1914. It came with just a picture, no instructions. So I reconstructed and revived it.
I crocheted everywhere – at home by the TV, on the porch, and even by the sea in Bulgaria, where the sound of waves and sea salt became part of the process. The biggest challenge was how to expand the pattern while keeping the balance between solid and open squares flowing smoothly.
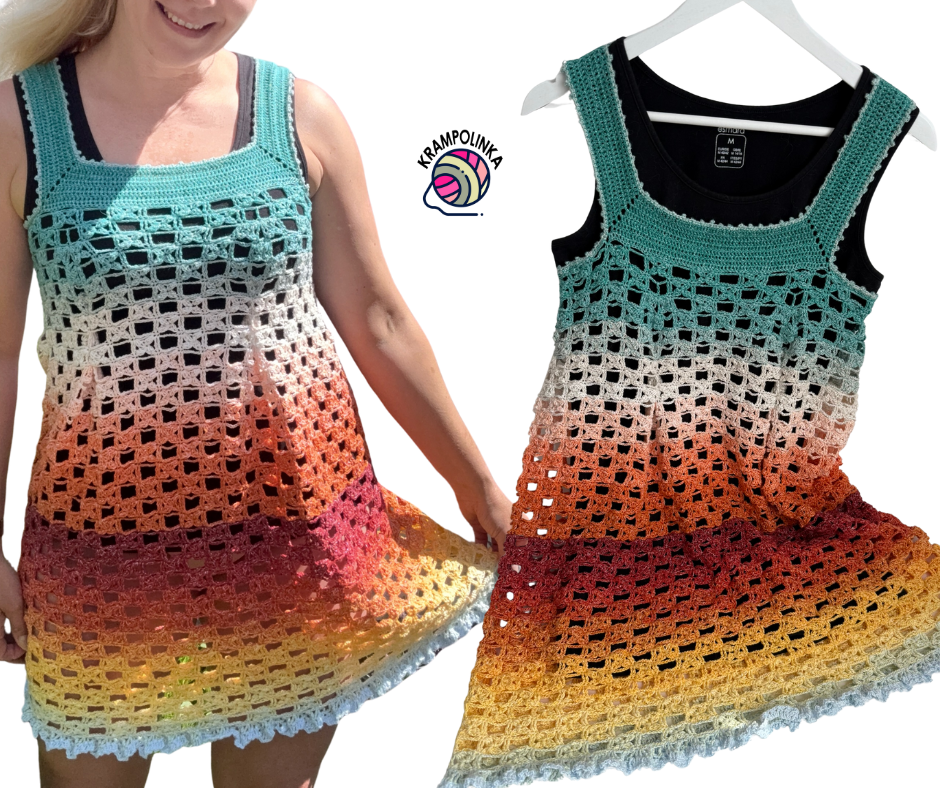
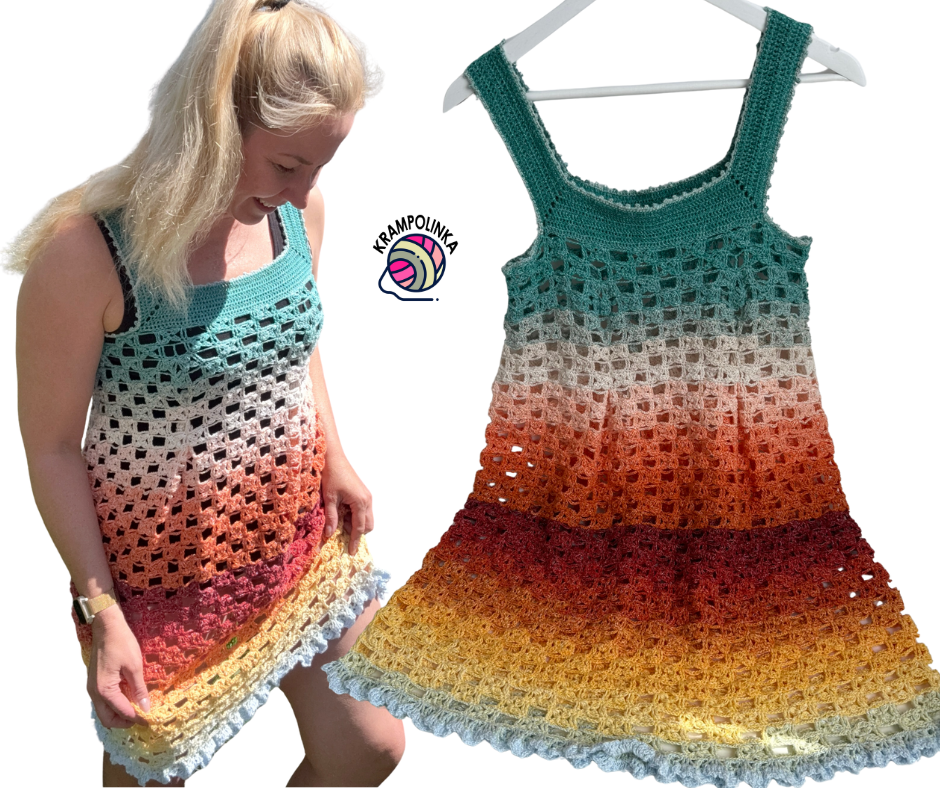
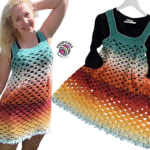
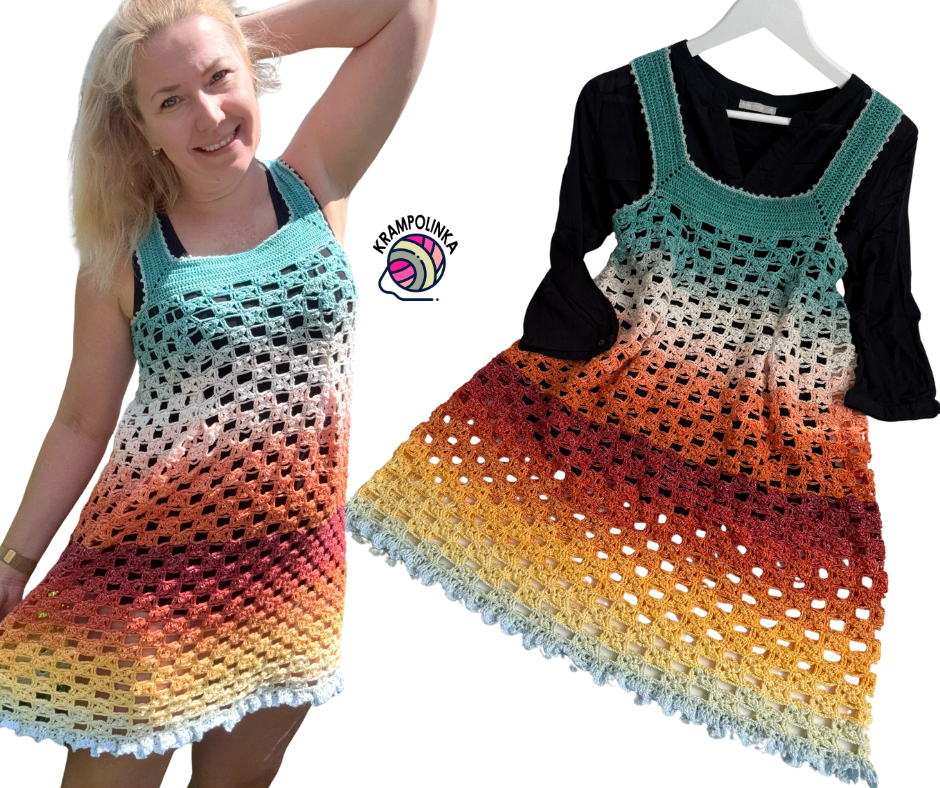
Once the top was finished, it felt like a shame to stop. One 800-meter cake wasn’t enough for a tunic, so I reached for a second one – a similarly toned gradient yarn called Na Safari (another 3-ply with a white lunar strand, 800m). And suddenly, it all made sense. Buena Vida transformed into a breezy tunic – perfect as a beach cover-up, or even as a dress over a T-shirt and leggings. A truly all-season piece for your wardrobe.
In addition to the gradient colors and vintage pattern, there’s also a little secret element – sewn-in side seams that gently shape the tunic into a flattering feminine silhouette. Even though it looks loose, it hugs the body beautifully. This feature is optional, as the tunic otherwise has more of an “A-line” cut.
BUENA VIDA TUNIC
Yarn: Gradient yarn cake Buena Vida by Misha Style (alternatively Na Safari by Misha Style)
Yarn details: 2 × 800 m or a total of 1600 m, 3-ply yarn with a white „lunar“ strand
Hook size: 2.0 mm and 2.5 mm (used for the foundation row)
Size & Measurements:
- Bust: 96 cm
- Hips: 115 cm
- Designed for EU size 42
Notions: - Large-eyed yarn needle
- Decorative label (optional)
- Stitch markers
Estimated Time: Approx. 50 hours
Skill Level: Adventurous beginner
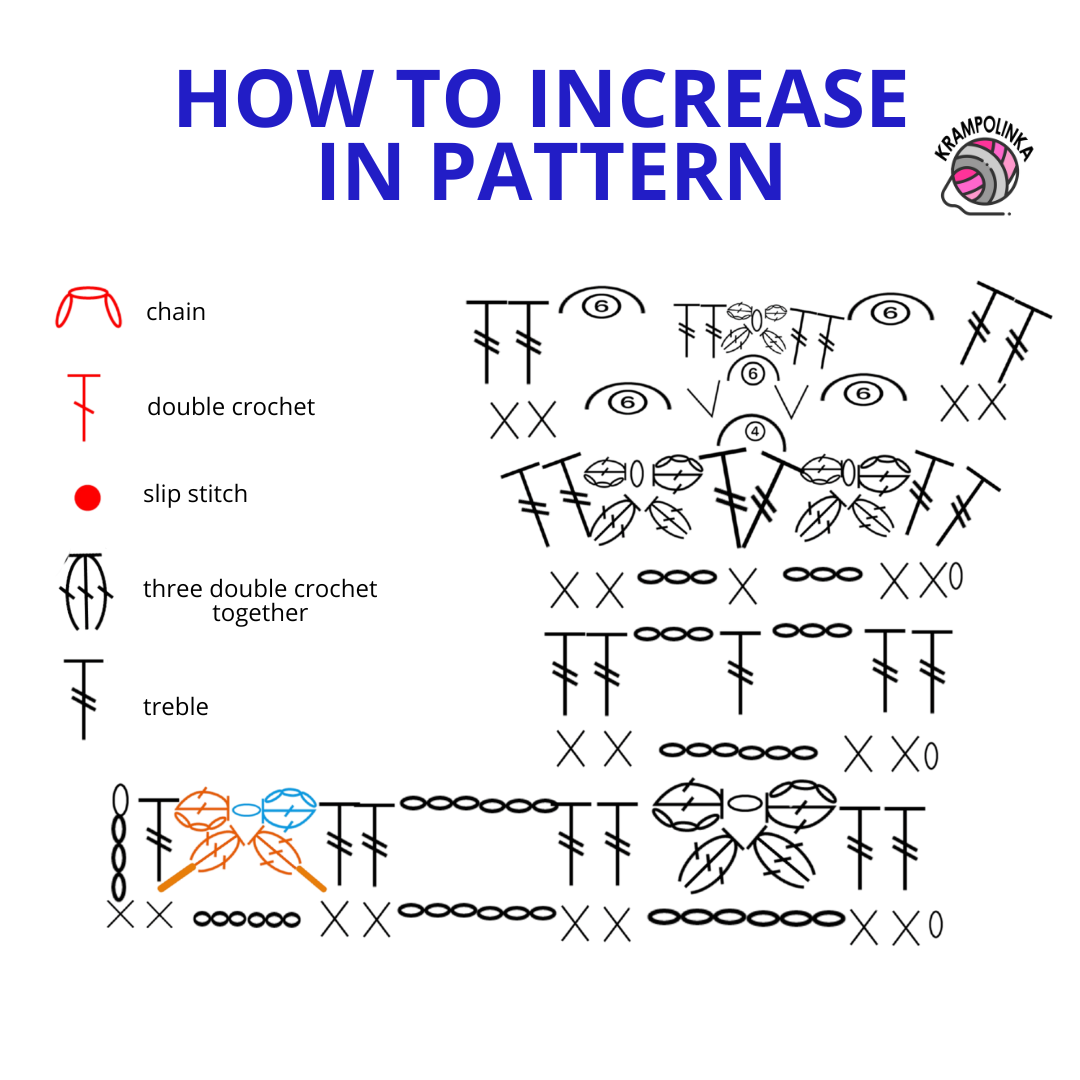
Abbreviations (US terms)
- ch – chain
- sl st – slip stitch
- dc – double crochet
- sc – single crochet
- tr – treble crochet (double treble stitch – yarn over twice before starting)
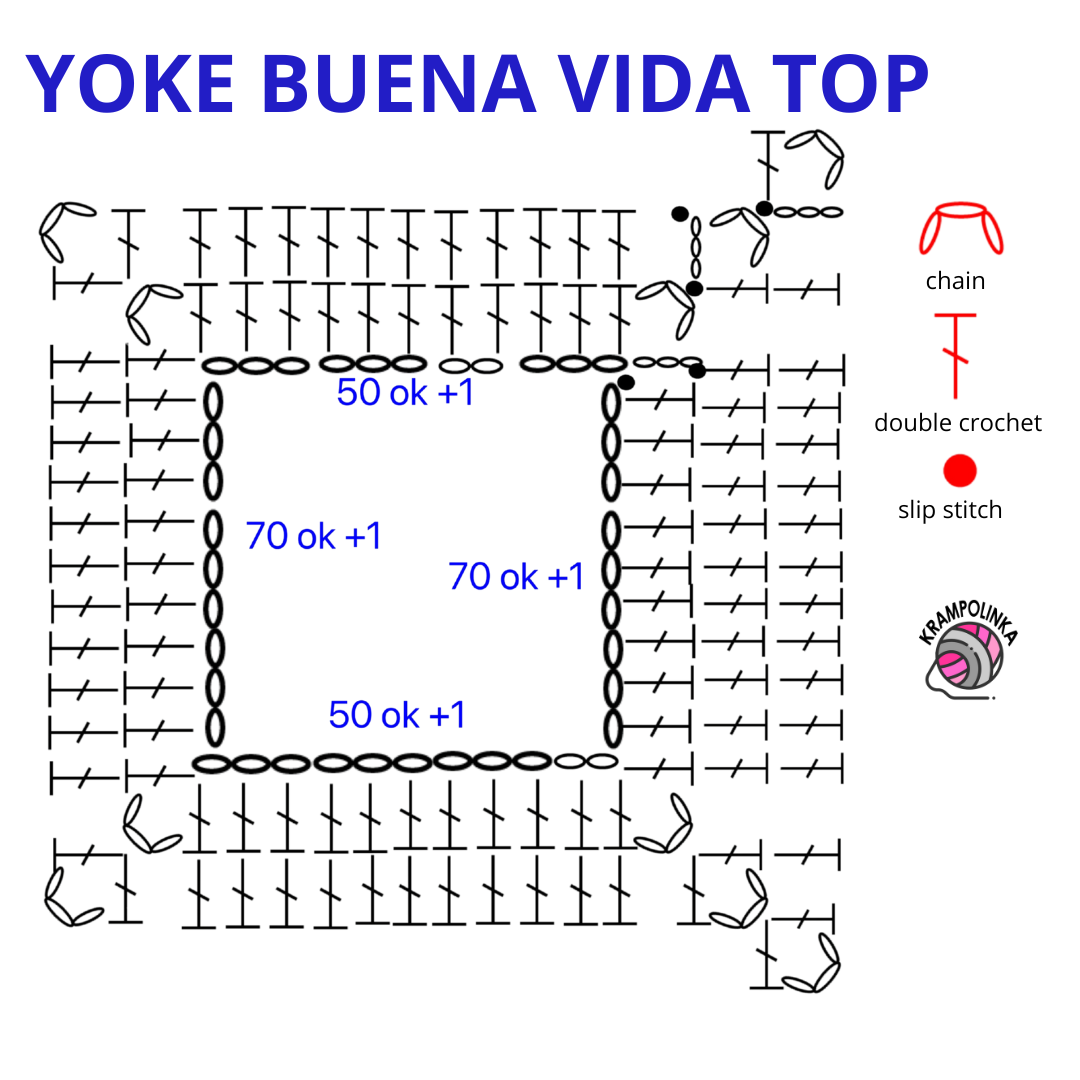
Buena Vida Tunic – Yoke
Hook: 2.5 mm (Row 1), then 2.0 mm (from Row 2 onward)
Row 1:
Crochet a foundation chain of 244 chains, where 2 × 52 chains form the neckline and 2 × 72 chains form the shoulders.
To shape the yoke corners, crochet the last chain of the neckline and the first chain of the shoulder into the same stitch – this creates a corner.
Tip: It’s better to chain a few extra stitches in case your count is off, and unravel the excess later.
Join with a sl st to form a circle. Turn.
Row 2 (use 2.0 mm hook):
Corner of the yoke: Ch 3 (counts as dc), ch 3, dc into the same stitch.
Back panel: 50 dc into the next 50 stitches.
Corner: dc, ch 3, dc in the same stitch.
Shoulder: 70 dc into the next 70 stitches.
Corner: dc, ch 3, dc in the same stitch.
Front panel: 50 dc into the next 50 stitches.
Finish the row with a sl st into the third ch of the beginning ch-3. Turn.
Row 3:
Use sl st to move into the center of the ch-3 space at the yoke corner.
Yoke corner: Ch 3 (counts as dc), ch 3, dc into the same ch-space.
Continue working 1 dc in each stitch, including the corner dcs from the previous row.
At each yoke corner, work dc, ch 3, dc into the ch-space.
Each side of the yoke will increase by 2 dc plus the corner.
End the row with a sl st into the third ch of the beginning ch-3. Turn.
Rows 4–8:
Repeat Row 3.
Adjust the number of rows according to your desired size.
Row 9:
Use sl st to move into the center of the corner ch-3 space.
Crochet the yoke corner: ch 3 (counts as dc), ch 3, dc in the same ch-space.
Continue with dc across the back panel, including the dcs from the previous corners.
At the end of the back panel, crochet a stretch/flexible chain of 32 chains.
Skip the shoulder section (sleeves) and attach the chain into the corner of the front panel by working dc, ch 3, dc into the corner space.
Continue with dc across the front panel.
At the next corner, crochet dc, ch 3, dc, then once again make a stretch chain of 32–35 chains and join the round with a sl st into the third chain of the beginning ch-3. Turn.
Note:
The number of underarm chains depends on your stitch multiple:
– For a repeat over 8 stitches, use 32 chains (2 repeats),
– For a repeat over 7 stitches, use 35 chains (2.5 repeats).
It is recommended to use 35 chains.
Row 10: (worked on the wrong side) in the underarm area
Ch 1, sc in the same stitch.
In this row only, work the foundation for the pattern.
-
Repeat:
Ch 8, then sc in the 6th and 7th chain of the flexible underarm chain.
Repeat this until the underarm chain is used up.
Continue along the front and back panels:
- Ch 8, sc in the 6th and 7th stitch
- Ch 8, sc in the 7th and 8th stitch
This forms the base for the main pattern repeat over 15 stitches.
End the row with a sl st, turn.
Note:
Make sure the total number of arches (sc groups) around the tunic is even.
If not, adjust the stitch distribution accordingly before moving on to the main pattern.
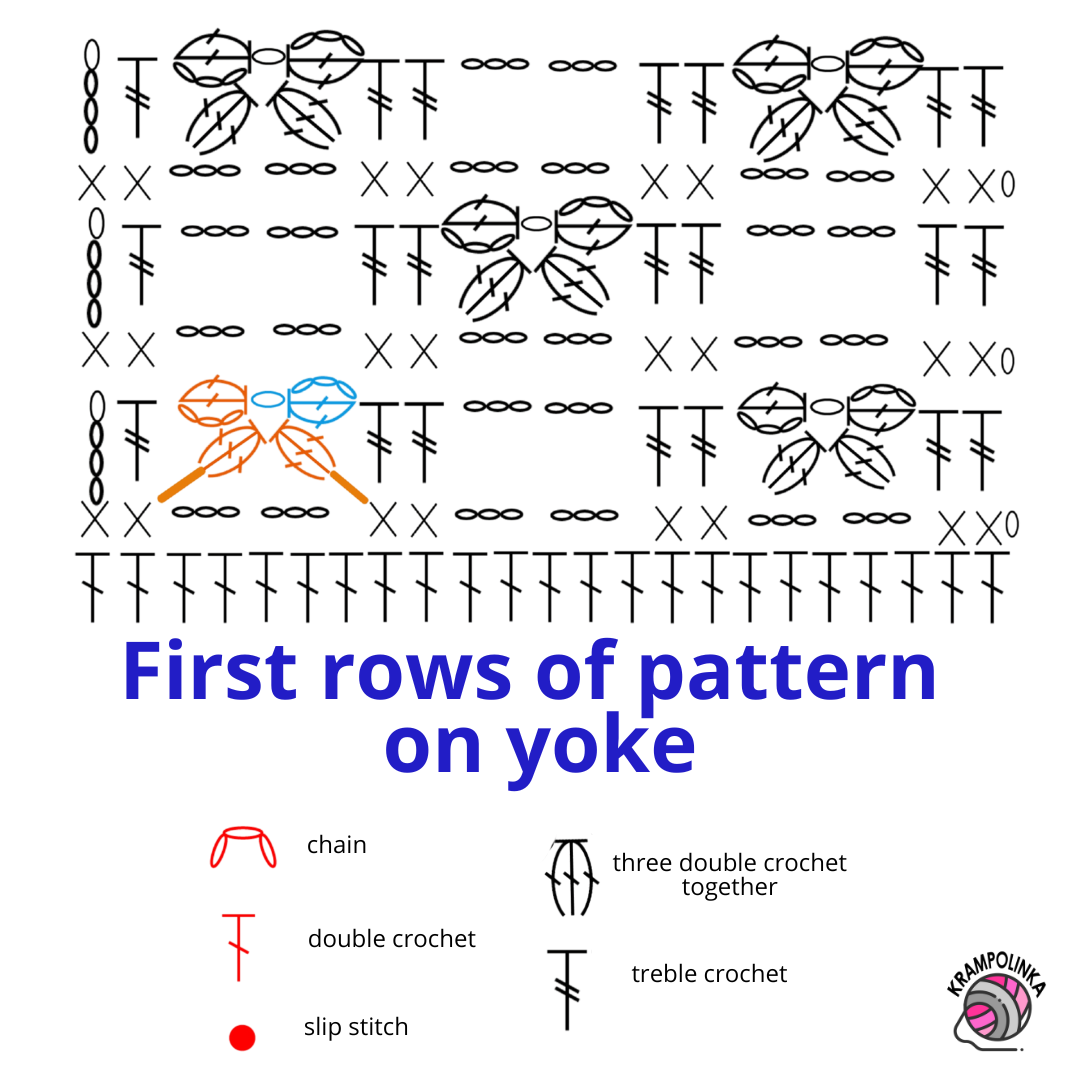
Row 11 (Right Side):
Ch 4 (counts as tr), tr in next sc.
This forms the base for the flower square pattern.
A solid square (flower motif) consists of 3 petals:
- Ch 3, 2 unfinished dc in the same tr stitch
- 3 unfinished dc in the next sc
- 3 unfinished dc in the following sc
Yarn over and pull through all loops on the hook (cluster), ch 1.
To create the 4th petal:
-
Ch 3, 2 unfinished dc into the center of the flower (into the ch-1 space), yarn over and pull through all loops (cluster).
Then continue with:
- Tr in the sc (this sc already holds the third petal)
- Tr in the next sc
An empty square of the pattern is made by:
- Ch 6
- Tr in the next sc
- Tr in the following sc
Repeat the pattern around the entire round, alternating solid and empty squares as desired.
End the row with a sl st. Turn.
Row 12 (Wrong Side):
Ch 1 (counts as sc), sc in the same stitch, sc in the next stitch.
From this row on, continue with the base of the pattern:
- Ch 6
- Sc in the next tr
- Sc in the following tr
Repeat this all around.
Finish the row with a sl st. Turn.
Row 13 (Right Side):
You now invert the squares from previous rows:
- Over solid squares, crochet empty squares
- Over empty squares, crochet solid squares
Ch 5 (counts as tr), tr in next sc, tr in following sc
→ This is the base for an empty square: Ch 6, tr in next sc, tr in following sc
Over an empty square, you now create a solid flower square:
- Ch 3, 2 unfinished dc in tr
- 3 unfinished dc in sc
- 3 unfinished dc in next sc
Yarn over, pull through all loops, ch 1
Then, for the 4th petal: - Ch 3, 2 unfinished dc into the center of the flower (into ch-1 space), yarn over and pull through
Continue with tr in next sc and tr in following sc
End the round with a sl st. Turn.
⚠️ IMPORTANT – INCREASES IN THIS ROW!
In Row 13, you will start increasing in five locations:
- Two on the front panel
- One at the center of the back panel
- Two underarms
In total: 5 increases per round.
Increases are worked over a solid square from Row 11, at the moment you’re crocheting an empty square.
To work an increased empty square, do the following:
- Ch 3
- 2 tr into the ch-1 space below (under the flower center)
- Ch 3
- Then continue with the usual tr in the next sc and tr in the following sc
This adds an extra set of tr stitches, subtly widening the tunic in the desired areas.
Row 14: Work the same as Row 12. Over the increase areas, crochet ch 3, sc in tr, ch 3. End the row with a slip stitch. Turn.
Row 15: Work the same as Row 11. Over the increase area, crochet one solid square, then an extended empty square made of 2 tr – ch 4 – 2 tr into the sc, followed by another solid square. End the row with a slip stitch. Turn.
Row 16: Work the same as Row 12. Over both solid squares and increase areas, crochet ch 6 and 2 sc into the tr stitches. Over extended empty squares, do the same. End with a slip stitch. Turn.
Row 17: Work the same as Row 13. Over increase areas and empty squares, crochet a solid flower square. End with a slip stitch. Turn.
Rows 18–22: Continue alternating rows as follows: 12, 11, 12, 13, 12.
After finishing the second color transition, fasten off the yarn and work the border around the neckline and armholes.
Rows 23–27: Repeat the increases in the same five places using the same method as in Rows 13–17. If you want a less flared tunic, you may skip the two front increases and increase only three times per round. The front increases in this part will later become the side seams, which will be sewn together after the tunic is finished. End each row with a slip stitch and turn after every row.
Rows 28–80: Continue working in pattern as in rows 12, 11, 12, 13, repeating this sequence. Finish with a row of chain stitches and single crochets.
Bottom Ruffle – Hook 2.0 mm
Row 81 (right side): Ch 3 (counts as dc), ch 2, dc in sc, then dc, ch 2, dc in the next sc. In the third chain of the chain space, work tr, ch 2, tr, ch 2, tr all into the same stitch. Repeat the pattern until the end of the row. End with a slip stitch into the third chain of the beginning ch-3.
Row 82: Use slip stitches to move to the center of the chain space. Ch 3 (counts as dc), ch 2, dc into the chain space, then dc, ch 2, dc into the space between two dc stitches, then dc, ch 2, dc into the next chain space. Into the previous tr cluster, work tr, ch 2, tr into the first chain space, tr, ch 2, tr into the middle tr, and tr, ch 2, tr into the next chain space. Repeat the pattern to the end of the row. End with a slip stitch into the third chain of the beginning ch-3. Fasten off the yarn.
Neckline Edging – Hook 2.5–3.0 mm
Row 1: Start in the corner of the yoke. Ch 1 (counts as sc). Crochet 3 sc and 1 picot. The picot is made with ch 3 and a slip stitch into the first chain. Continue this pattern around the neckline. Finish with a slip stitch.
Armhole Edging – Hook 2.5–3.0 mm
Row 1: Start in the center of the underarm chain. Ch 1 (counts as sc). Crochet 3 sc and 1 picot. The picot is made with ch 3 and a slip stitch into the first chain. Continue around the armhole and finish with a slip stitch.
Finishing
Weave in all loose ends. Add a decorative label or tag if you wish.
Usage and Permissions
This pattern is intended for personal use only. If you would like to use it for commercial purposes, please contact me first. Always include the source link: www.krampolinka.cz when sharing your projects online. The pattern is specifically written for the yarn, hook size, and tension used in this sample. If you use a different yarn or hook, your final bag size and shape may vary.
Enjoy this free pattern and you can follow my latest projects, tutorials, ideas, reviews, video podcasts, tips, and tricks:
- Krampolinka YouTube videos (subtitled since 2024)
- Krampolinka Instagram
- Krampolinka FB group
-
- Crochet top or tunic Buena Vida

-
- Light summer top not only for beach
-
- You can wear this tunic all year long
-
- This is a reconstructed crochet pattern from the book from 1914
-
- This yarn ball was inspired by sweather by Desigual
-

- Crochet Yoke – rectangle shape
-

- Pattern applied on yoke
-

- Increasing in pattern

1 Comment
[…] From the Buena Vida yarn cake, I created both a dress and a tunic. The dress is worn over a T-shirt with leggings, while the tunic works perfectly over swimwear. The tunic is crocheted using a pattern from a book published in 1914, giving it a lovely vintage feel. You can purchase the Buena Vida yarn cake here, and the video tutorial in English for the Buena Vida tunic is available here. […]